Test Method for Camera Installation
1. When install the Raspberry Pi system (my system image is 2017-01-11-raspbian-jessie-lite), the system can be chosen, compatible with most mirror systems.
2. Enter the Raspbian system terminal.
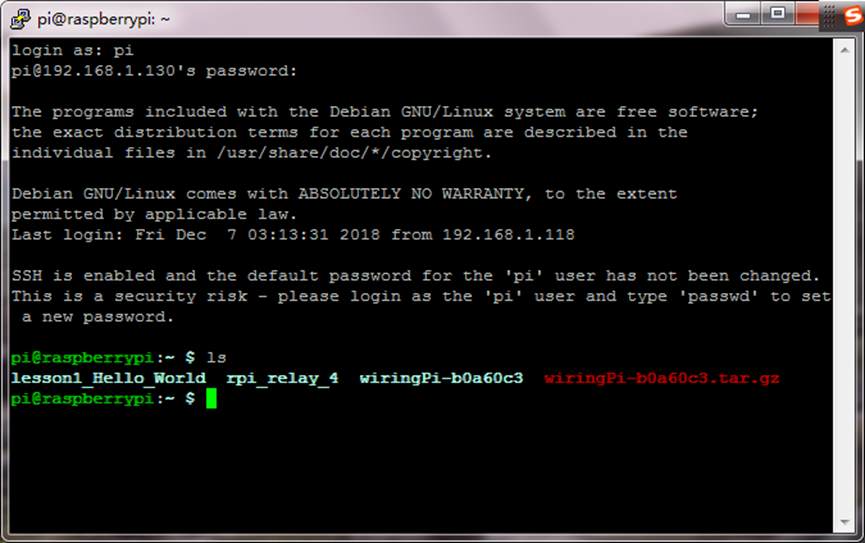
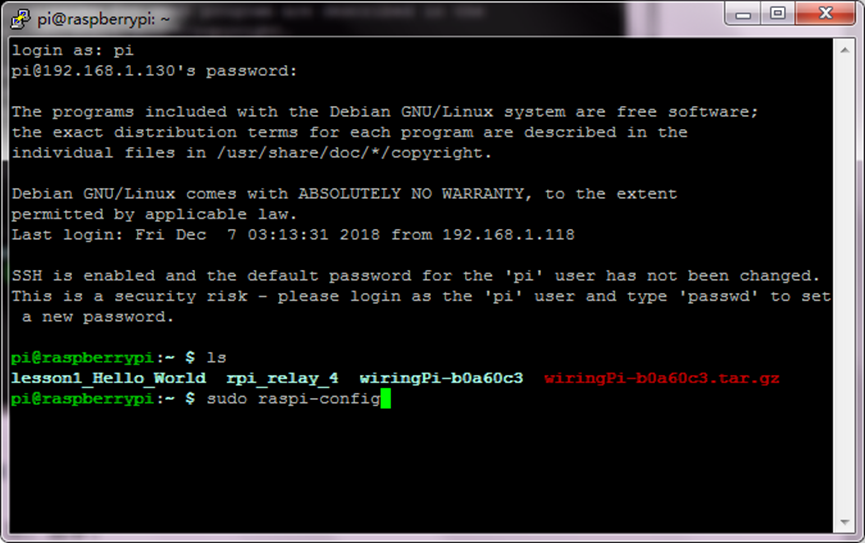
3. Use raspi-config to configure the camera. Execute the sudo raspi-config
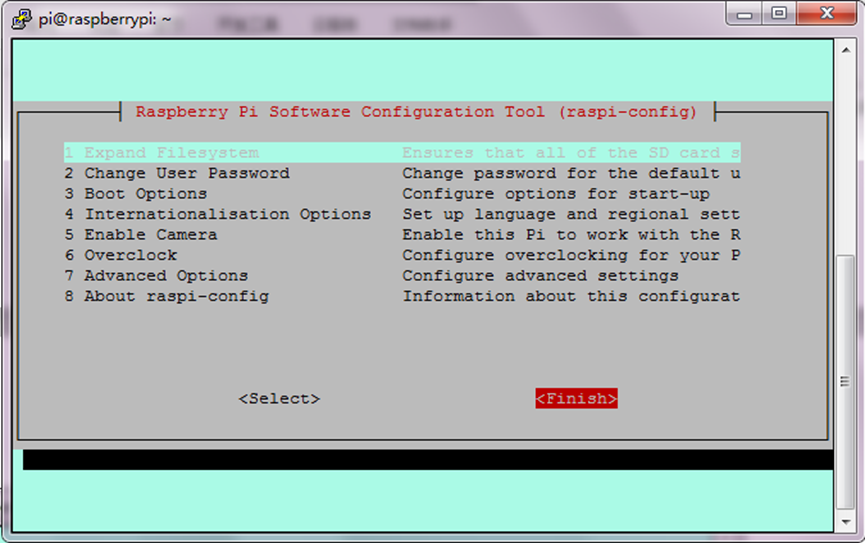
4. Move the cursor to the option Enable Camera, click Enter.

5. Select YES, click Enter and OK.


6. Select Finish to exit.
7. Select to reboot the system, Click Yes.

8. Enter the system terminal again, and set the photograph and photography.
1)For photograph, on the terminal execute the statement below,123.jpg is the name of picture, which can be set.
raspistill -o 123.jpg

2)Generate a picture taken by the camera, you can use WinSCP software to export the picture.

3)For photography, on the terminal execute the statement below.
raspivid -o 1234.h264 -t 10000
Note: t 10000 means recording for 10 seconds. Users can adjust it according to their own needs.

4)Generate a video taken by the camera, you can use WinSCP software to export the video.
