Computers
Computer Parts
Custom PC Builder
DIY/ Maker
{$smarty.capture.menu}
Activity
Categories
Discussions
Computers
Computer Parts
Custom PC Builder
DIY/ Maker
How to Temporarily Pause Updates in Windows 10 - Micro Center
<main> <article class="userContent"> <p>While Windows 10 updates are automatic, they can easily be temporarily paused through Settings in Windows 10. When you pause updates, new Windows feature updates won’t be installed for up to 35 days.</p><p>Pausing updates cannot be repeatedly used, once the time lapses for each pause period, updates will have to be installed before pausing is enabled as an option again.</p><p>Here's how to pause your updates in Windows 10:
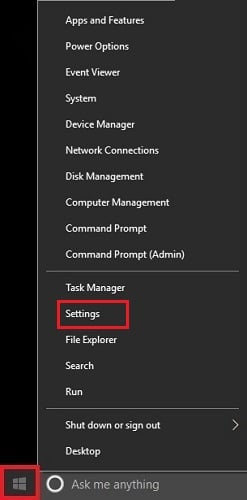
</p><p><br></p><p>1. <strong>Right click</strong> on the <strong>Start button</strong>, typically found at the lower left corner of the screen, then click on <strong>Settings</strong>.</p><div class="embedExternal embedImage display-large float-none"> <div class="embedExternal-content"> <a class="embedImage-link" href="https://us.v-cdn.net/6031942/uploads/editor/l3/959vqlet7juh.jpg" rel="nofollow noreferrer noopener ugc" target="_blank"> <img class="embedImage-img" src="https://us.v-cdn.net/6031942/uploads/editor/l3/959vqlet7juh.jpg" alt="959vqlet7juh.jpg"></img></a> </div> </div> <p></p><p><br></p><p>
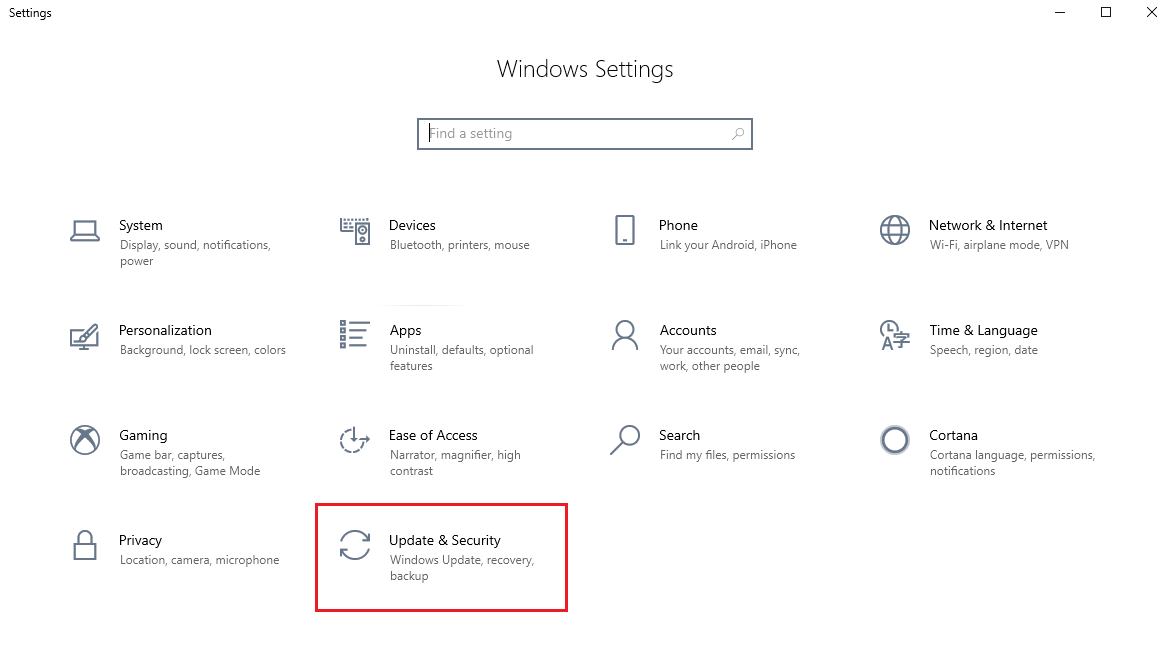
2. From the Windows Settings page, from the list of categories, click on the <strong>Update & Security</strong> option. </p><p><br></p><div class="embedExternal embedImage display-large float-none"> <div class="embedExternal-content"> <a class="embedImage-link" href="https://us.v-cdn.net/6031942/uploads/editor/zt/7ziuqezig8yw.png" rel="nofollow noreferrer noopener ugc" target="_blank"> <img class="embedImage-img" src="https://us.v-cdn.net/6031942/uploads/editor/zt/7ziuqezig8yw.png" alt="7ziuqezig8yw.png"></img></a> </div> </div> <p></p><p><br></p><p>3. From this screen, you can pause for 7 days, or you can select <strong>Advanced options</strong> to select a different amount of time, up to 35 days.
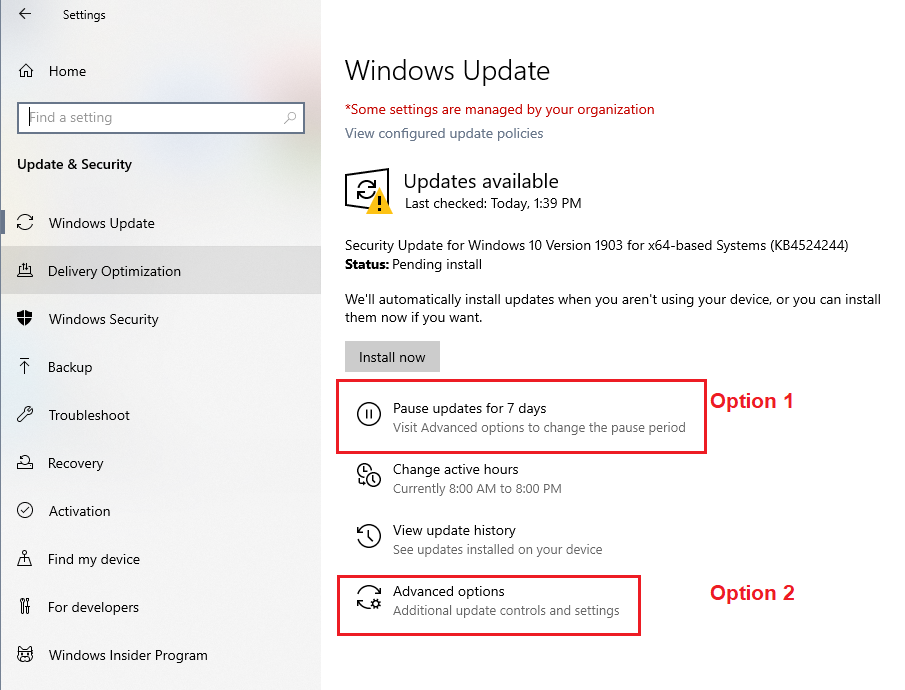
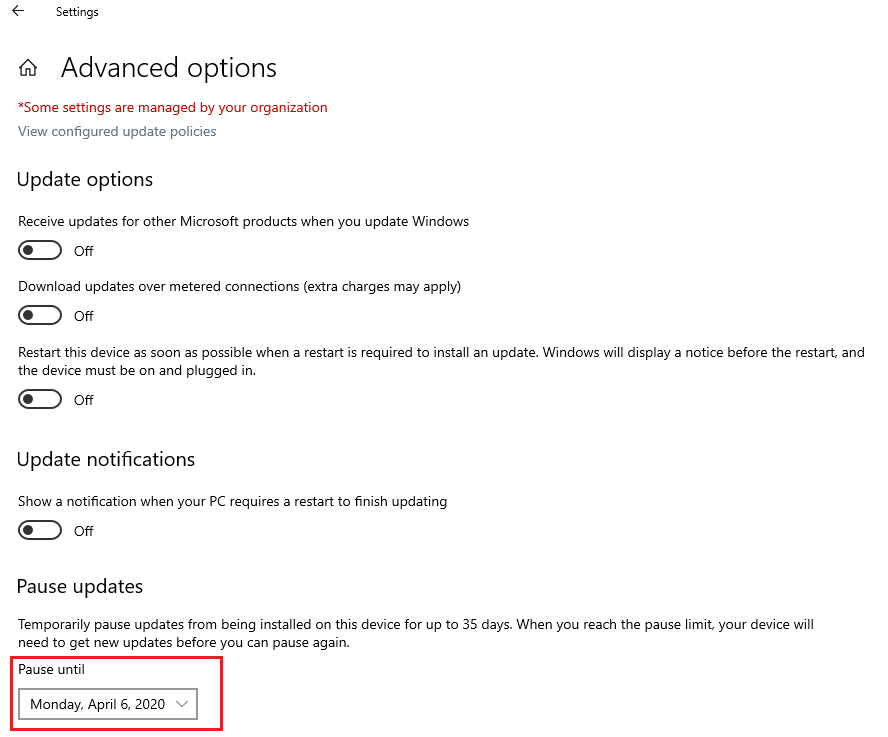
</p><p><br></p><div class="embedExternal embedImage display-large float-none"> <div class="embedExternal-content"> <a class="embedImage-link" href="https://us.v-cdn.net/6031942/uploads/editor/me/ztabwcb69mp9.png" rel="nofollow noreferrer noopener ugc" target="_blank"> <img class="embedImage-img" src="https://us.v-cdn.net/6031942/uploads/editor/me/ztabwcb69mp9.png" alt="ztabwcb69mp9.png"></img></a> </div> </div> <p></p><p><br></p><p>4. If you select <strong>Advanced Options,</strong> you can defer updates until a specific date of your choosing up to 35 days away.</p><p><br></p><div class="embedExternal embedImage display-large float-none"> <div class="embedExternal-content"> <a class="embedImage-link" href="https://us.v-cdn.net/6031946/uploads/LG5QGBN6SK13/image.png" rel="nofollow noreferrer noopener ugc" target="_blank"> <img class="embedImage-img" src="https://us.v-cdn.net/6031946/uploads/LG5QGBN6SK13/image.png" alt="image.png"></img></a> </div> </div> <p></p><p><br></p><p>
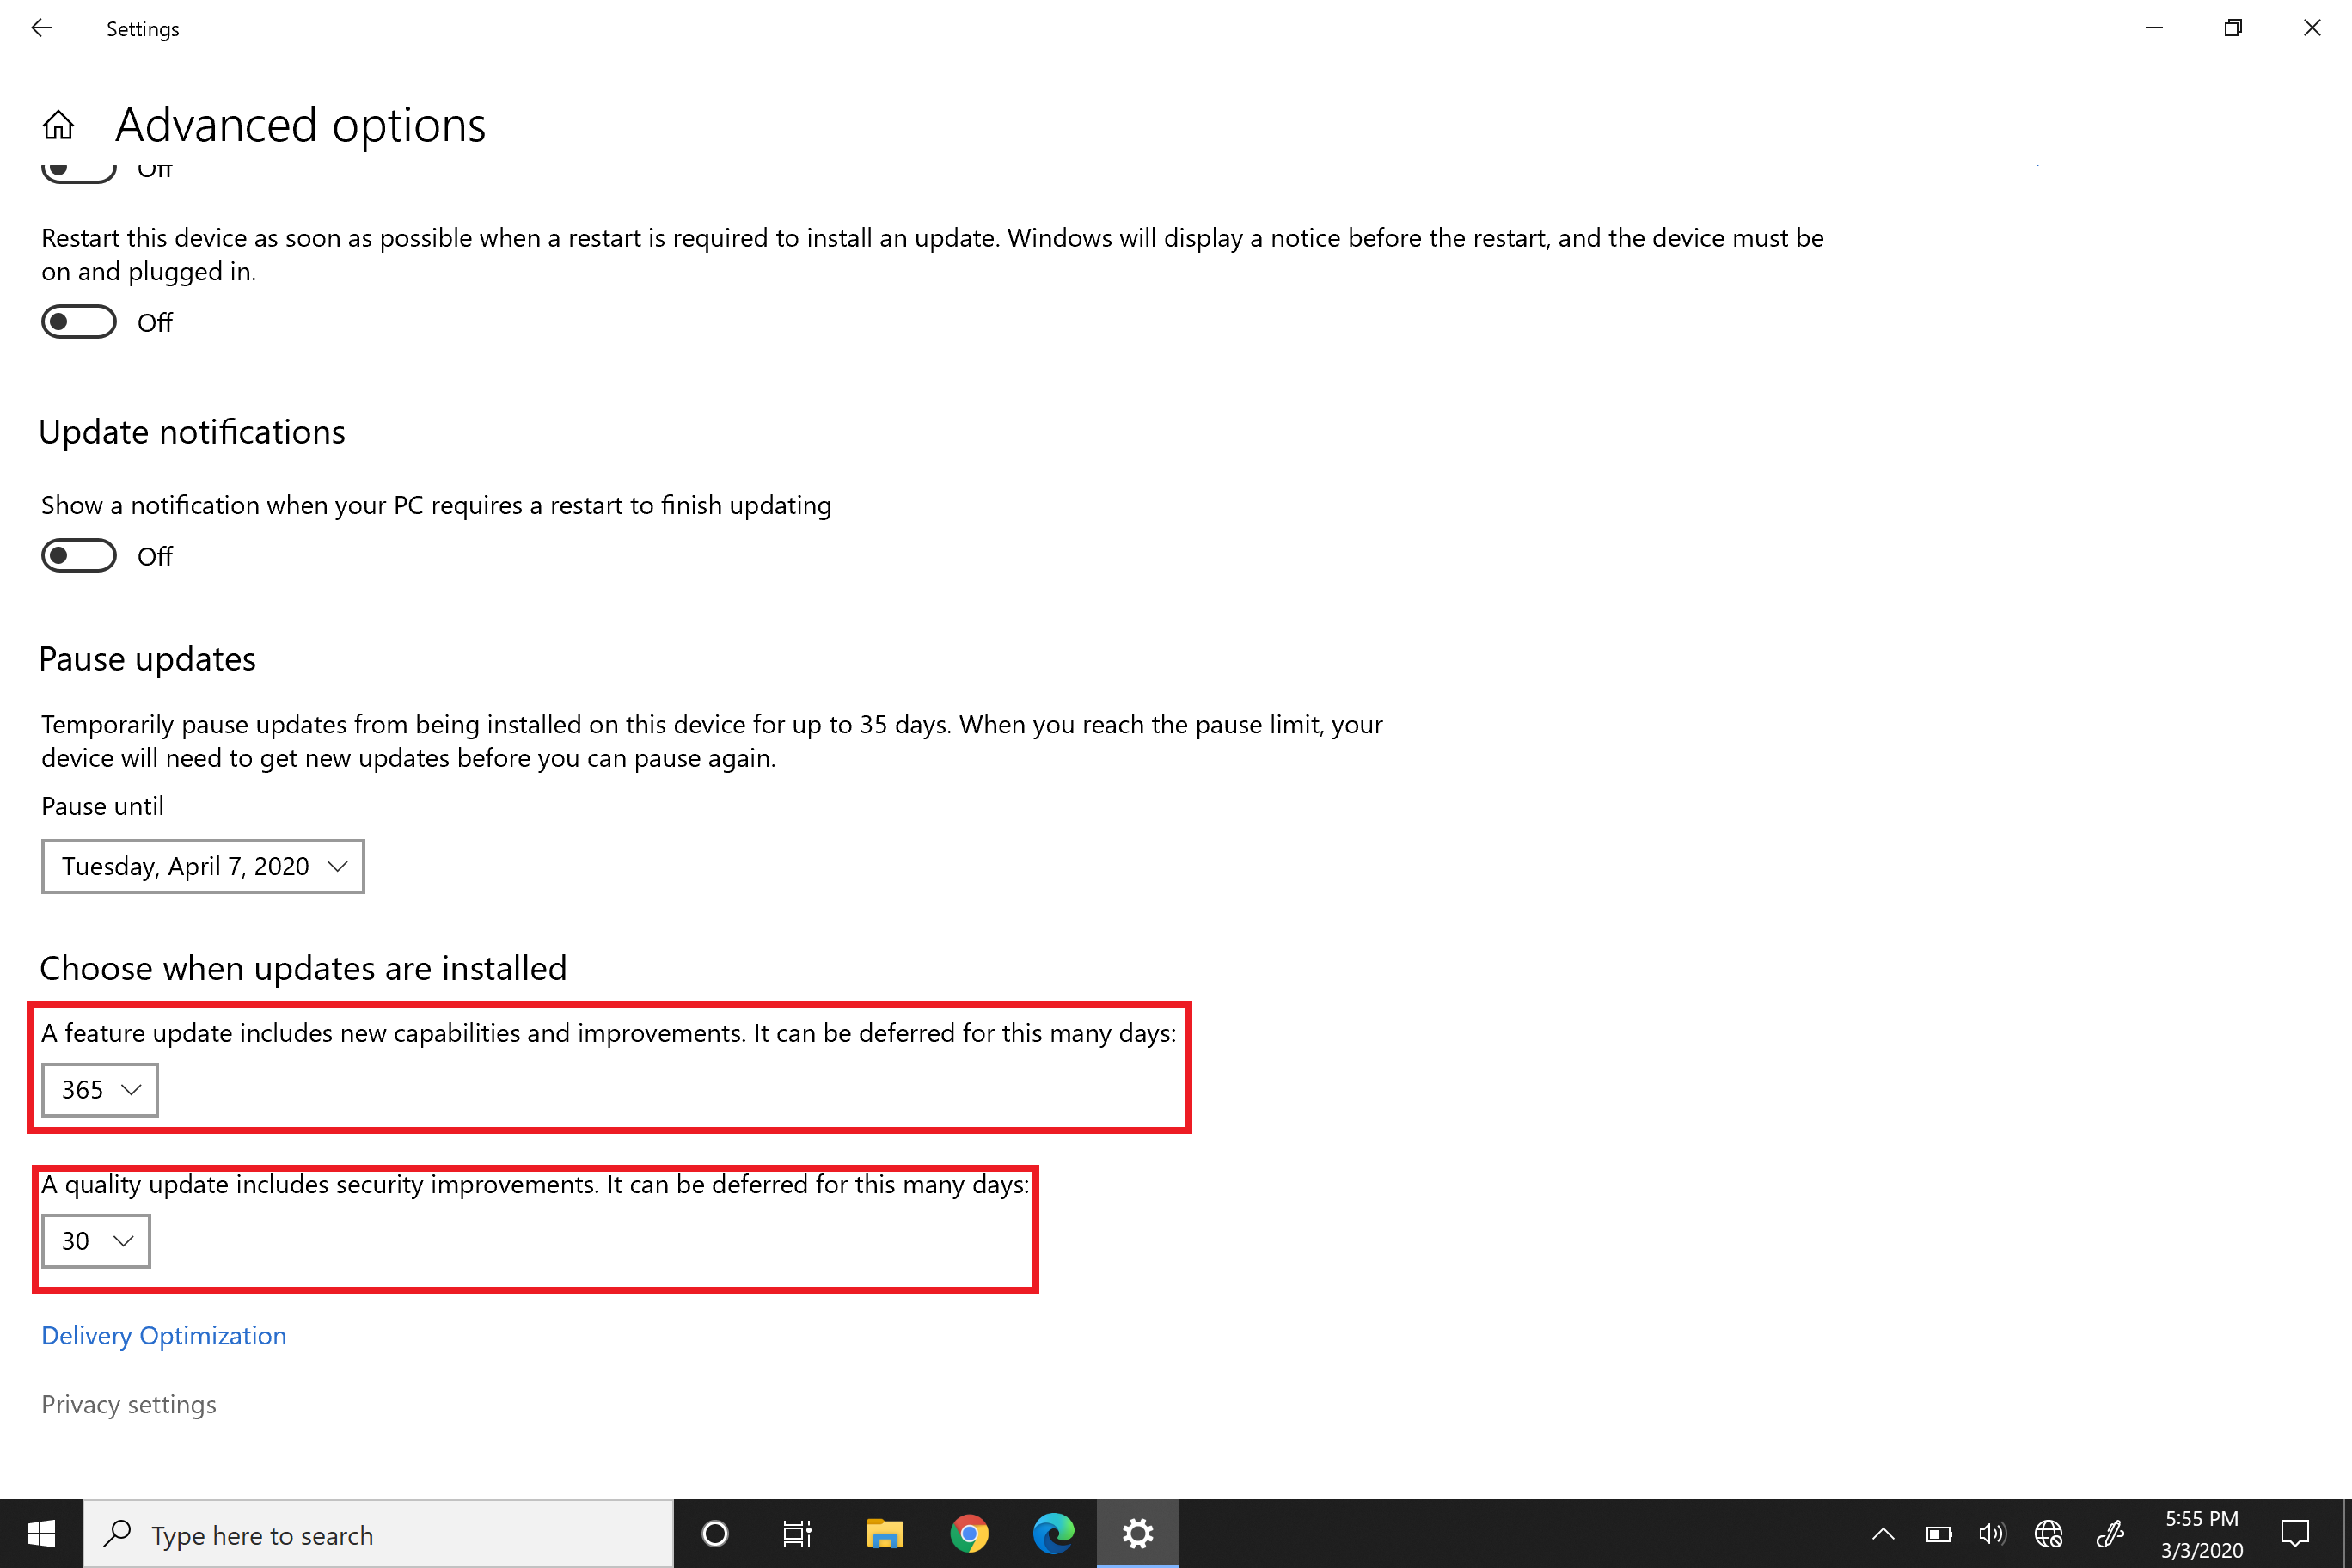
5. If you have Windows 10 Pro, you can also set separate deferment periods for feature updates and quality updates.</p><p>These deferments are set by a number of days to delay. Feature updates can be delayed up to 365 days, and quality updates can be delayed up to 30 days.</p><p><br></p><div class="embedExternal embedImage display-large float-none"> <div class="embedExternal-content"> <a class="embedImage-link" href="https://us.v-cdn.net/6031942/uploads/editor/j2/d5nutpkxib3k.png" rel="nofollow noreferrer noopener ugc" target="_blank"> <img class="embedImage-img" src="https://us.v-cdn.net/6031942/uploads/editor/j2/d5nutpkxib3k.png" alt="d5nutpkxib3k.png"></img></a> </div> </div> <p></p><p><br></p><p>6. Once changes are made, there is no way to save or apply your changes, they will take effect immediately.</p><p>
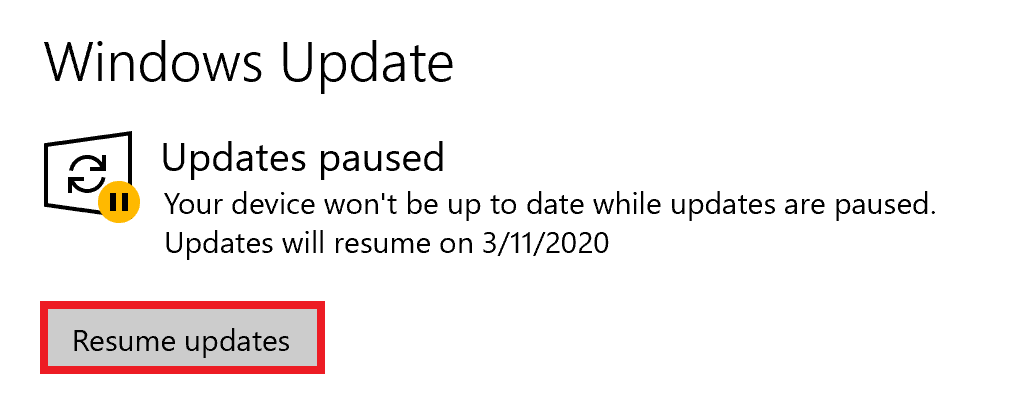
7. If you want to un-pause your updates early, simply open settings, select <strong>Update & Security</strong> (steps 1 & 2 above) and click the button that says <strong>Resume updates</strong></p><p><br></p><div class="embedExternal embedImage display-large float-none"> <div class="embedExternal-content"> <a class="embedImage-link" href="https://us.v-cdn.net/6031942/uploads/editor/iz/t0ise68ed0m8.png" rel="nofollow noreferrer noopener ugc" target="_blank"> <img class="embedImage-img" src="https://us.v-cdn.net/6031942/uploads/editor/iz/t0ise68ed0m8.png" alt="t0ise68ed0m8.png"></img></a> </div> </div> <p><br></p> </article> </main>