This is a brief tutorial on how to create a system image which is a copy of everything on the computer that you can use to recover the computer later if needed. This is an efficient way to back up everything on the computer.
There are only Minor Variations between windows 10 and 11, I will include screenshots to highlight them.
Creating recovery media
The first thing you will want to do before setting up your system image will be to create Windows Recovery Media, this process is the same for both windows 10 and 11, please see our guide here
Accessing Control Panel
Windows 10
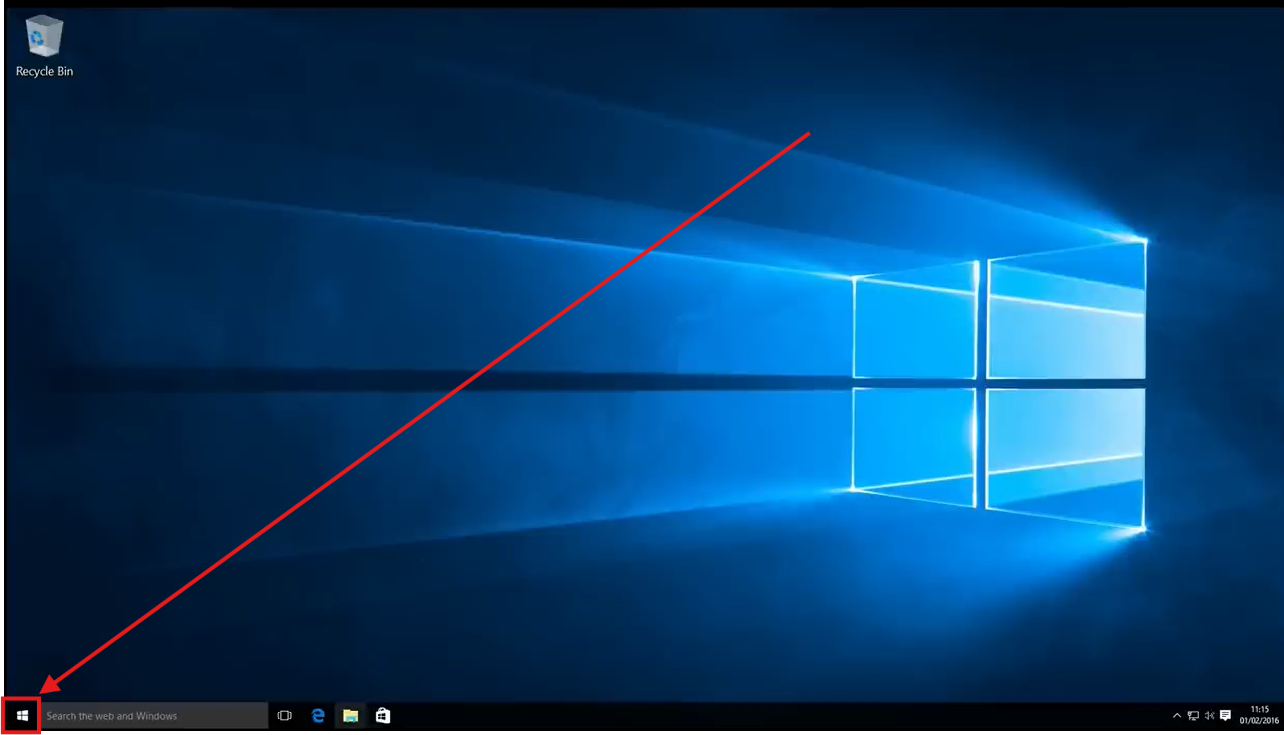
1. Select the Start Menu:

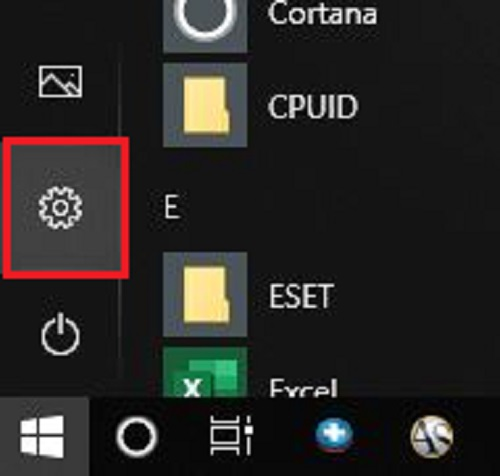
2. Click the Settings Icon, it will look like a gear:
3. In the search bar in windows settings, type Control panel and select the matching option:

Windows 11
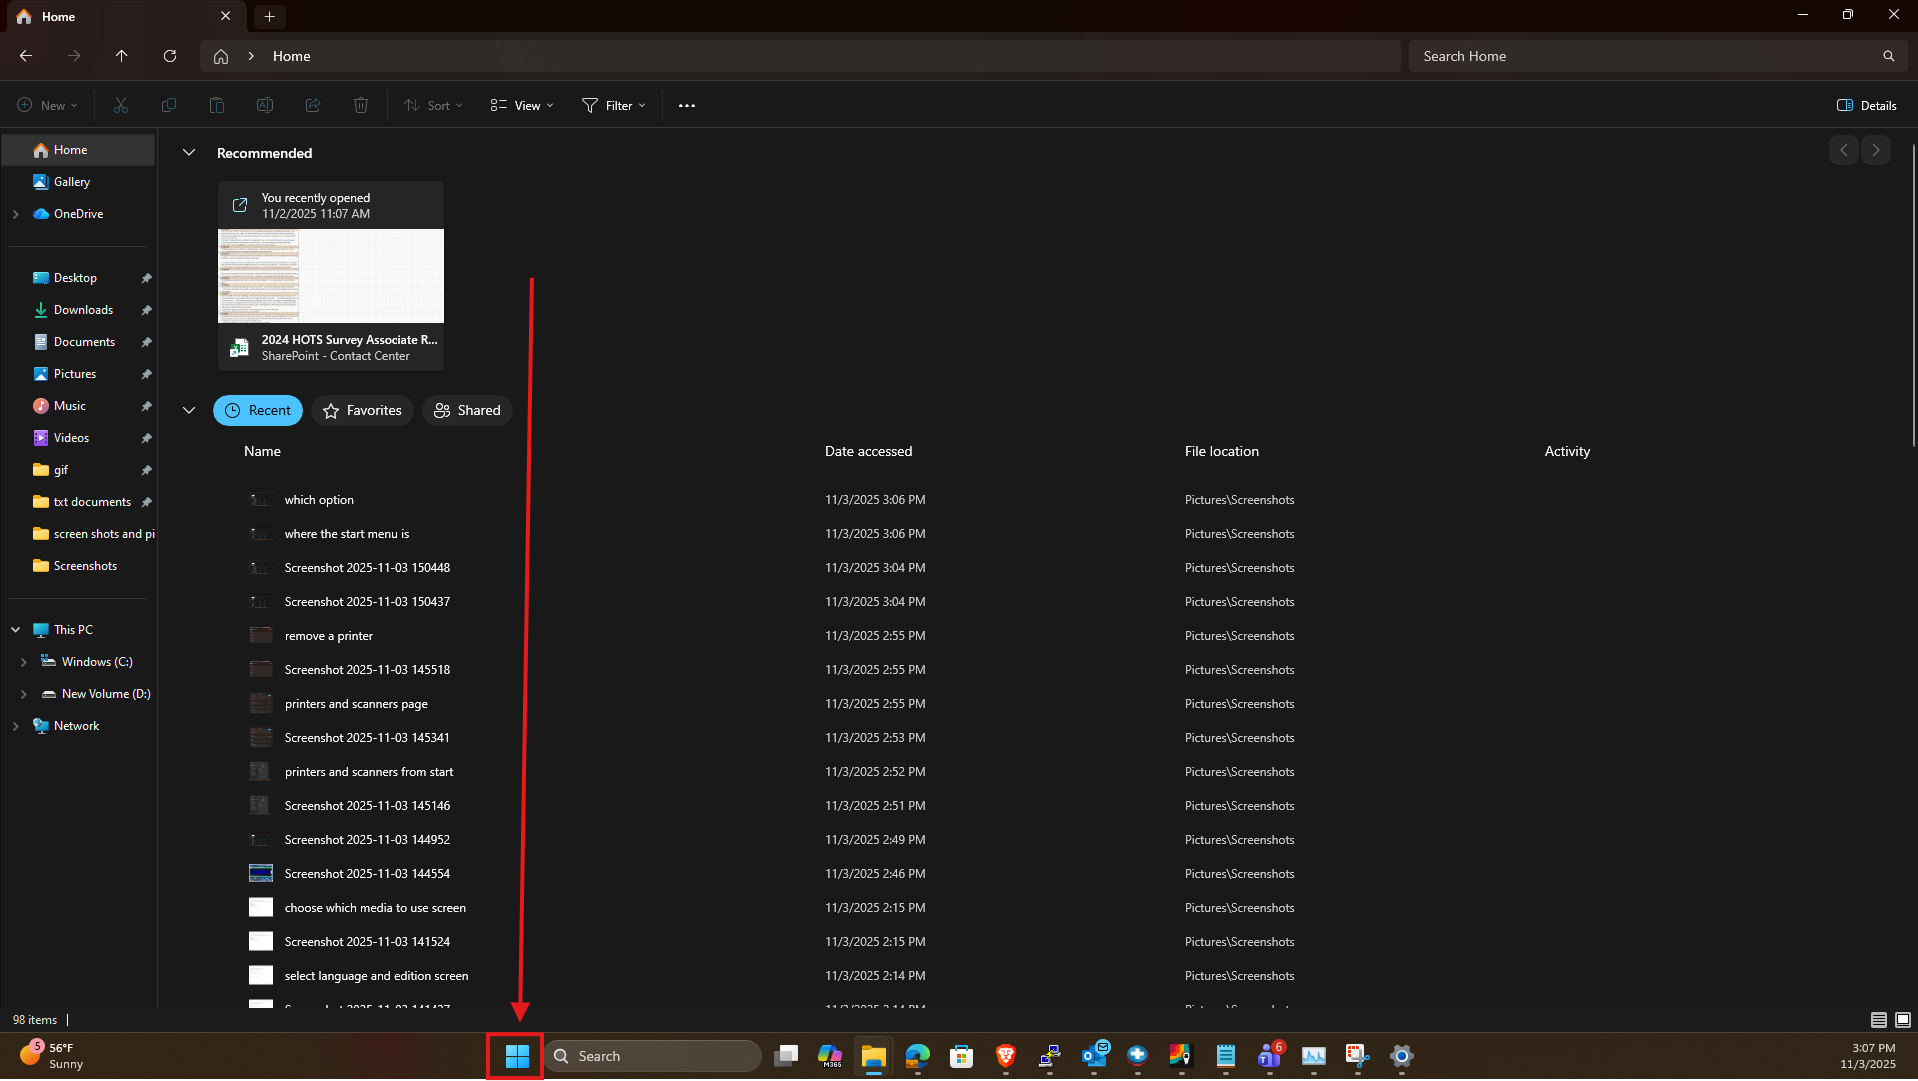
- Select the Start Menu:

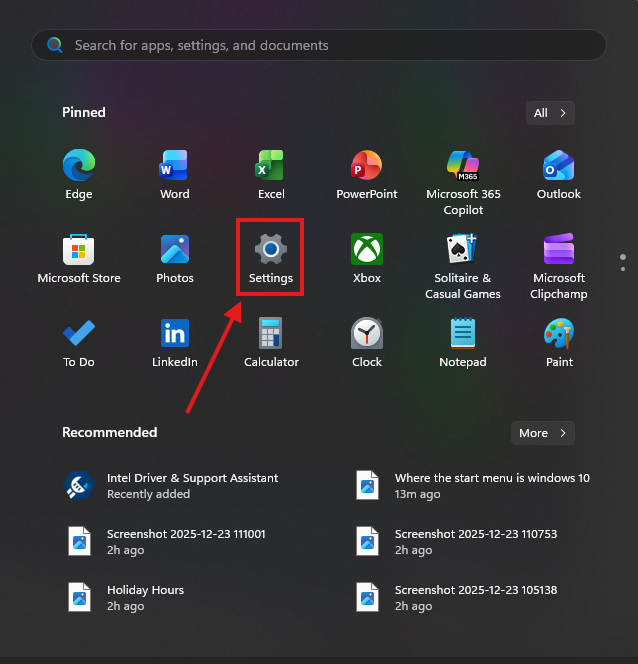
2. Click the Settings Icon, it will look like a gear.
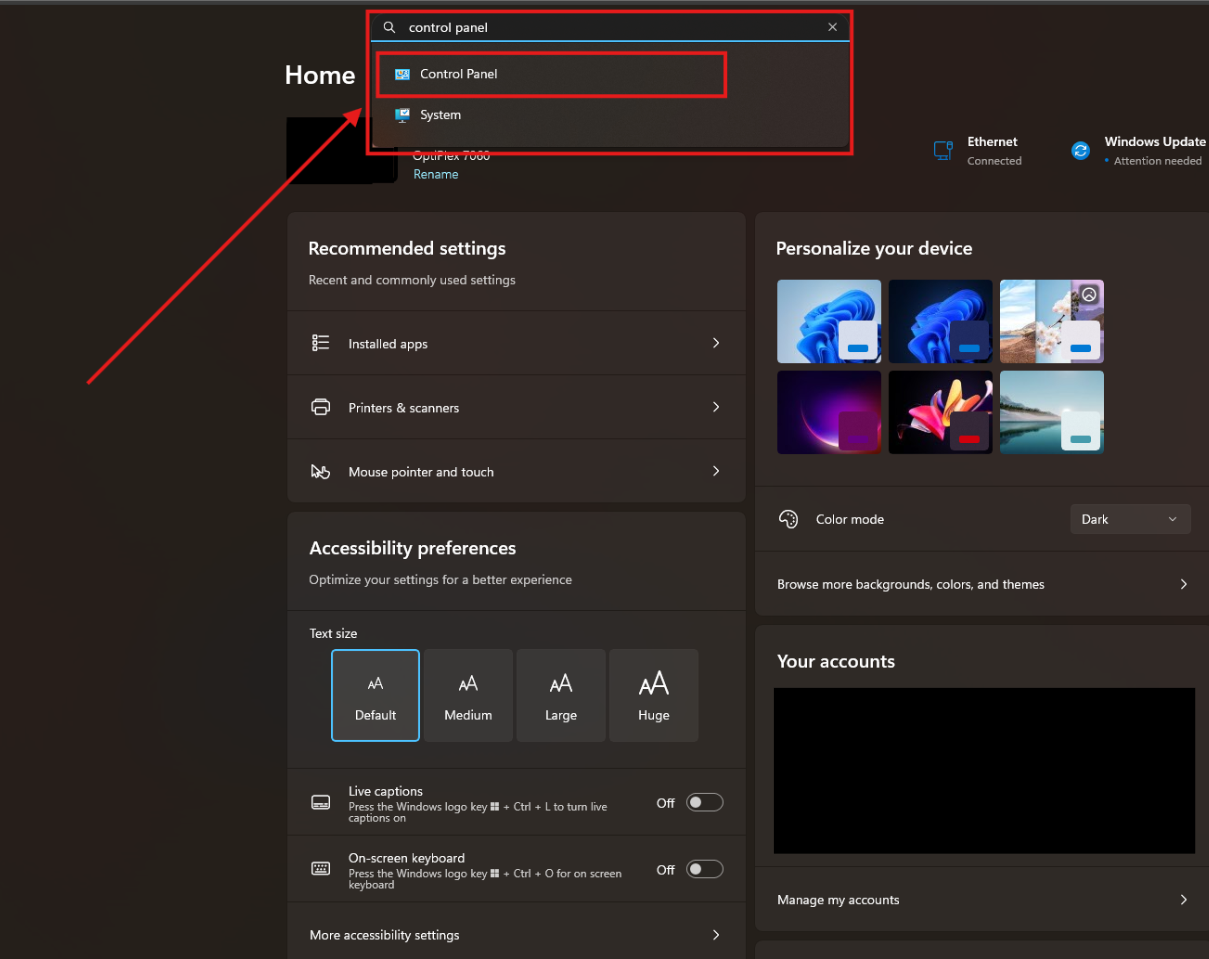
3. In the search bar at the top of the settings window type Control panel and click on the option that matches:
In Control Panel
From here the process in both Windows 10 and 11 is Identical.
1. In the right corner click the drop down next to View by:


2. Click Small icons:

3. Click Backup and Restore (Windows 7) This will still work on Windows 10 and 11:


4. Click Create a system image:


5. Your computer will look for backup devices, this may take a couple of minuets:

6. Select either on a hard disk (external preferred) or one or more DVD’s:

7. Select all drives wanted in system image, select Next:

8. Select Start backup:

And that's all you need to do, Windows will now backup your system along with your selected drives!
Restoring from the System Image
Your compute is not making it into Windows, but you have your system Image and a recovery drive, so what's next?
These steps will walk you through how to use your Image and your Recovery Drive to restore your operating system!
1. Starting with your computer off, plug your recovery drive into one of the USB Ports on your computer then turn it on. Your computer should detect the recovery drive and then proceed to boot from it, you will see a windows logo with a spinning circle below it:

2. Choose a keyboard layout, for the purposes of this guide, we are going to choose US:

3. Choose the Troubleshoot option:

4. Choose System Image Recovery:

6. Choose an operating system to recover:

5. Choose the Image you want to restore from and then click Next:

6. Leave the check box blank and click Next:

7. Make sure all the data is correct, then click Finish:

8. You will get a warning stating all the files on the selected drives will be replaced with the files contained on the system image, click Yes:

9. Windows will begin restoring your device:

10. Once its finished, click Restart now and see if you can log in:
