This walkthrough will take you step by step through the process to download, install, or update your Intel Arc Graphics drivers!
If you are unsure of whether you have an Intel Arc Graphics card or not, you can visit this page for instructions on how to do so.
There are a Couple different processes you can follow, we will walk you through each of them here!
Downloading the Intel Driver & Support Assistant
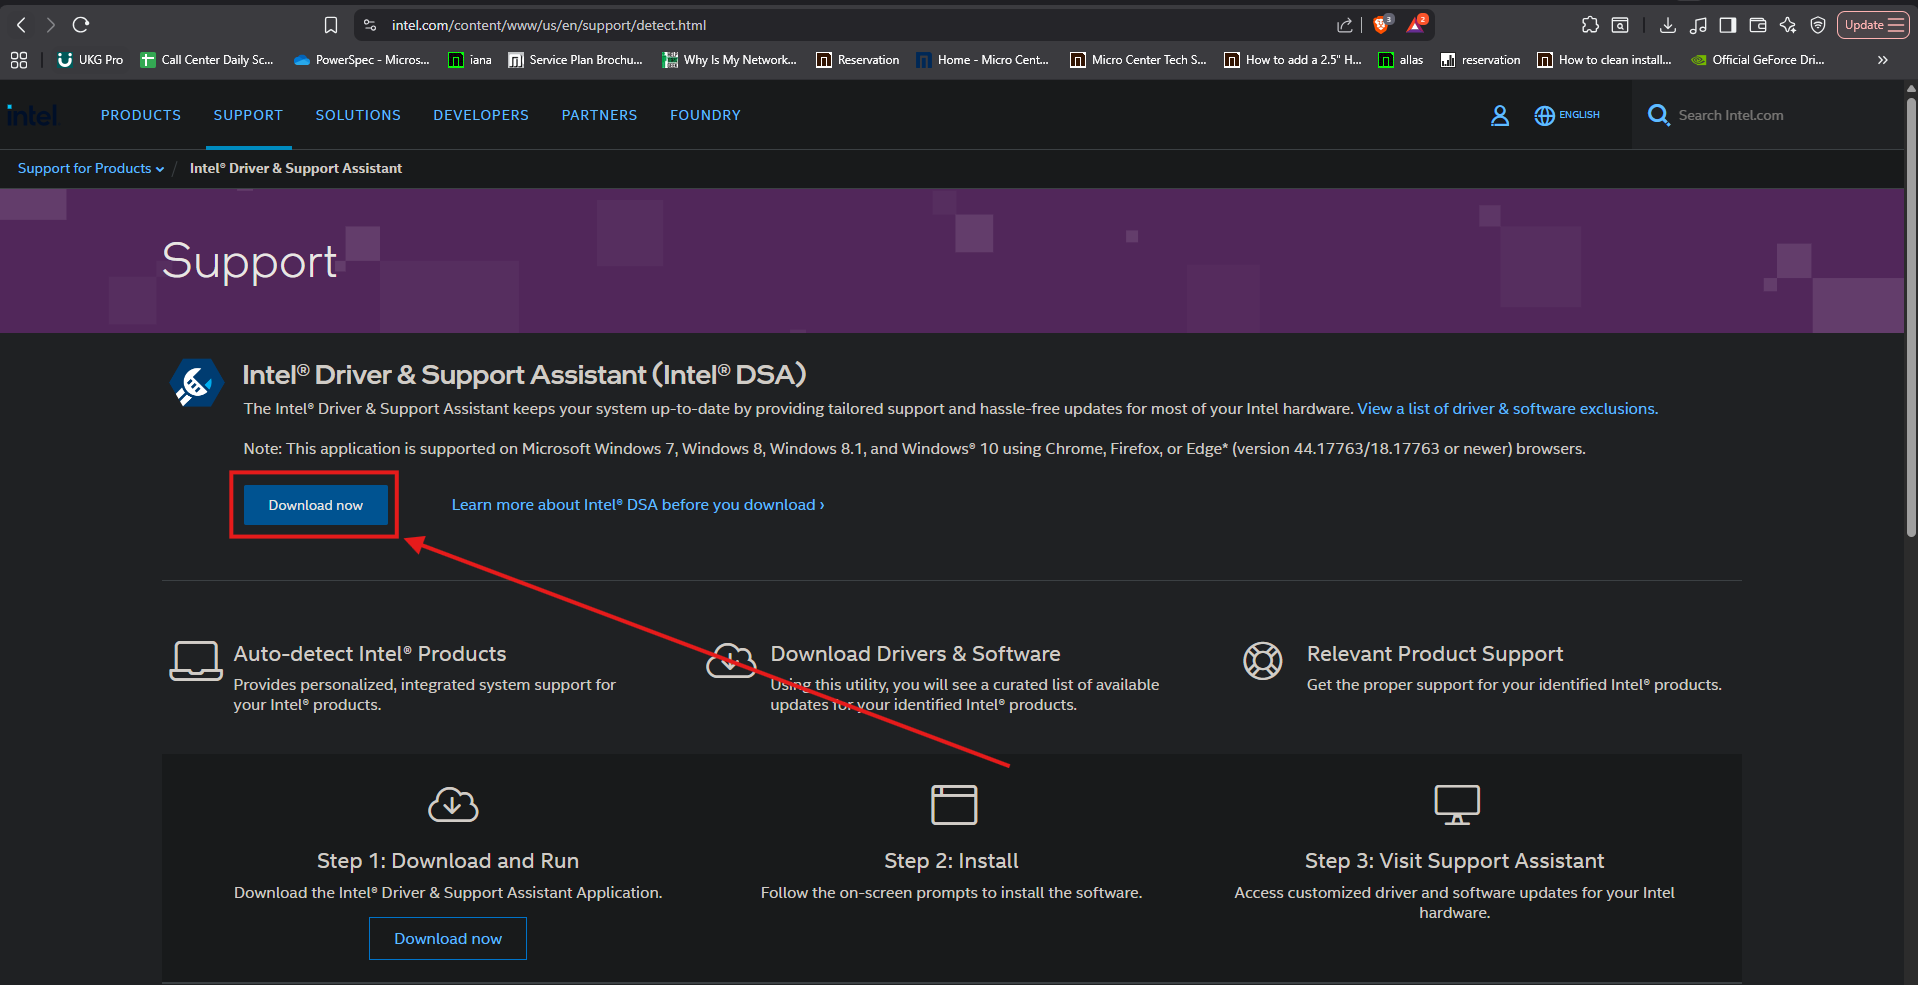
1. The first Method is to download the Intel Driver & Support Assistant, it can be found here. Once on the page, click the Download now button:
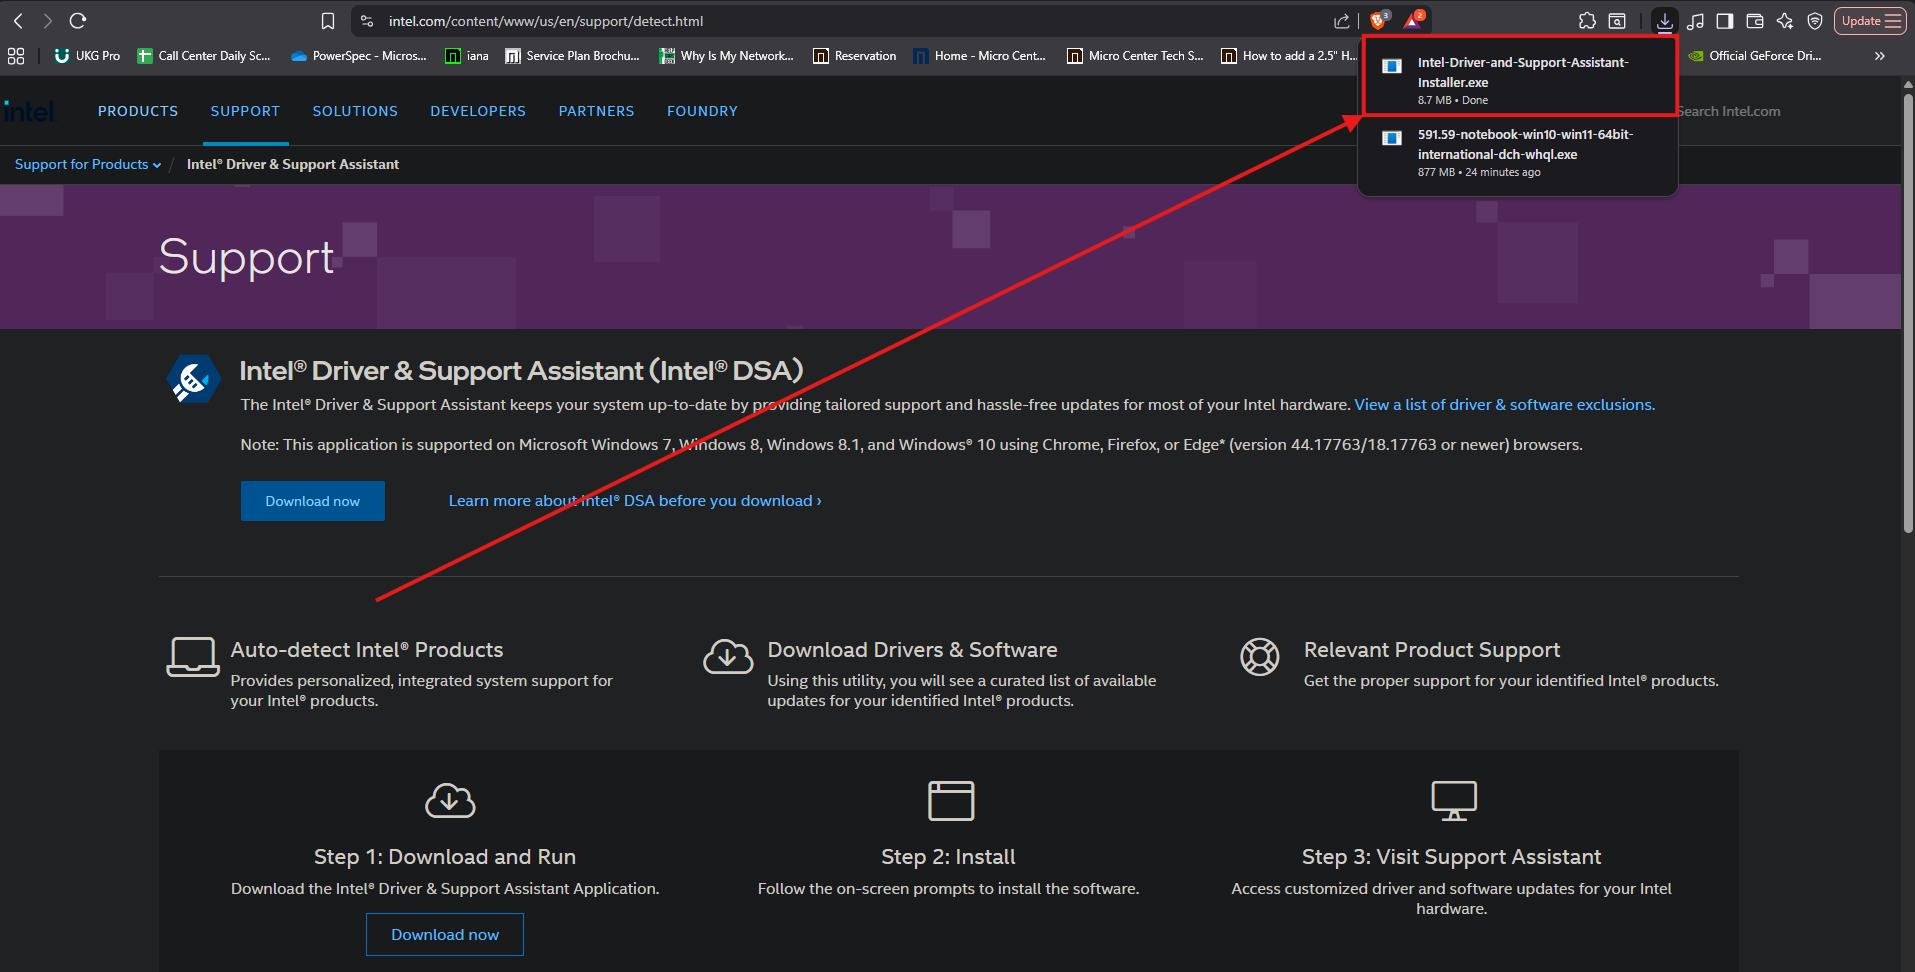
2. The download will appear in the upper right hand corner of your screen, once it has finished, click it to start the install:
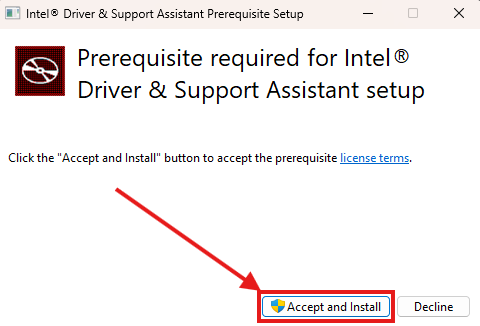
3. A window will pop up, click on Accept and Install:
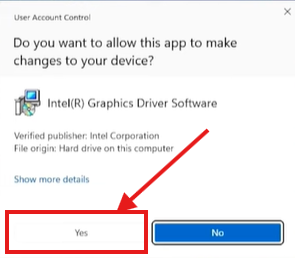
If prompted, click Yes in the window that says Do you want to allow this app to make changes.
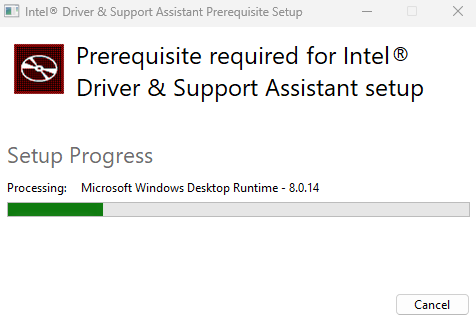
Once clicking yes, the setup will start:
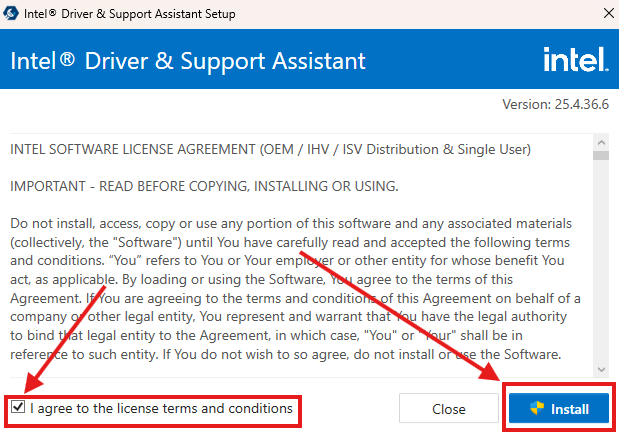
4. Once setup is complete, a new window will appear, make sure to put a Check mark in the box next to I agree to the license terms and conditions, then click Install:
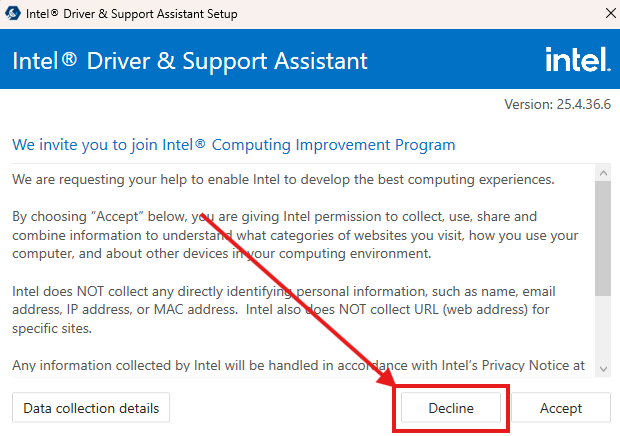
5. It is up to you whether you choose to Accept or Decline the Data collection policy, For the purposes of this guide we will be selecting Decline:
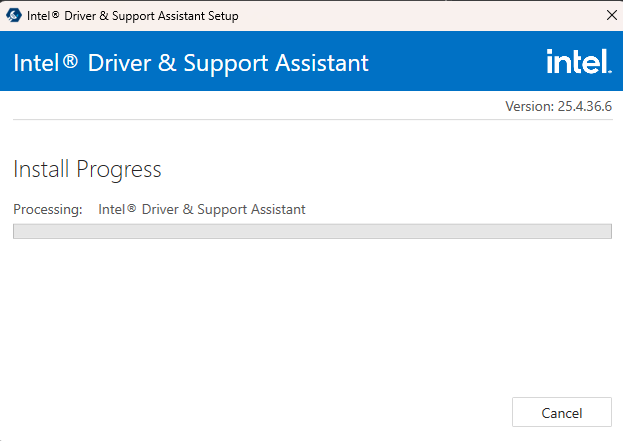
6. The install will start, the bar may fill up a few times before it is finished, this is normal:
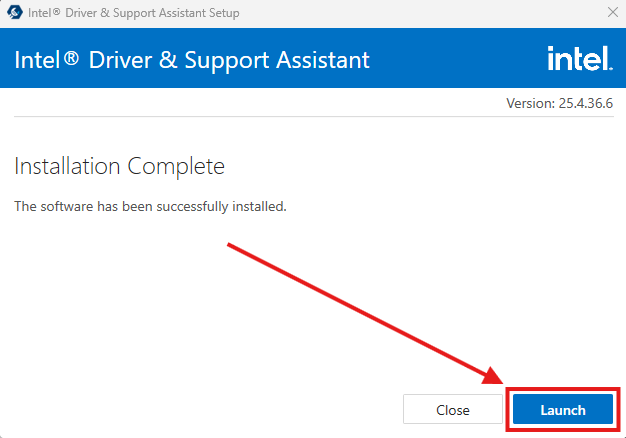
7. Once the install is complete click Launch:
Opening Intel Driver & Support Assistant
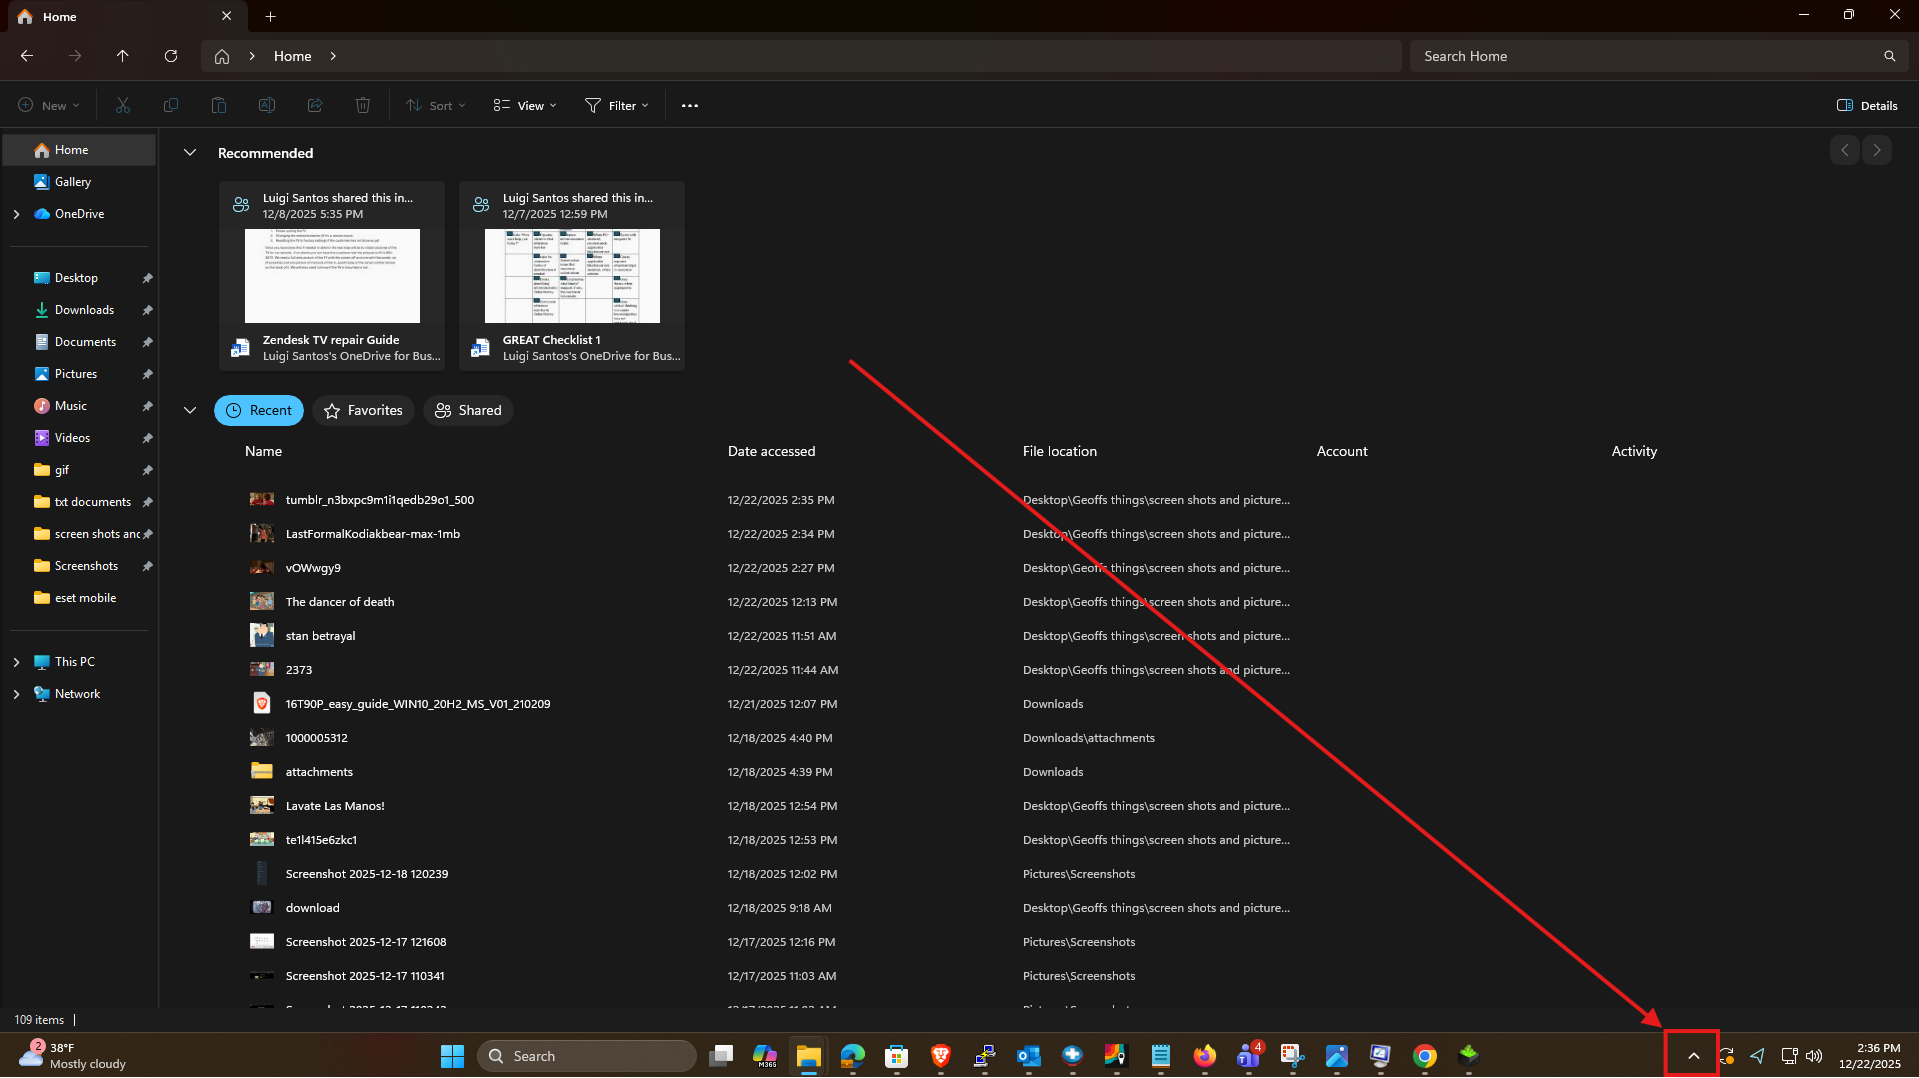
1. Once you have the software installed, or if you Already have the Intel Driver & Support Assistant, you can find it in the Hidden Icons arrow ^ found on your taskbar at the bottom right of the screen to the left of the time and date:
The Icon will look like a Blue hexagon with a white wrench in it:

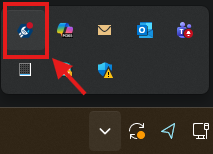
2. Click on it and choose Check For New Drivers from the menu that opens, this will open the Intel Driver & Support Assistant in a new internet browser window:

Using the Intel Driver & Support Assistant to update your drivers
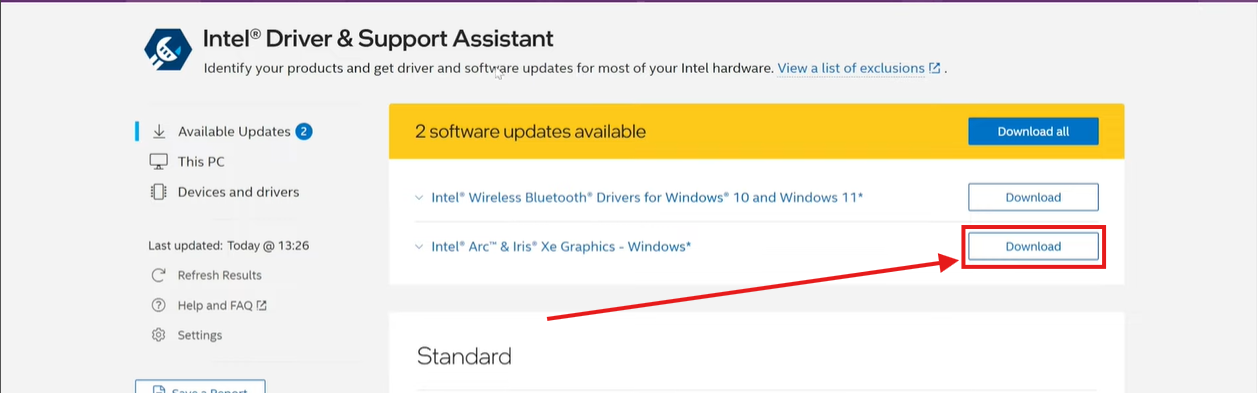
1. Once you have the Intel Driver & Support Assistant open, you may be greeted by a few options, for the purposes of this guide, we are going to click the Download button next to Intel Arc & Iris Xe graphics - Windows:
2. After clicking download a Progress bar will appear, once it has finished, the Download button will change to Install, click on it:

3. You will see a notice after clicking Install that says Please restart your PC now to continue installing updates Whenever you are ready, go ahead and restart your computer to finish the install:

Manually updating Intel Arc drivers
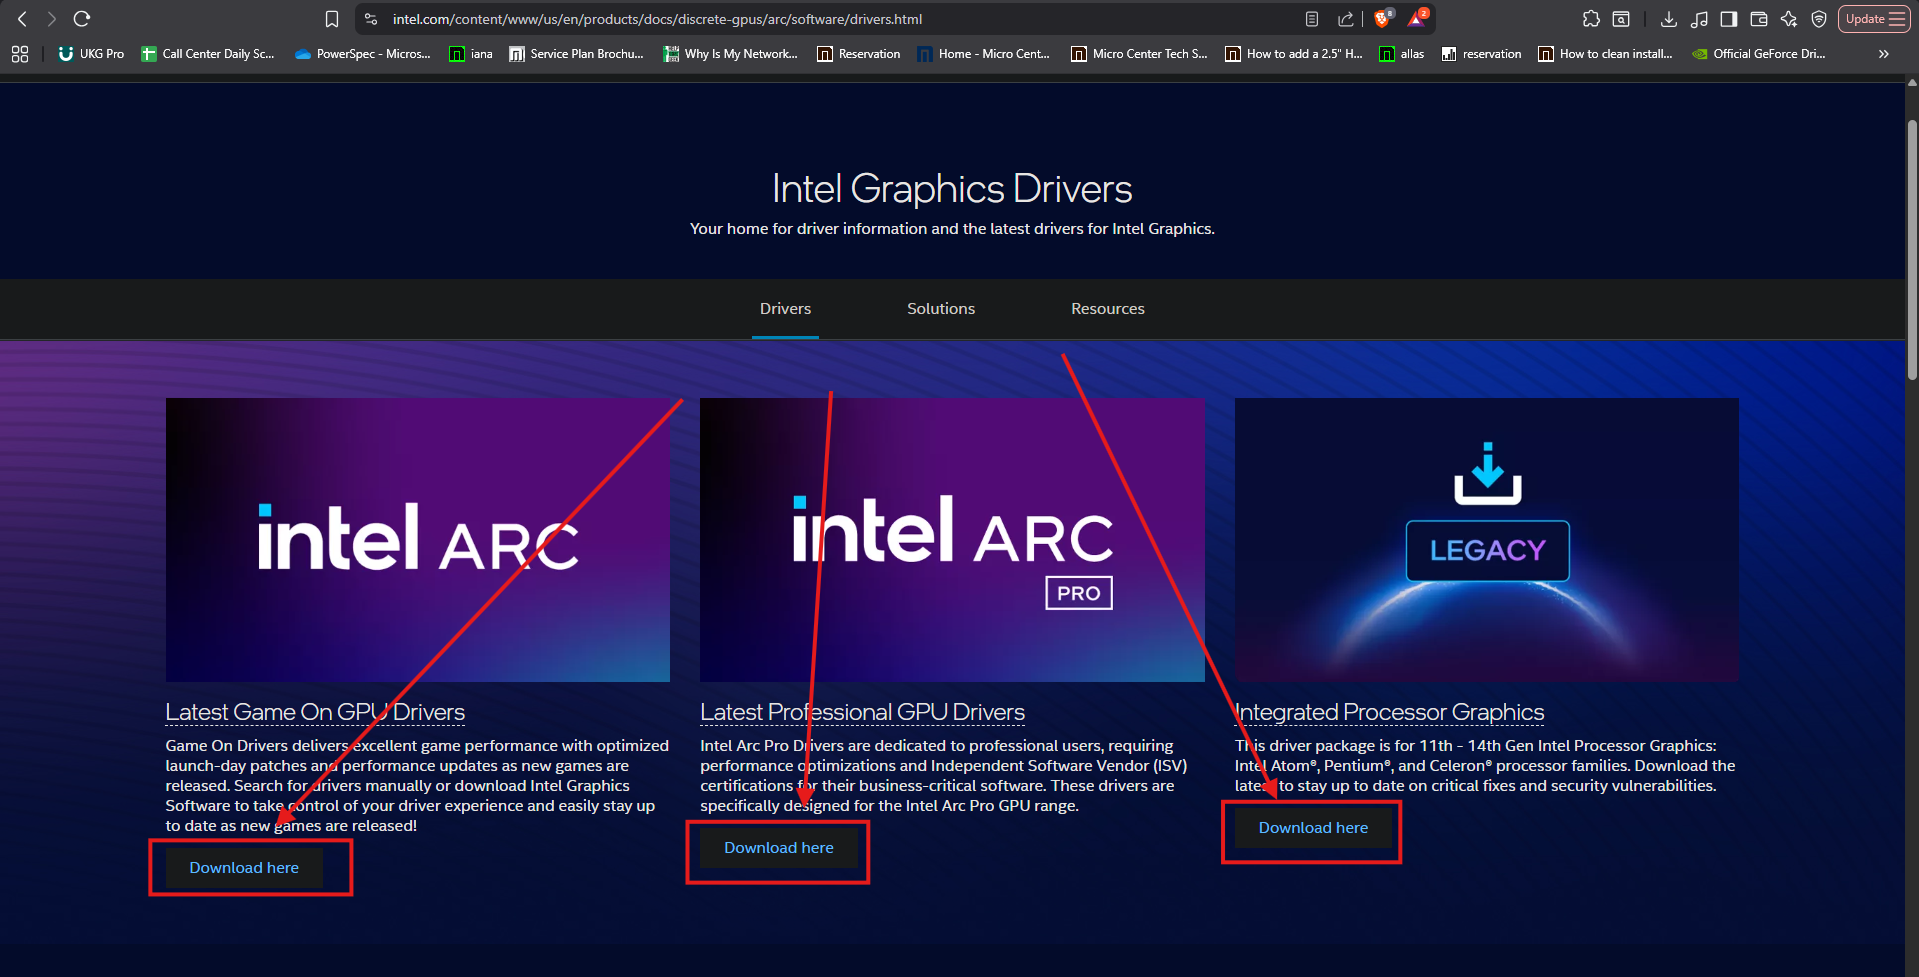
1. If you would like to Manually update your drivers rather than using the Assistant, you can visit this page to download the drivers. You will click the Download button corresponding with the Graphics card you have, The pro drivers are only for Arc Pro Graphics cards, the Legacy drivers are for built in processor graphics, and the Arc Game on drivers are for the non-pro Arc Graphics cards:
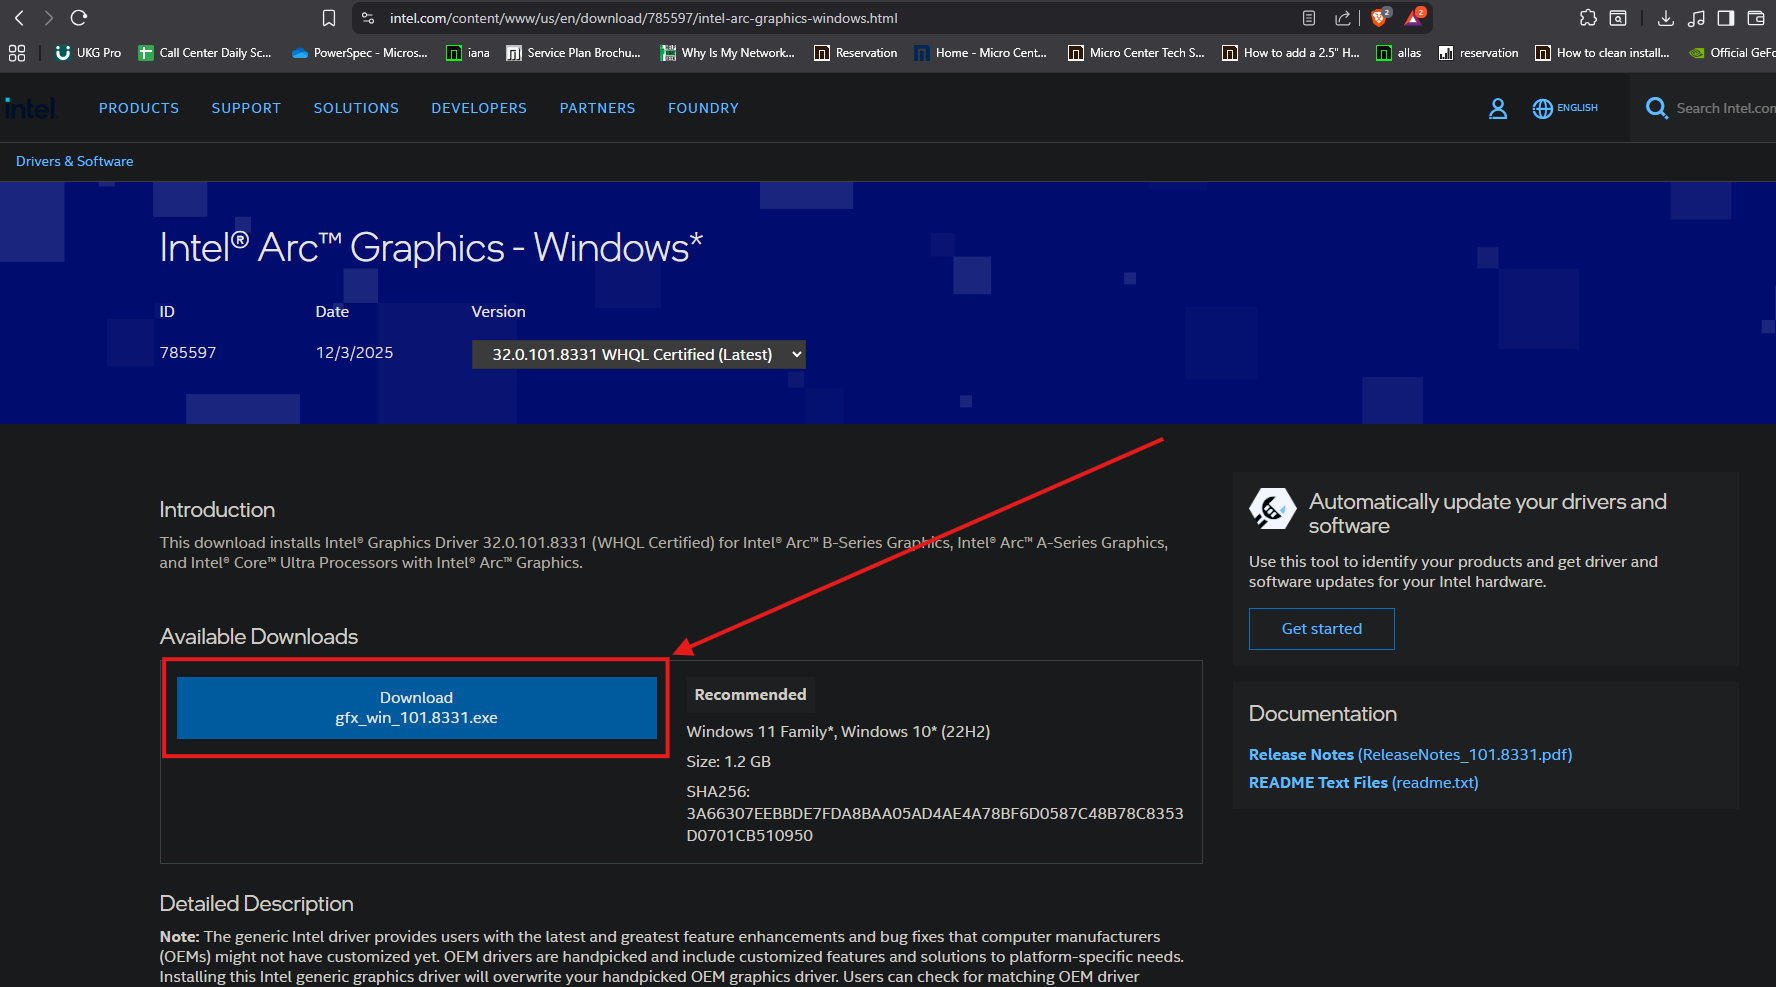
2. Once on the correct download page, you will click the Download button in the Available Downloads box:
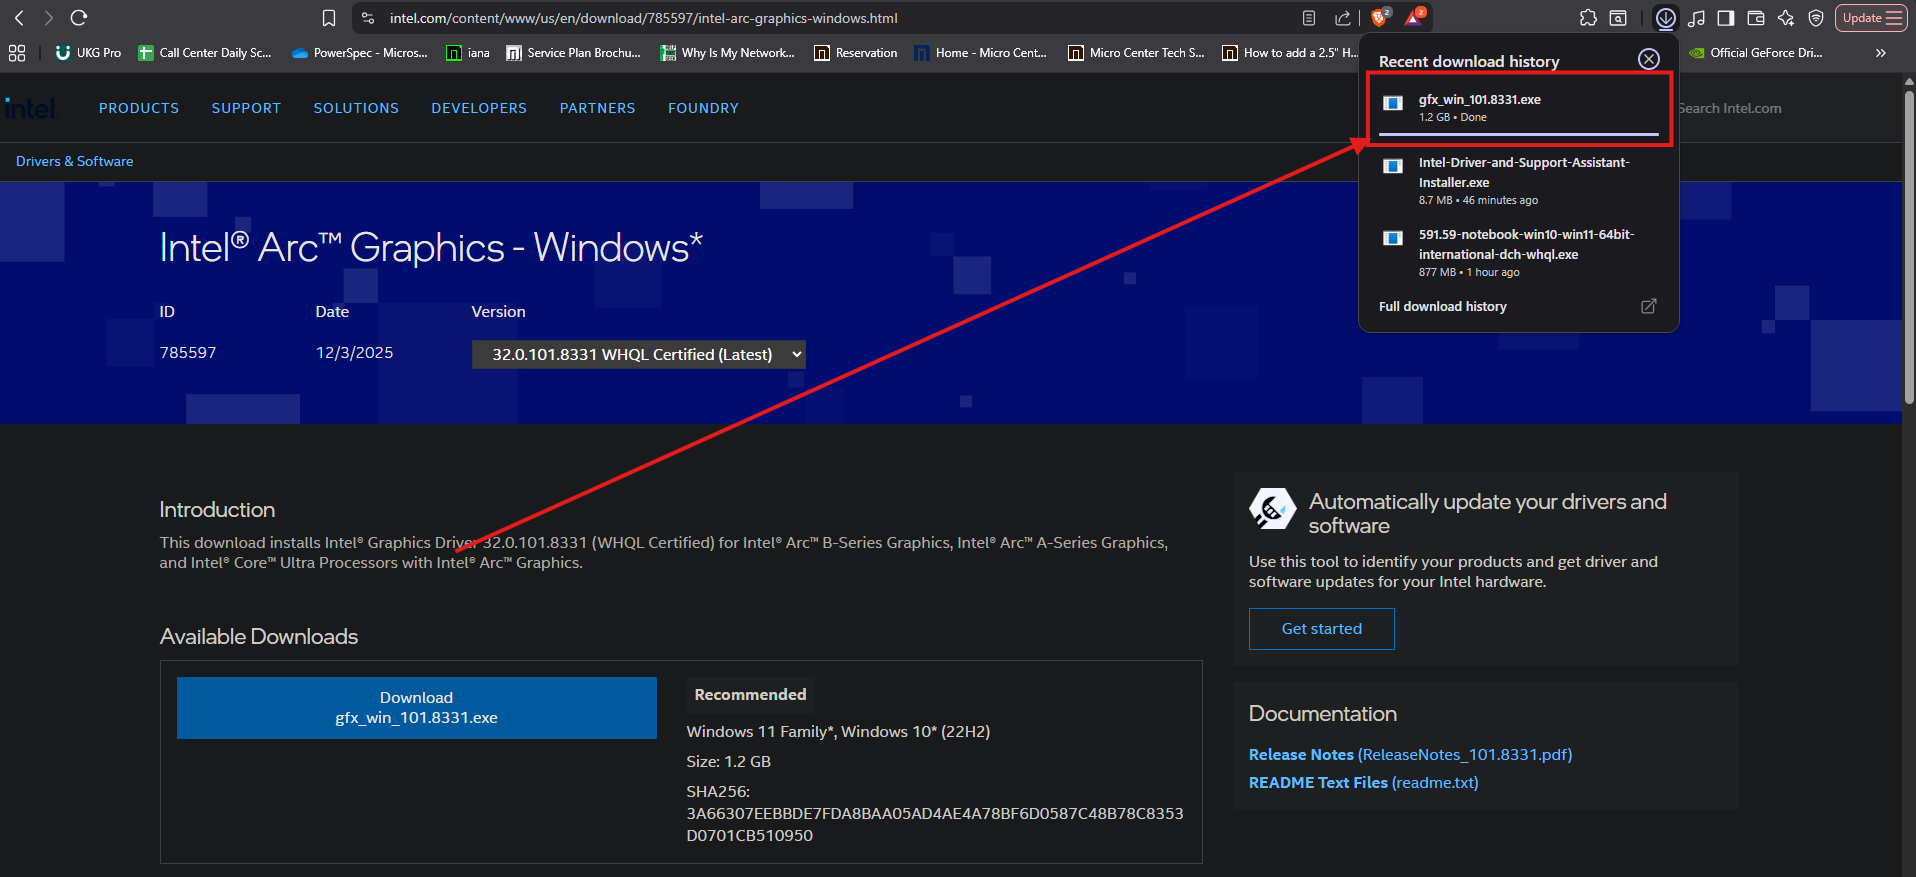
3. Your download will appear in the upper right hand corner of the window, once it finishes click it to start the driver install:
4. Click Yes if prompted:
5. The program will extract and then it will start:
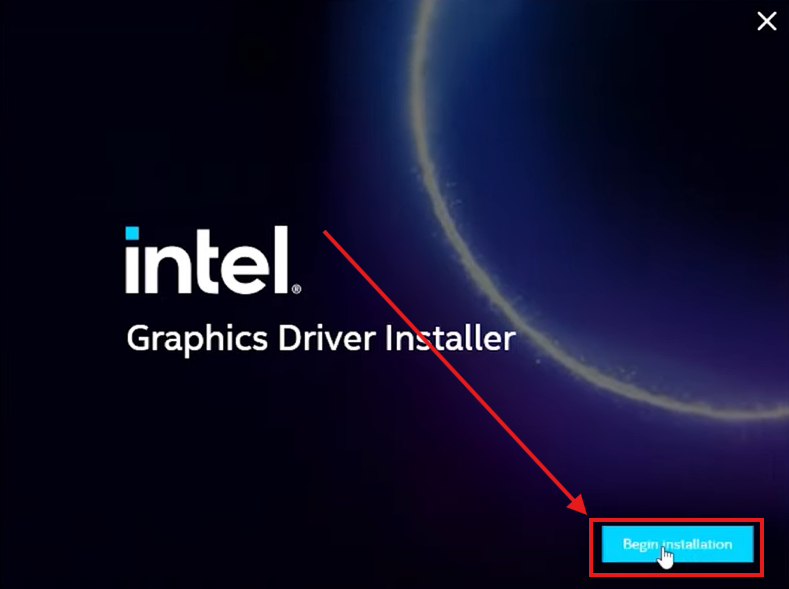
Click Begin installation:
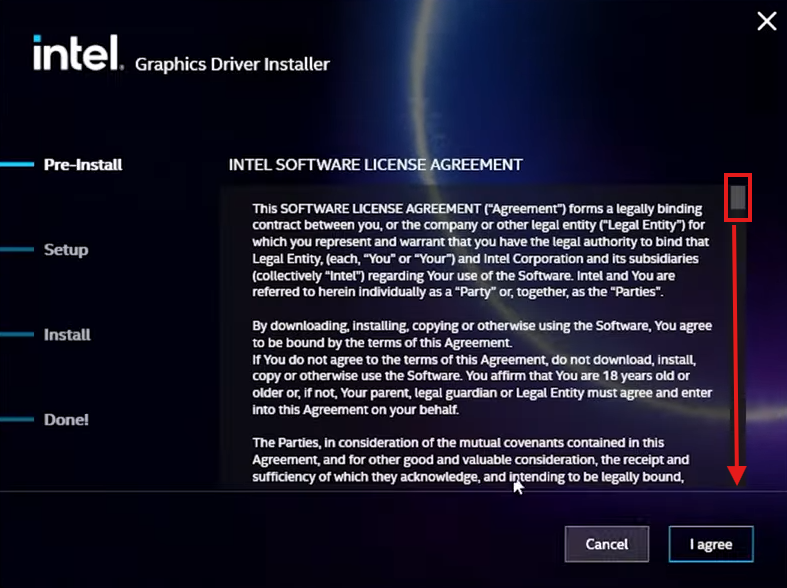
6. Scroll to the bottom of the privacy policy:
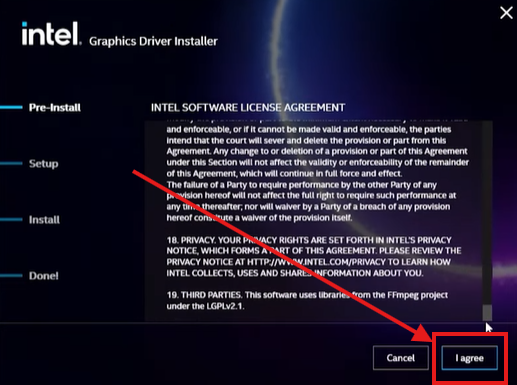
Then click I agree:
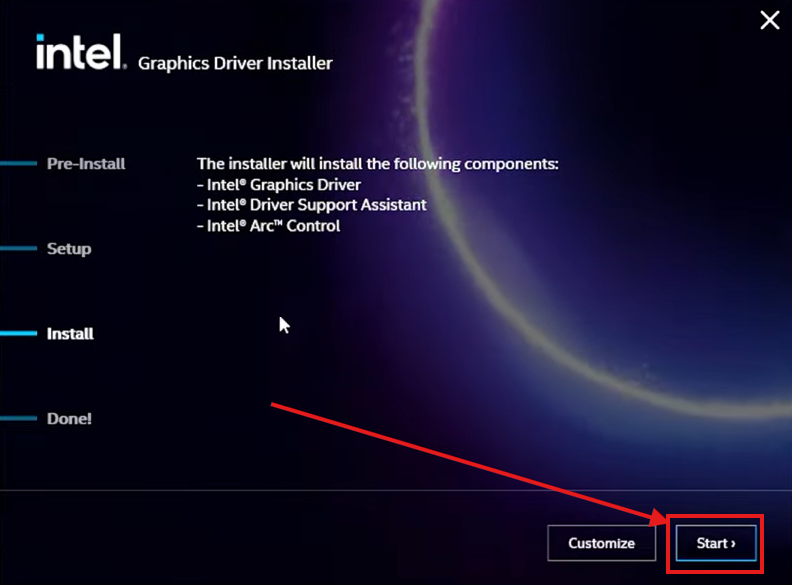
7. The next screen will be a summary of everything that will be installed, you can click Customize if you don't want everything, for the purposes of this guide we will be clicking on Start:
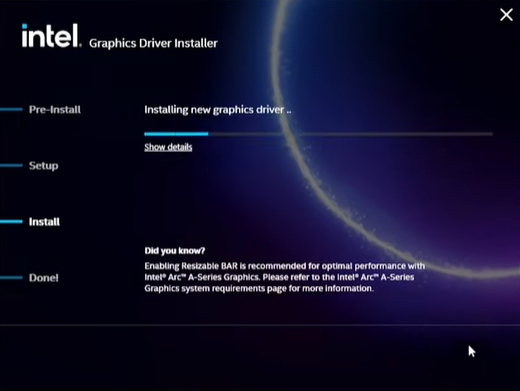
8. The install will start, your computer screen may flash black a few times during this process, this is normal:
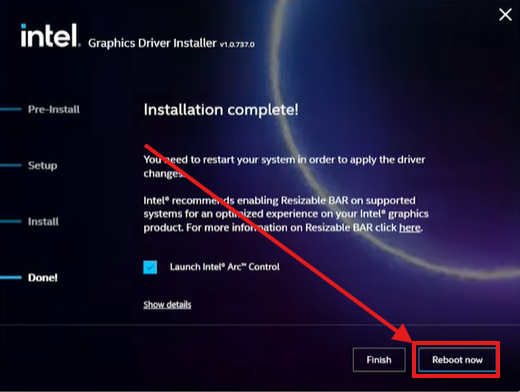
9. Once it has completed, click Reboot now: