This article will show you how to enable WPS on a Tenda W1800R router.
Here is how to set this up:
1. Start by making sure the computer and router are connected with an Ethernet cable from the computer to Port 1, 2, or 3 on the back of the Tenda Router.
2. Open up any web browser and type in the Router's IP address: 192.168.0.1 and press Enter on your keyboard.
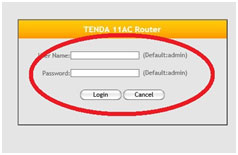
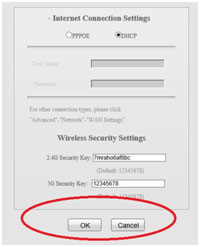
Enter the login name and password (default is admin for both) and click Login then click OK.
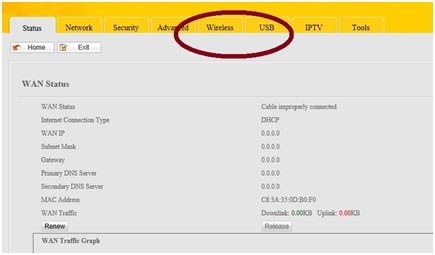
3. Click on the Wireless tab on the top.
4. Click on WPS on the left side menu.
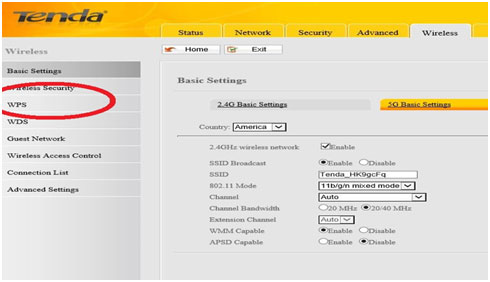
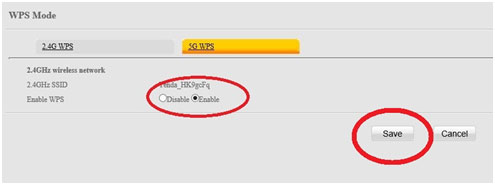
5. Select the Enable radio button then click Save.
6. Press the WPS/Reset hardware button on the back of the router for 2 seconds. The WPS light will flash.
This will last until a WPS device either syncs up with it or WPS times out in 5 minutes.