This article will show how to change the WAN connection type on a Tenda FH1201 AC1200 Router. The router should auto detect your WAN connection but if it does not you can follow this guide to change it to your ISP's specifications.
Here is how to do this:
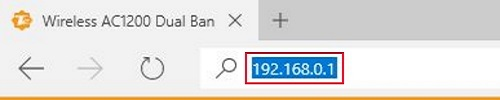
1. Open up any web browser, and type in the address bar: 192.168.0.1 and then press Enter on your keyboard.
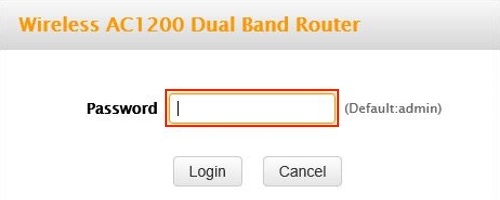
2. Type the password into the password field. The default password is admin if you have not changed it. Click Login.
3. Click on the Advanced link.

4. Click on the Network tab.

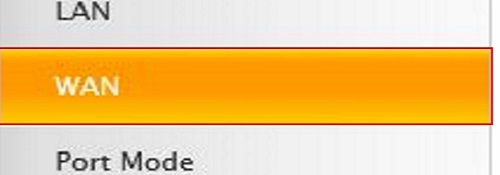
5. Click on WAN in the left menu.
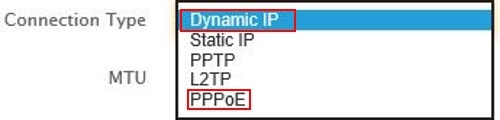
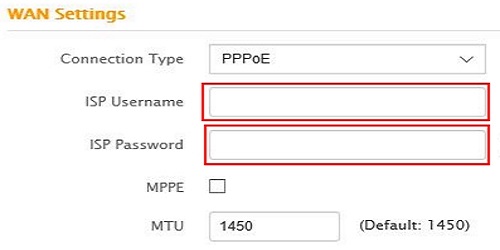
6. Click on the Connection Type drop down menu and select Dynamic IP or PPPoE. If you have a static IP please see How to change your WAN to a static IP on the AC1200.
PPPoE is less common but you will need a user name and password from your internet service provider. Dynamic IP is also known as DHCP. Most internet service providers use this.
7. If Dynamic IP is selected you do not need to configure any further - go to the next step. If PPPoE is selected then you need to enter in the username and password your internet service provider has given to you.
8. Click on Save.