This article will show you how to locate the additional drive bays in a Lian Li ATX 205 Case.
If you have a PowerSpec PC, this is used for models B743, B744, B745, G226, G227, B746, G356, G357, G358, G360, G434, G435, G436, G437, G438, G464, G465, G466, G467, G468, G469, G705, G706, G707, G900, G901 and G950.
This allows the user to install or remove additional hard drives for this case.
Here are the steps on how to do this:
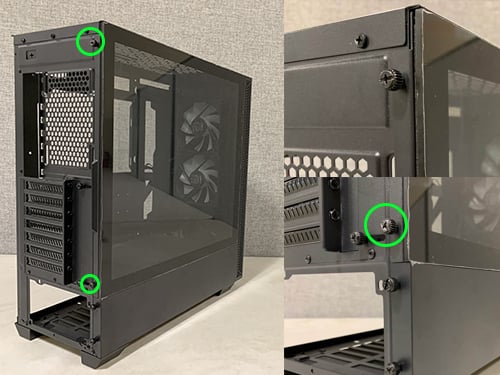
- Position the case where the back of the case is facing you. Remove the side panel on the left by removing the two screws on the back of the case.

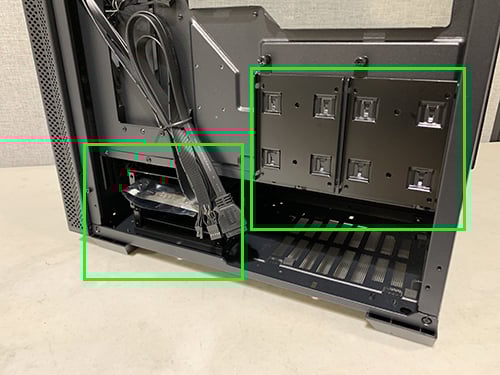
2. Once this is removed, you can see the case shroud, the 5” drive bays, and the 2.5” drive mounts.
3. Carefully remove the glass panel by removing the two screws in the back of the case.
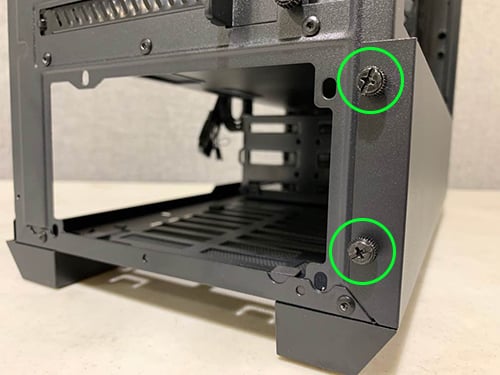
4. Remove the two screws in the back of the case that secure the shroud in place.
5. Remove the filter to reveal the hidden center screw and remove this.
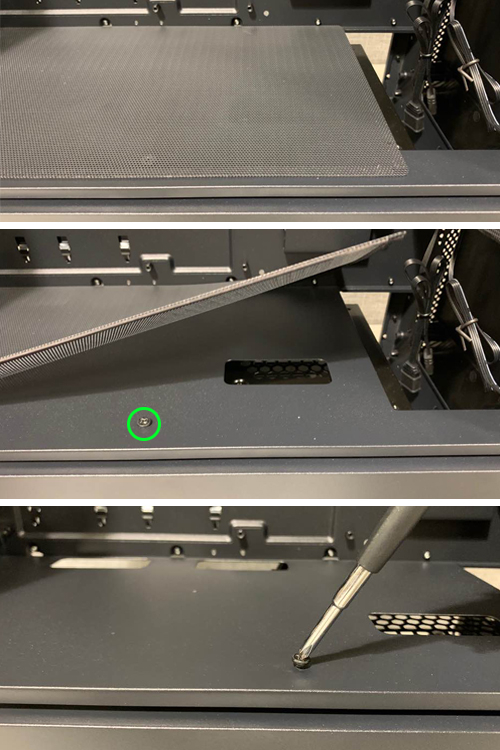
6. Slide the shroud panel towards the back to remove.
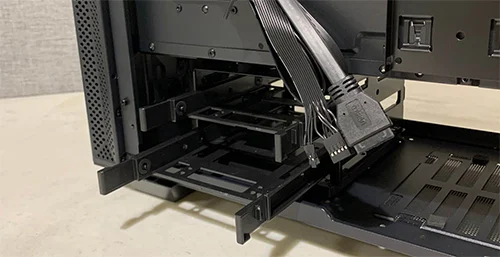
7. From here, you can access the 5” slide mounts and install your 3.5” drives
Optional Steps / Tips
- Due to the way the Lian Li 205 ATX case is constructed, the 5” bay assembly can be rotated to create easier access.
- There are four screws on the bottom of the case that will need to be removed.

- Once it’s removed, you can rotate the orientation of the drive assembly so hard drives can slide out the open-ended side of the shroud.
- Follow the directions in reverse to put the case back together