If you are worried about possible RAM issues, the Memory Diagnostic Tool found on any Windows 10 or 11 PC will check the RAM in your computer for errors. This process is built into Windows and can be a helpful checkup for possible RAM issues.
Here is how to run the Windows Memory Diagnostic Tool in Windows 10 or 11:
Starting the Diagnostic
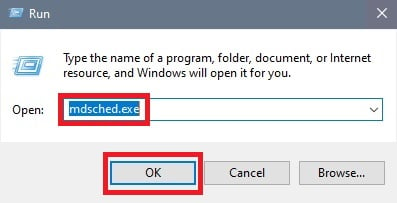
1. Press the Windows key on your keyboard and the letter R at the same time to open the Run window. Type in mdsched.exe and then click on OK:
2. This will open Windows Memory Diagnostic, which will have two options for scanning:
The first option is Restart now and check for problems if you want to run the scan immediately.
The second option is Check for problems the next time I start my computer if you want to run the scan later after a restart:

3. When the computer restarts, the Memory Diagnostic will automatically start. When the diagnostic completes the system will restart again:

Getting the results
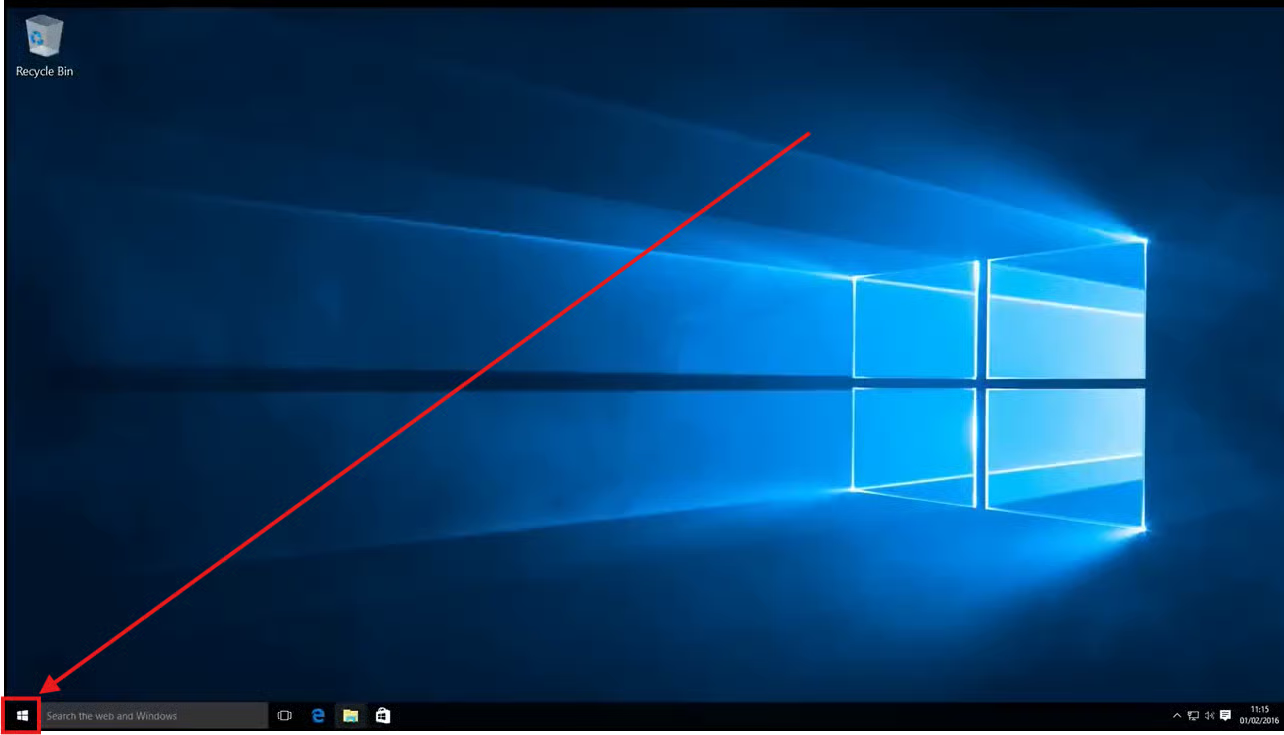
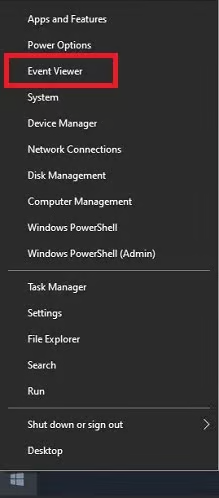
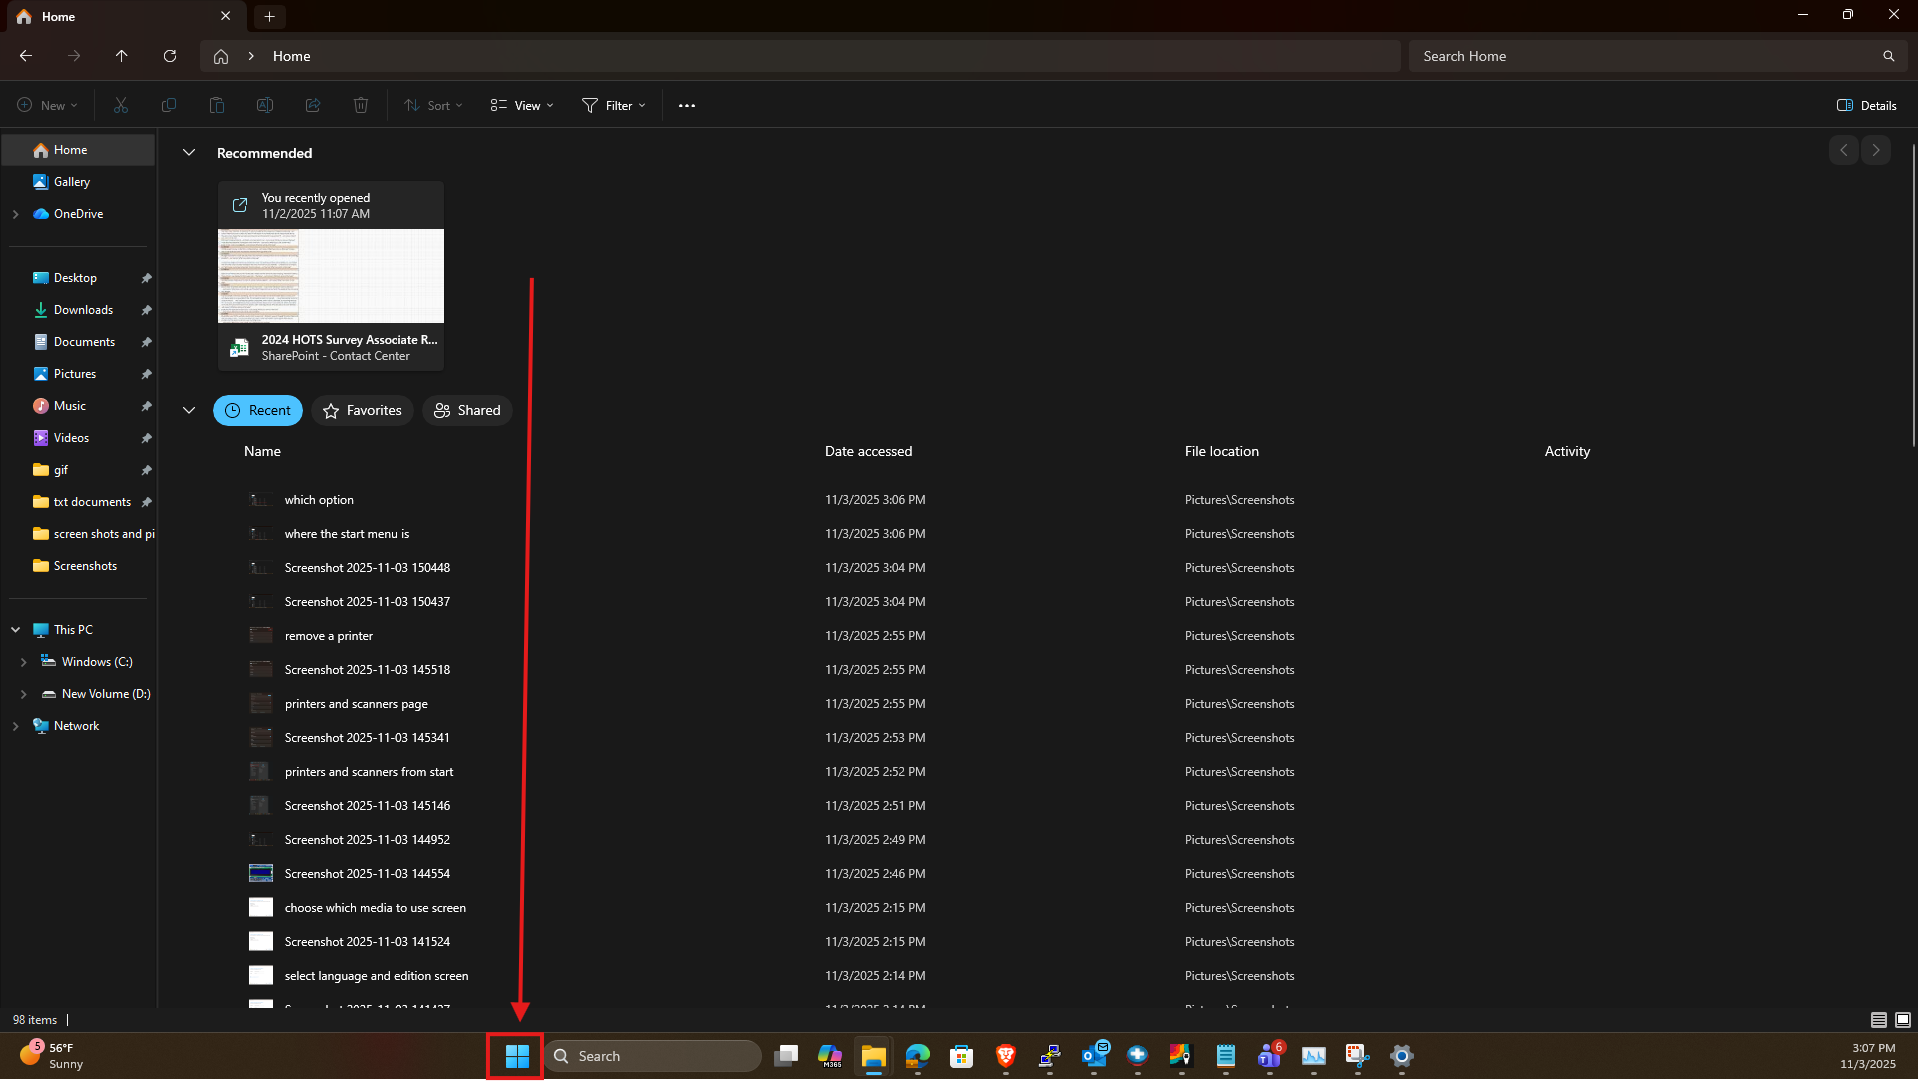
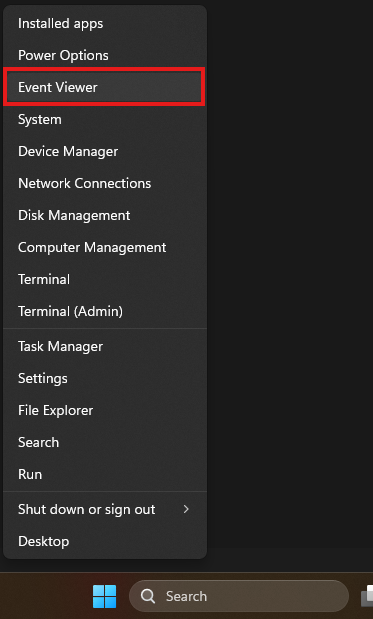
1. When you are back in your computer, you can view the results in the Event viewer. You can open this in both Windows 10 and 11 by right clicking the Start button then Left clicking Event viewer from the menu
Windows 10:
Start button:
Event Viewer:
Windows 11:
Start button:
Event viewer:
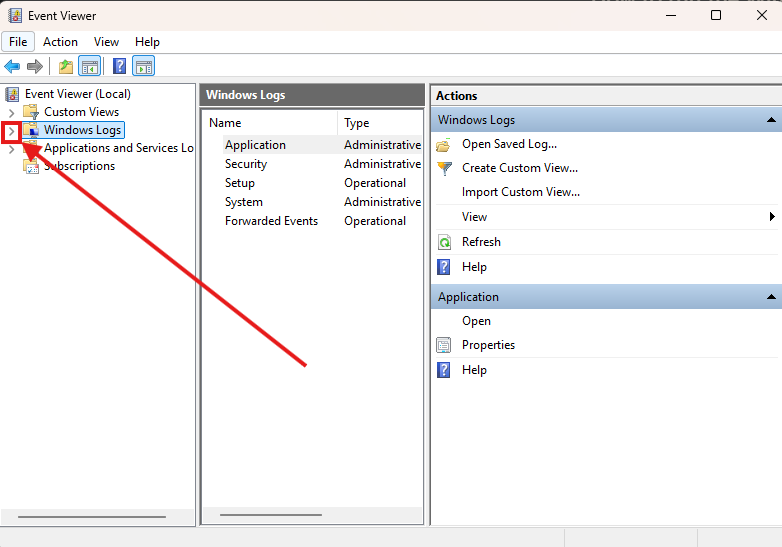
2. In Event viewer the process is identical on both Windows 10 and 11. The first thing you will want to do is click the Arrow next to Windows Logs:
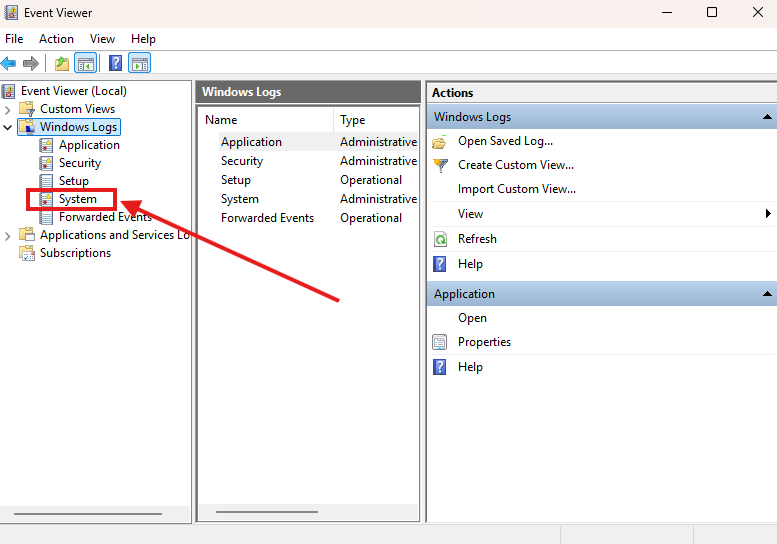
3. Left click on System to load the system logs:
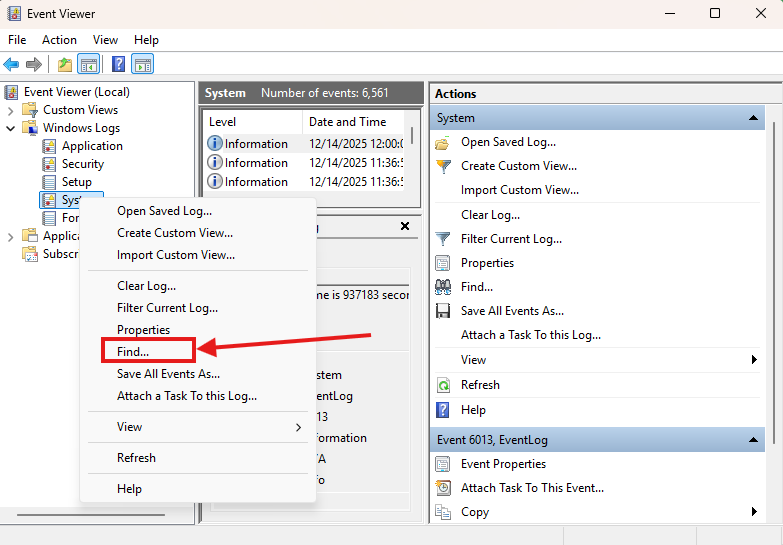
4. Once the logs have loaded, Right click on system, then left click on the Find option in the menu that opens:
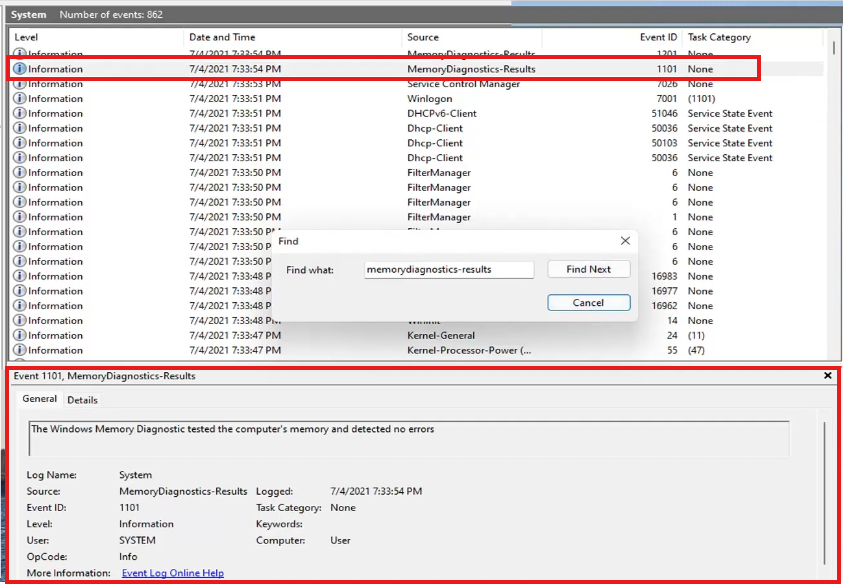
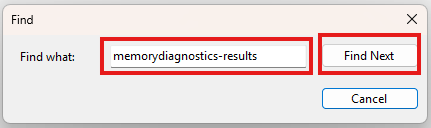
5. In the Find window that opens up, you will type memorydiagnostics-results, then click Find next:
6. It will search through the system logs and highlight the most recent Memory diagnostics results, at which point you can view the results: