Do you want to set up a way for your PC to go to sleep after just a few minutes when its on battery life to help preserve its battery life? Perhaps you are just looking to manage when the monitor/display turns off and not your whole PC.
This article will show you how to create a custom power plan to manage the computer's sleep and power settings in Windows 10.
Here is how to create a power plan in Windows 10:
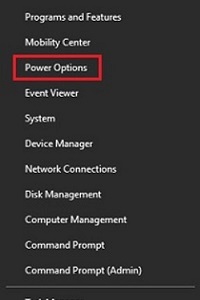
1. Right click on the Start button, typically found at the lower left corner of the screen, then click on Power Options from the list of options.
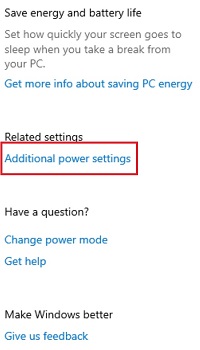
2. On the Power and Sleep pop-up window, choose Additional power options on the right side of this window.
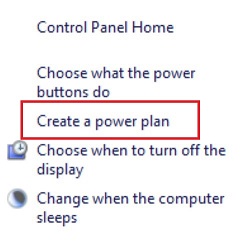
3. On the left of the new window that will pop-up, click on Create a power plan.
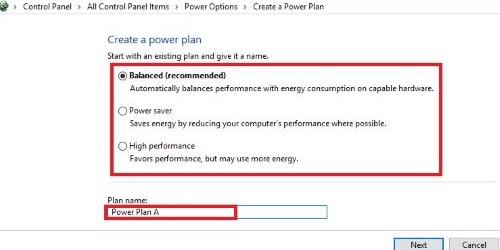
4. Under Create a power plan, pick one of the existing power plans to begin. Then, enter a name for the plan under Plan name. After entering a plan name, click on Next.
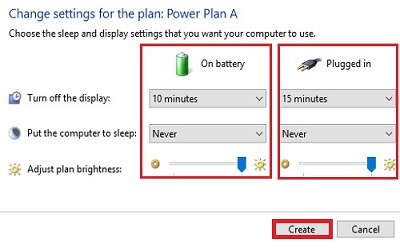
5. The sleep and display settings now need to be adjusted. Click the drop down boxes here to select an amount of time for Turn off the display, Put the computer to sleep, and you can also adjust the slider for Adjust plan brightness. This can be done for when the computer is on battery (tablets/laptops) and then when plugged in (desktops or laptops/tablets with the charger connected). Once the settings are in place, click on Create.
6. To use the plan, click on the plan you just created in the list of power plans.
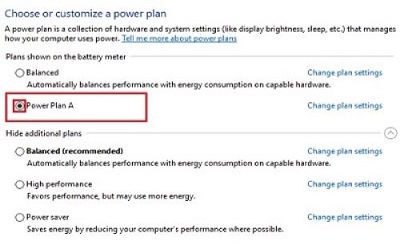
7. Once selected, the power plan is automatically in place for your PC. To change to another plan, simply click next to one of the other listed plans.