You installed ESET on your computer and now everything is just at a standstill. Even the simplest of tasks and clicks result in a 5 minute wait time. This must be ESET's fault right? Well, not entirely. A lot of prebuilt (like HP, Dell, etc.) desktops and laptops come with a trial antivirus that sees ESET as a virus. So once ESET is installed, both ESET and the trial antivirus become energy hogs to try and remove each other, resulting in an achingly slow user experience.
Now, how do you open up apps and features and remove the trial antivirus when you can't seem to open up anything? Enter Safe Mode. Safe mode is a mode where you can log into the Windows OS, but with only minimal programs running. This enables you to quickly remove the other trial antivirus easily. Not sure how to do this?
Follow these steps after restarting your computer:
1. At the log in screen, click the Power button at the bottom right. Hold down shift on the keyboard and then click Restart.

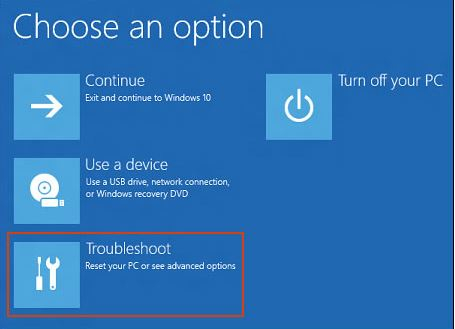
2. At the Choose an option screen, select Troubleshoot.
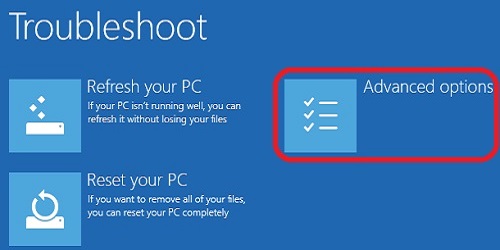
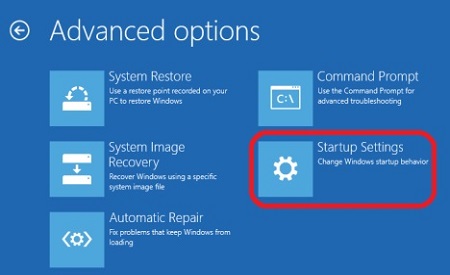
3. Click on Advanced Options.
4. Click on Startup Settings. Note: If you don't see this, click on see more recovery options and you should see it now in the options. This change came with later builds of Windows 10.
5. Click Restart on the Startup Settings screen.
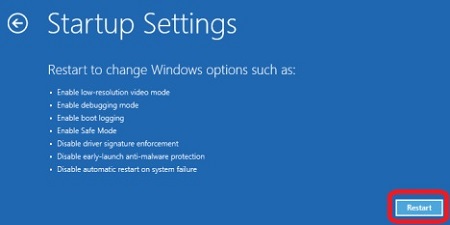
6. The computer will restart and come up to a screen with a list. On the keyboard, tap 5 or F5 on your keyboard to Enable Safe Mode with Networking.

7. Login using the administrator account. Please note that you have to input a text password here. No previous PIN password or biometric login will work here. You are now in safe mode.
- Note: If you do not remember this administrator password, simply hit the power button at the bottom right and click restart to get back into normal windows.
8. Once in safe mode, click on the Windows icon and select Settings.

In Windows 11 it will look like this:

9. In the Settings menu, click Apps.

Windows 11:

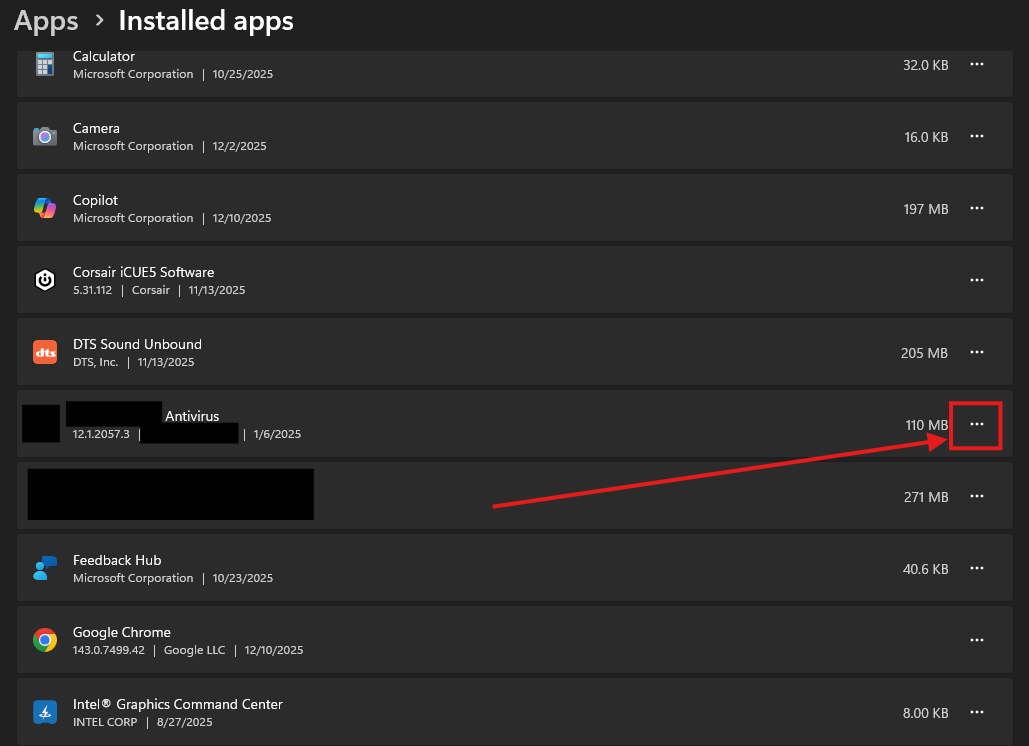
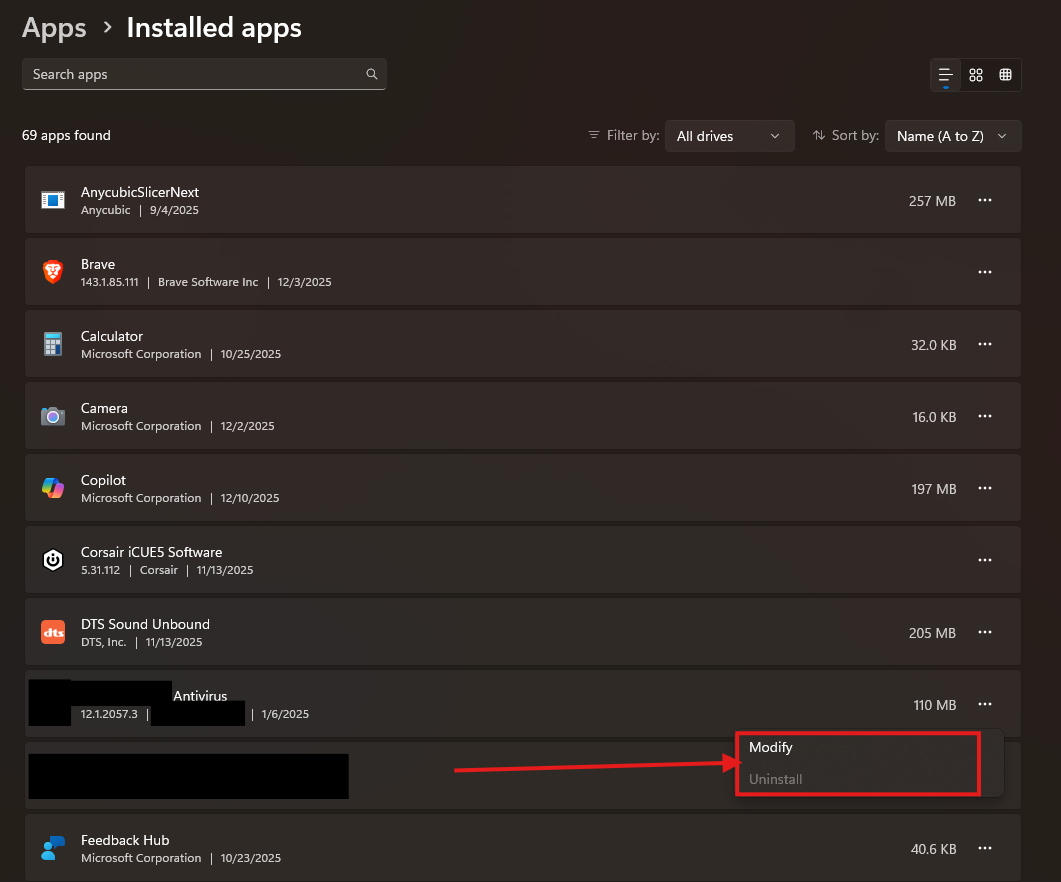
10. Find McAfee or Norton in the list, click on the 3 dots next to the program, and select Uninstall or Modify. This may take some time before uninstalling fully. After uninstallation, it should prompt you to restart. Restart your computer to get back into regular Windows.