Personalization features are a strong focus in Windows 10 that allow for a much more pleasurable user experience; the lock screen being one of these features. This article depicts the steps necessary to customize the lock screen picture to the user’s taste.
1. Right click on the Start button, typically found at the lower left corner of the screen, then click on Settings.

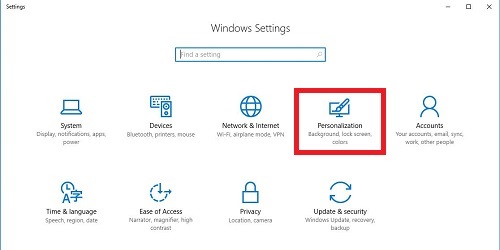
2. Click on Personalization.

3. On the left side of the Settings window, click on Lock screen.

4. Click on the drop down menu under "Background" and choose the desired background setting.

There are three different types of background settings for the lock screen:
- Windows Spotlight - A new picture shown every 24 hours taken directly from Bing.
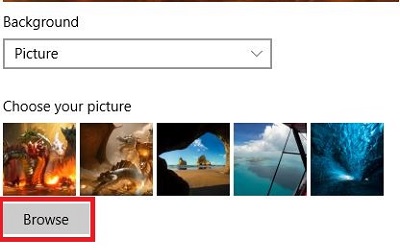
- Picture – This will show a still picture, which can be changed by using the Browse button and selecting a specific picture.

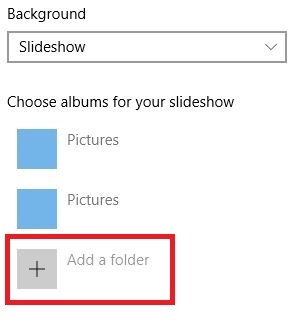
- Slideshow - A slideshow of pictures through a folder(s); you can add a folder by selecting Add a folder and remove one by highlighting the folder and then selecting Remove.

Once the background setting has been chosen and the desired folder(s) or picture has been selected, the settings window can now be closed and the lock screen personalization is complete.