This article explains the steps to install WinDirStat on a computer running Windows 10. WinDirStat is a free third-party disk usage viewer and cleanup tool for Windows.
1. Download WinDirStat from https://windirstat.net/download.html
2. Open File Explorer by typing it in the search box in the bottom left corner. Then click File Explorer under best match.

3. Click Downloads on the left under quick access.

4. Locate the windirstat file and double click on the file to run it.
· Note: The file name includes the version, so it may vary with newer versions

5. Click Yes on the User Account Control Box.
6. Agree to the terms and Click Next.

7. Choose Recommended Only as the type of install and click Next.

8. Click on Install.

9. Wait for the install to finish and then click pn Next.

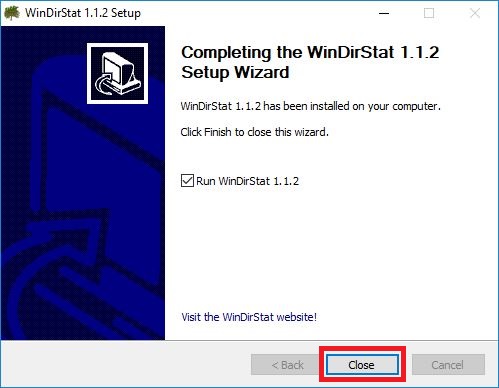
10. Click Close to complete installation.