This article will show how to configure bandwidth controls on a Tenda FH1201 AC1200 router. This will allow you to control the upload and the download speeds of a range of clients on the network.
Here is how to adjust the bandwidth control:
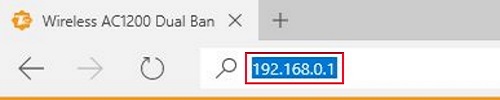
1. Open up any web browser and type 192.168.0.1 into the address bar. Press Enter on your keyboard.
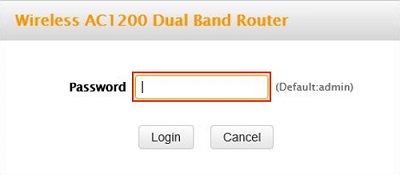
2. You will now be on the login page. The default password is admin unless you have changed it. Enter the password and then click on Login.
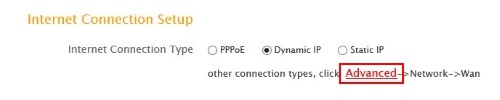
3. Click on the Advanced link.
4. Click on the Advanced tab.

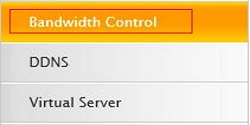
5. Click on Bandwidth Control from the left menu and then click on Add Bandwidth Control Rule.
6. Put a check in the check box next to Enable.

7. Type in the IP addresses in the IP Range field. For example 192.186.0.1 – 192.168.0.10. Any clients with those IP address will fall under the limit.

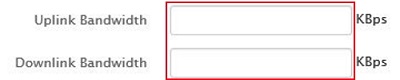
8. Type in the desired limits in the Uplink Bandwidth and Downlink Bandwidth fields. The Uplink is the upload speed and the Downlink is the download. The limit will be measured in KBps.
9. Type in the Description field what you want to call this rule. The choice here can be whatever you want to name it.

10. Click Save to finish.
