This article will show how to set up wireless MAC Address filtering on an ASUS RT-AC68U Wireless Router. This can be set up to either allow only certain devices to access the wireless network, or denying access to particular devices by the device’s unique MAC (Physical) Address.
Here is how to set up the MAC address filtering:
1. Open any web browser on your computer, and type 192.168.1.1 into the address bar, and then press Enter on your keyboard.

2. Enter the administrator username and password for the router (not your Wi-Fi password) and then click OK.
The default username and password are both admin.

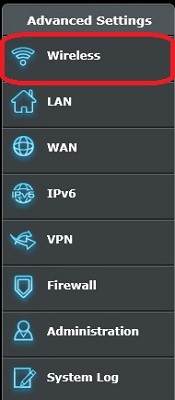
3. From the advanced menu on the left side of the router settings, click on Wireless.
4. Click on the Wireless MAC Filter tab at the top of the screen.

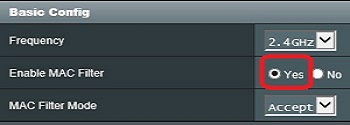
5. Under Basic Config, choose either 2.4GHz or 5GHz as the frequency that will be used for the filter.

6. Next to Enable MAC Filter, change the setting to Yes.
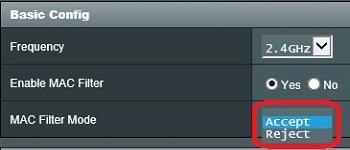
7. Set the MAC Filter Mode to either Accept or Reject depending on the type of filter that will be used.
8. In the MAC Filter List, enter in the MAC Address of the device that will either be granted or denied access. Then, click the add button.

9. If needed, a device can be removed from the MAC filter list by clicking on the remove button.

10. Once the devices have been added, click the Apply button to save any changes.