This article will show how to how to create a guest wireless network on an ASUS RT-AC68U wireless router. This will allow others to connect to the internet using your wireless router, but without your wireless password and without access to your internal network.
1. Open any web browser on your computer, and type 192.168.1.1 into the address bar, and then press Enter on your keyboard.

2. Enter the administrator username and password for the router (not your Wi-Fi password) and then click OK.
The default username and password are both admin.

3. From the advanced menu on the left side of the router settings, click on Guest Network.

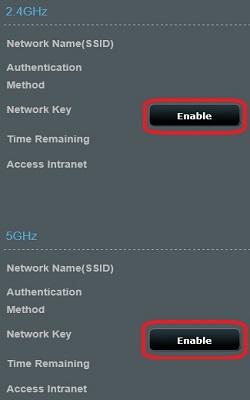
4. Click the Enable button for either the 2.4GHz or the 5GHz network.
5. Enter the network name (SSID) that will appear when other devices are searching for networks.
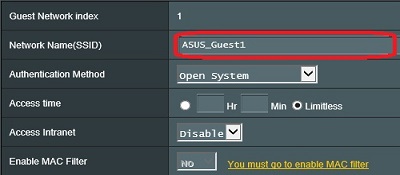
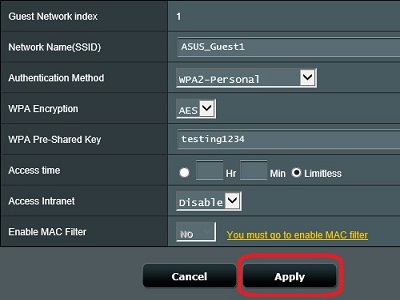
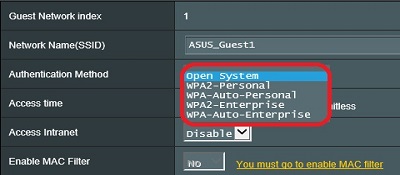
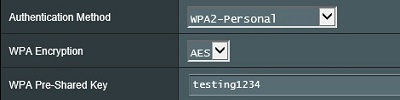
6. To not require a password to access the guest network, set the Authentication Method to Open System. Otherwise, select a security type and then enter the network key / password that will be required when accessing the guest network.
7. To allow a device to be connected for a certain amount of time, click the radio button next to the Hr box, then enter the number of hours/minutes to allow the connection.

8. Click the Apply button to save the changes and begin broadcasting the network for other devices to connect.