This article will show how to access the Tenda W301A Access Point with a Wired Connection. By default, the DHCP server on this device is disabled. You will need to assign your computer a static IP address in order to directly access the access point.
Here is how to do this:
1. Right click on your wireless or network icon in the system tray.

2. Click on Open Network and Sharing Center.

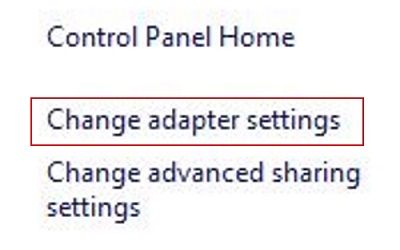
3. Click on Change adapter settings in the left menu.
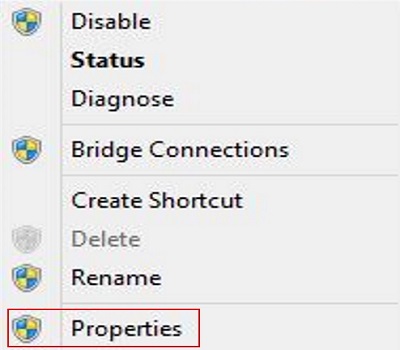
4. Right click on the Ethernet adapter listed here.

5. Click on Properties.
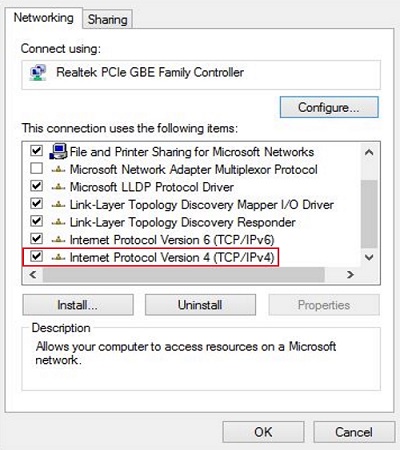
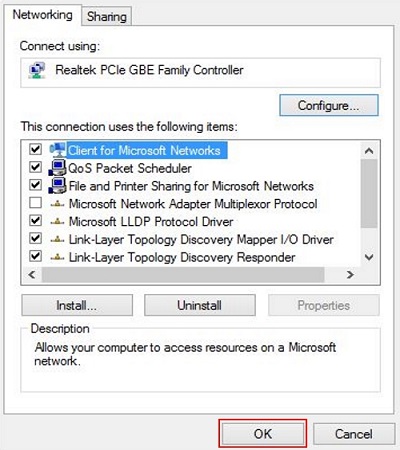
6. Double click on the option for Internet Protocol Version 4 (TCP/IPv4).
7. Choose the options Use the following IP address and Use the following DNS server addresses. Fill in the fields as outlined in the image below and click OK.
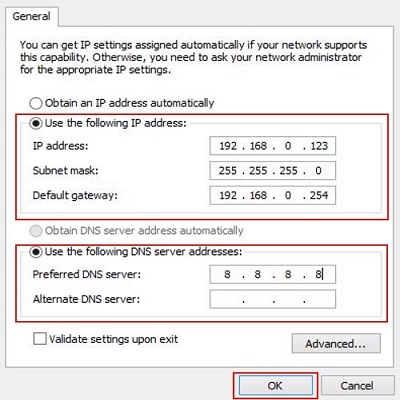
8. Click on OK.
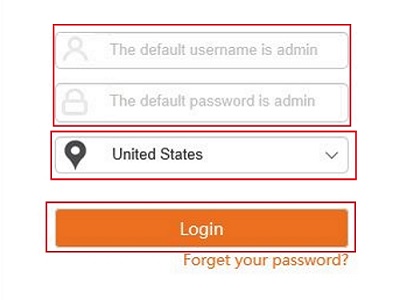
9. Open up a web browser and type 192.168.0.254 into the address bar. Press Enter on your keyboard.

10. You will now be on the login page. The default user name and password is admin unless you have changed it. Select your country and then click Login.