This article will show how to create a virtual server on a Tenda FH1201 AC1200 router and allow its communication to pass directly to that server.
Here is how to do this:
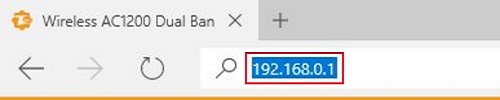
1. Open up any web browser on your computer, and type in the address bar 192.168.0.1 and then press Enter on your keyboard.
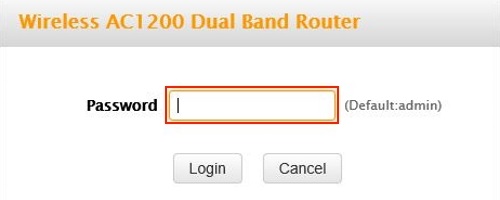
2. Type the password into the password field.
The default password is admin if you have not changed it. Click pn Login.
3. Click on the Advanced link.
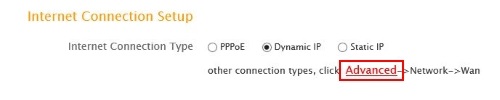
4. Click on the Advanced tab.

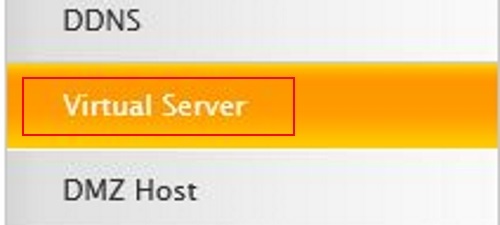
5. Click on Virtual Server in the left menu.
6. Type in the internal IP address of the client / server in the Internal IP field in the ID row you have selected.

7. Under the table you will have Well-Known Service port. Select what type of service then select the ID and then click Add to. If the service is listed then you can skip steps 8 and 9.

8. Type in the ports in both the Ext port and Int Port fields.

9. Select the Protocol. TCP, UDP or Both.

10. Put a check in the check box under Enable.

11. Click Save.