This article will show how to change the time settings on a Tenda FH1201 AC1200 wireless router.
Here is how to do this:
1. Open up any web browser, and type in the address bar: 192.168.0.1 and then press Enter on your keyboard.

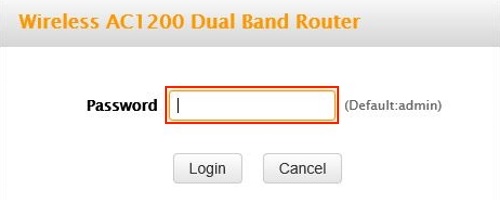
2. Type the password into the password field. The default password is admin if you have not changed it. Click Login.
3. Click on the Advanced link.

4. Click on the Tools tab.

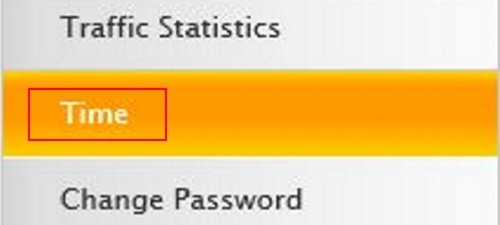
5. Click on Time in the left menu.
6. Put a check in Sync with Internet time servers to enable and uncheck to disable the sync. If enabled the router will auto update the time to online servers.

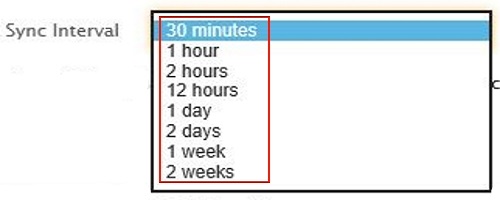
7. Click on the drop down menu next to Sync Interval. If Sync with internet time servers is enabled you can select how often the router syncs up.
8. Under Time Zone you can select your time zone in the drop down menu.

9. You can also manually enter your time and date as well.

10. Click Sync with your PC and the router will fill in the manual time and date from your PC settings.

11. Click Save.