This technical article will show how to run a factory reset on a WinBook Tablet. Before getting started, make sure your tablet is plugged in to power - this process should not be done on battery mode. It will take a bit of time to process the reset - 30-60 minutes is a reasonable time expectation.
NOTE: Windows 8is no longer supported by Microsoft or Micro Center as the operating system has reached its end of life, this guide is available for those still looking for assistance with Windows 8. Further troubleshooting outside of this guide for Windows 8 is not available from Micro Center.
Here is how to do this:
1. Open the Charms bar by swiping in from the right hand side of the screen.
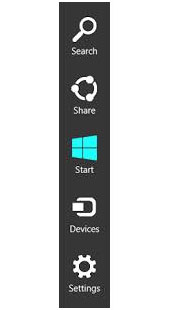
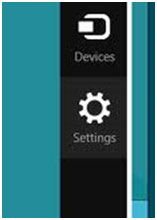
2. Go to Settings.
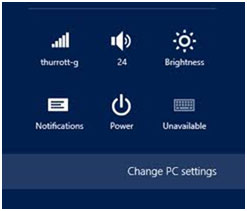
3. Under Settings, go to Change PC settings.
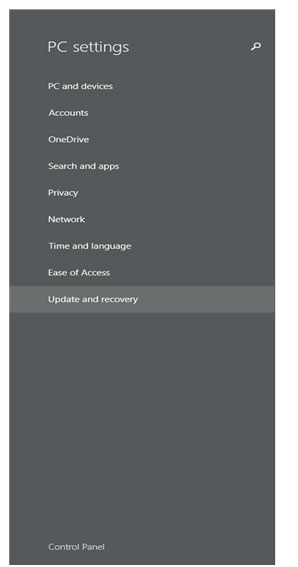
4. Under Change PC settings, go to Update and recovery.
5. Under Update and recovery, go to Recovery.

6. Under recovery, choose Remove everything and reinstall Windows. Tap on Get started when you are ready.

7. Now you will get a Please wait, Preparing window.

When the tablet is finished resetting, it will prompt you to restart. Once done, it will be back to like it was when you originally pulled it out of the box.