This article will show how to configure the IP Address and Subnet Mask on a Tenda FH1201 AC1200 Router.
NOTE: The IP address of the router is also the default gateway for the clients on the network.
Here is how to do this:
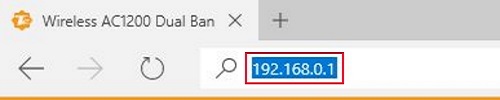
1. Open up any browser, and in the address bar type: 192.168.0.1 and then press Enter on your keyboard.
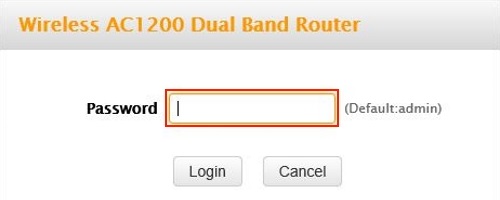
2. Type the password into the password field. The default password is admin if you have not changed it. Click Login.
3. Click on the Advanced link.
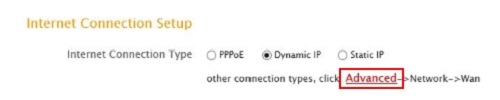
4. Click on the Network tab.

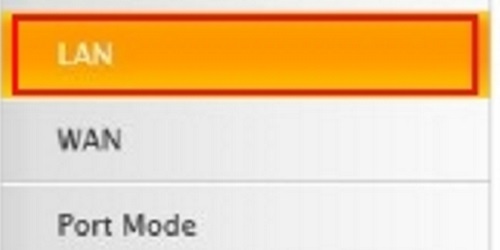
5. Click on LAN in the left menu.
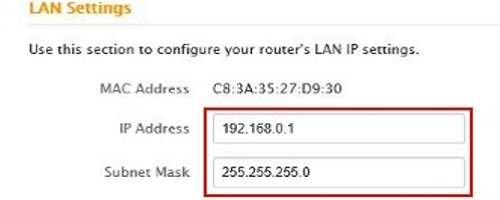
6. In the IP address field type in the default gateway address you need to set and in the Subnet Mask field, type in the new Subnet Mask if needed (Rarely is this changed).
7. Click on Save to save any changes made.