This article will show how to set up a new user account in Mac OS.
Here is how to do this:
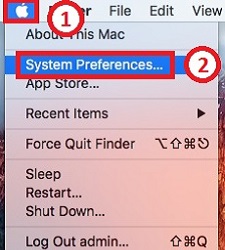
1. Click on the Apple Logo in the upper left-hand corner of the screen and select System Preferences.
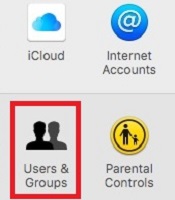
2. Click on Users & Groups.
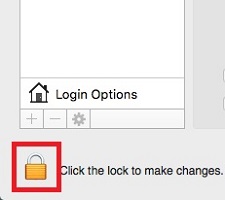
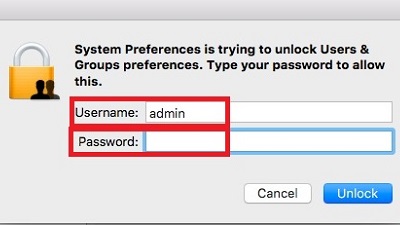
3. Click the Lock to make changes and enter your Administrative Name and Password.
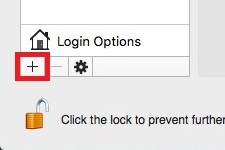
4. Click the plus (+) icon to add an account.
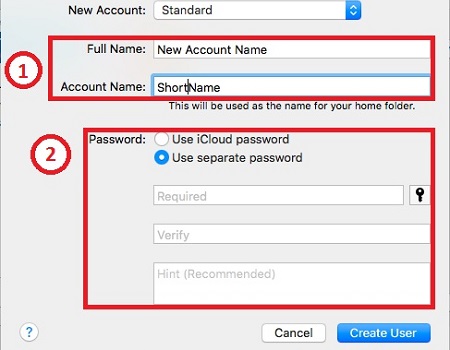
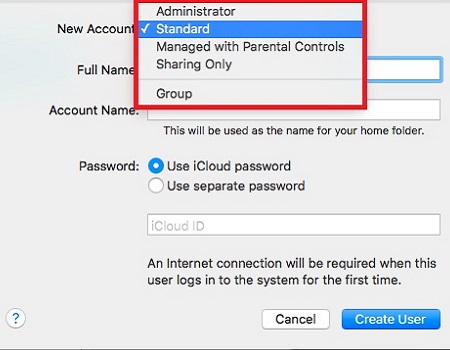
5. Select the New Account Type. The most common account types will be the Administrator and Standard user.
Standard users can install apps and change settings for their account only. Administrators can install apps, manage other users, and change settings that affect the entire system
6. Enter the New Account Name and Password.