This article will show you how to set up a motion detect alarm on a WinBook D5008DH DVR.
Here is how to do this:
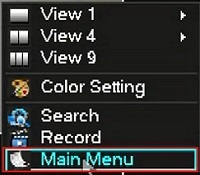
1. Right click on the preview screen and select Main Menu.
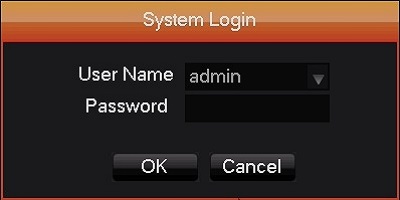
2. Select the admin username, enter the password and click OK. The default password for the account is 123456 if you have not previously changed it. NOTE: This prompt may not show if you are already logged in. Proceed to the next step once logged in.
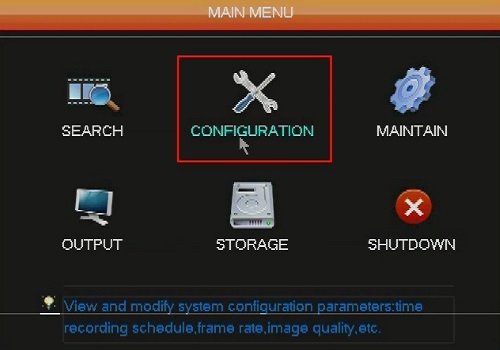
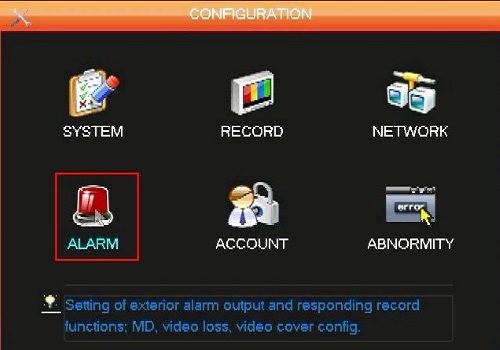
3. Click on Configuration.
4. Click on Alarm.
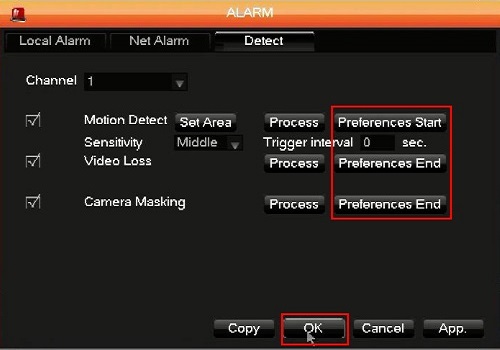
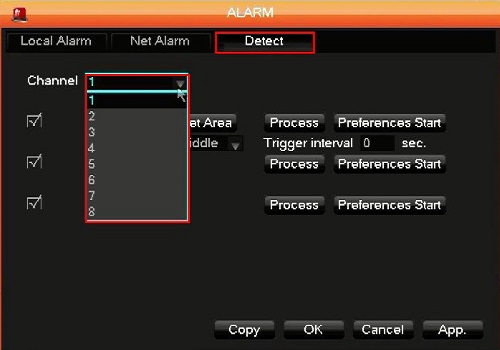
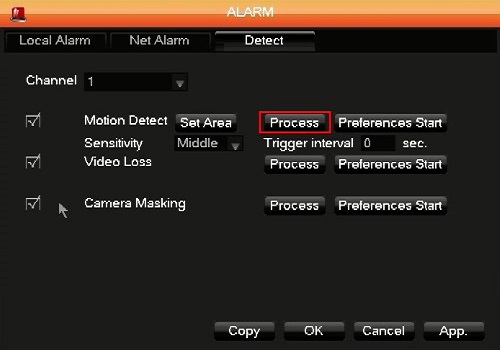
5. Click on the Detect tab and select a Channel. Alarms on each channel are configured separately.
6. Check Motion Detect, select a sensitivity and click on set area.

7. Select what areas of the view are to set off the alarm. Pink covered areas will trigger the alarm. Right click to go back.

8. Click on Process.
9. Click on Set next to a day to configure that day.
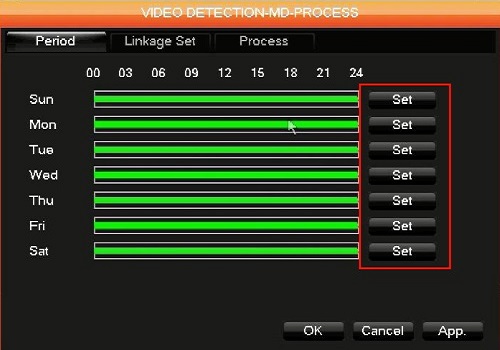
10. You can configure 1 to 6 periods for a given day. To set all day leave one period settings to default 00:00 – 24:00, check off which periods to have the alarm active, and then check off what days in the week to have the alarm active. Click OK when done.

11. Click on the Linkage Set tab and check off what the DVR does when the alarm is triggered. Click on Select to configure each one. PTZ is not supported.
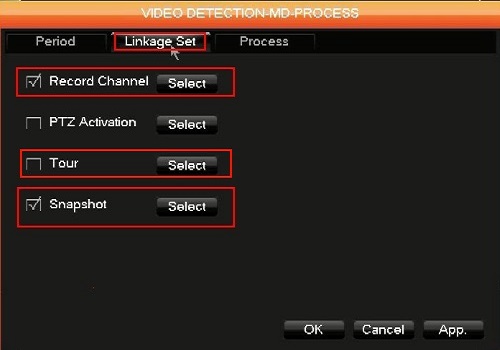
12. Record Channel will record the selected channels.

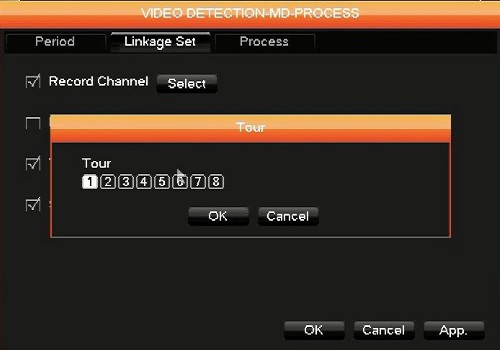
13. Tour will start touring on the live view screen.
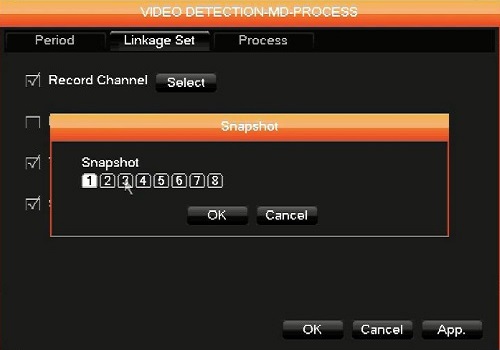
14. Snapshot will take a snap shot on the selected channels.
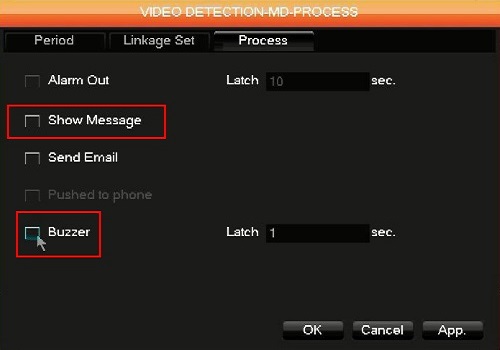
15. Click on Process and you can either have a message shown on the DVR screen or have the DVR emit a buzzer sound when an alarm is triggered. Click OK when done.
16. Click Preferences Start to test and click OK when done.