This article will show how to set up a static IP connection with the Tenda AC15 AC1900 wireless router.
Here is how to do this:
1. First, to change the settings of the router, connect to the router by going to its default address: 192.168.1.1 in your browser. Here the default router password will be needed to sign in to change settings.

2. Once signed in to the router, on the left side, select Internet Settings from the list.

3. By default, the router should be set to use a Static IP connection at setup.
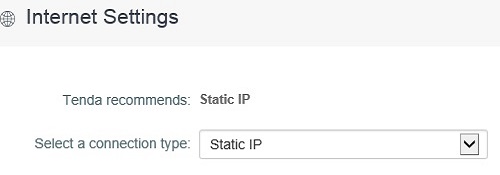
4. If not, click on the drop down menu and select Static IP.

5. To set up a static IP address, enter in the IP address, subnet mask, default gateway and DNS settings for your connection.
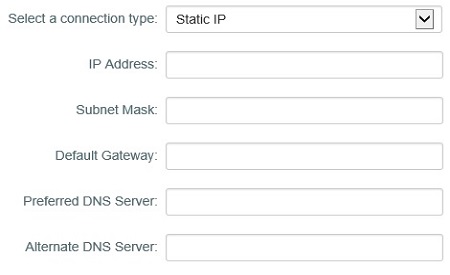
6. Once finished, click Connect, and with valid information the internet access will become active.