This article will show you how to set up port forwarding on the Tenda F303 wireless router.
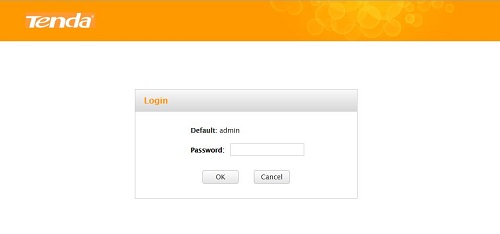
1. Open up a web browser. In the address bar, type 192.168.0.1 and then press Enter on your keyboard. This will load a page like to screen below. Enter the password and then click OK (the default password is admin).
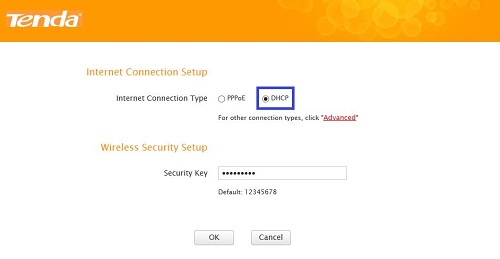
2. On the next page select DHCP as the connection type and then click OK.
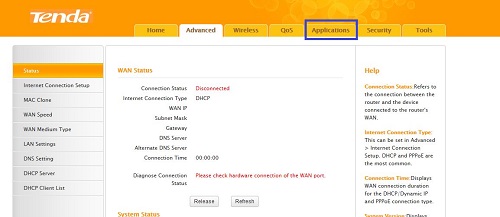
3. Click on the Applications tab at the top of the next screen.
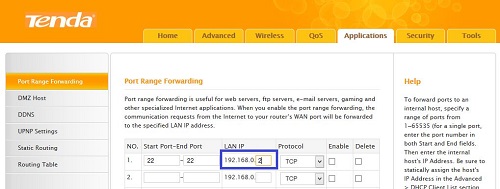
4. Enter the port range that will be forwarded to the router. This example is using port 22 which is the default for the SSH protocol.
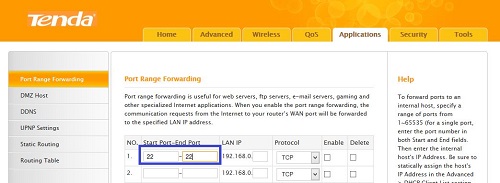
5. Fill in the local IP address for the device running the service. This can be obtained using the ipconfig utility in Windows or the ifconfig utility on Mac OS X/Linux.
6. Click the tick-box under the Enabled column to enable forwarding.
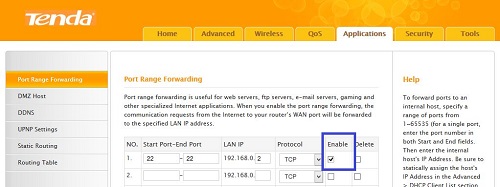
7. Scroll down to the bottom of the page and then click OK.
