To use Windows 11 on a computer, one of the key specifications to upgrade is having a TPM (Trusted-Platform-Module) 2.0 on your system. This requirement is going to be one of the biggest blockades preventing people from upgrading their Windows 10 to Windows 11. The TPM is used for storing passwords and encryption keys and is part of the system security that Windows 11 will be using.
Keep in mind if you have already purchased a system with Windows 11, then you're all good to go!
Here is an easy way to quickly check if your computer has TPM 2.0 enabled:
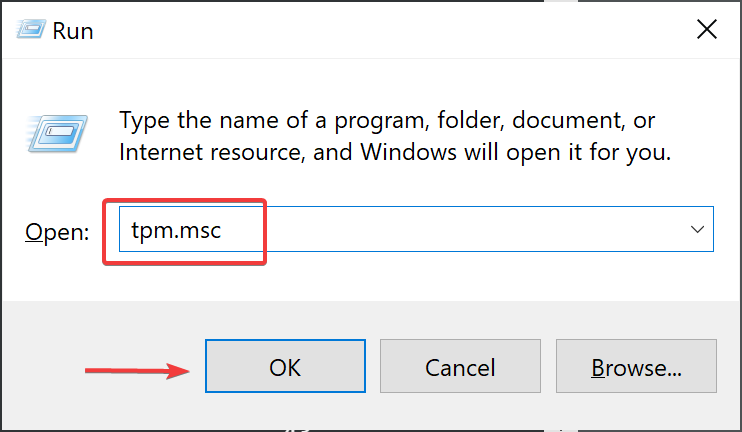
1.) Press the Windows Key and the R Key at the same time. A box called “Run” should show up, type in TPM.msc into that box and press ok
2.) You will see one of two screens, a screen showing you have a TPM and the version installed

Or you will see a screen showing “Compatible TPM cannot be found.” Don't worry if you see this screen! It is possible that your TPM is disabled, and you will need to enable it in the BIOS of your computer.

If your TPM cannot be found, we recommend trying to go into the BIOS of your motherboard to see if there is the ability to enable it. Here is an example of enabling it in one of our PowerSpec PCs. Keep in mind, these steps will differ with different computers, but they should be similar to the steps below.
1.) Please turn off your computer and turn it on. While turning it on, press DEL or F2 (depending on your computer) to access the BIOS.
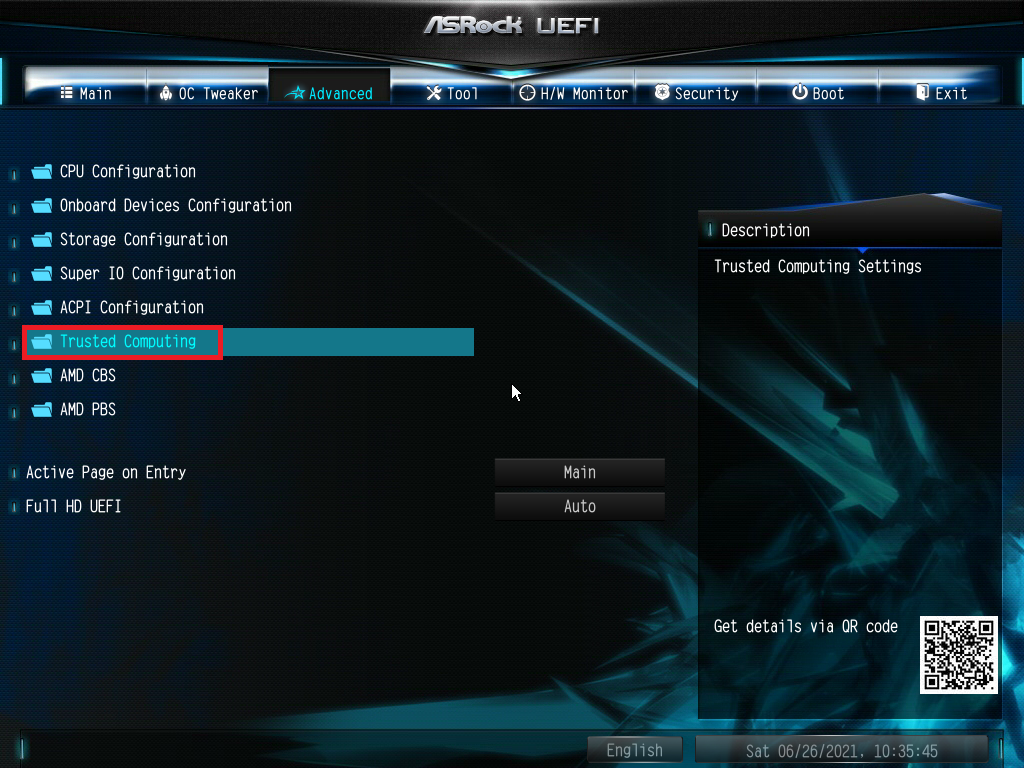
2.) Using the arrow keys on your keyboard, navigate through your settings in search of “Trusted” or “Security” in their name. Once you find it, press Enter on your keyboard.
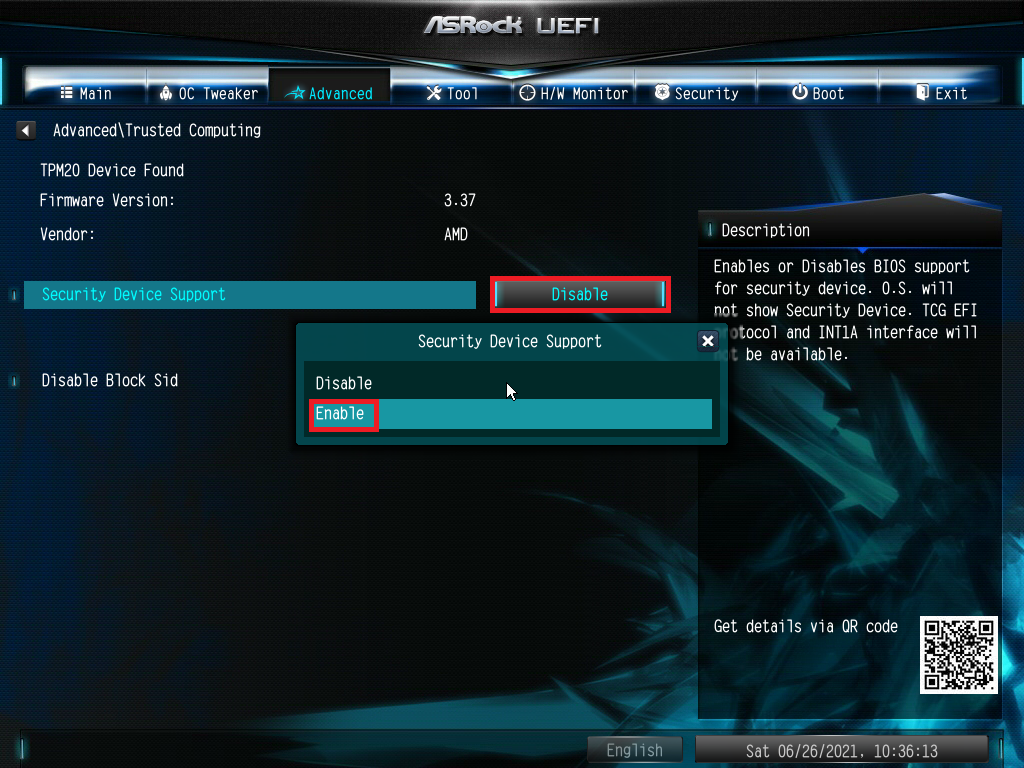
3.) It should show as Disabled. Press enter on your keyboard to edit it and change it to Enabled.
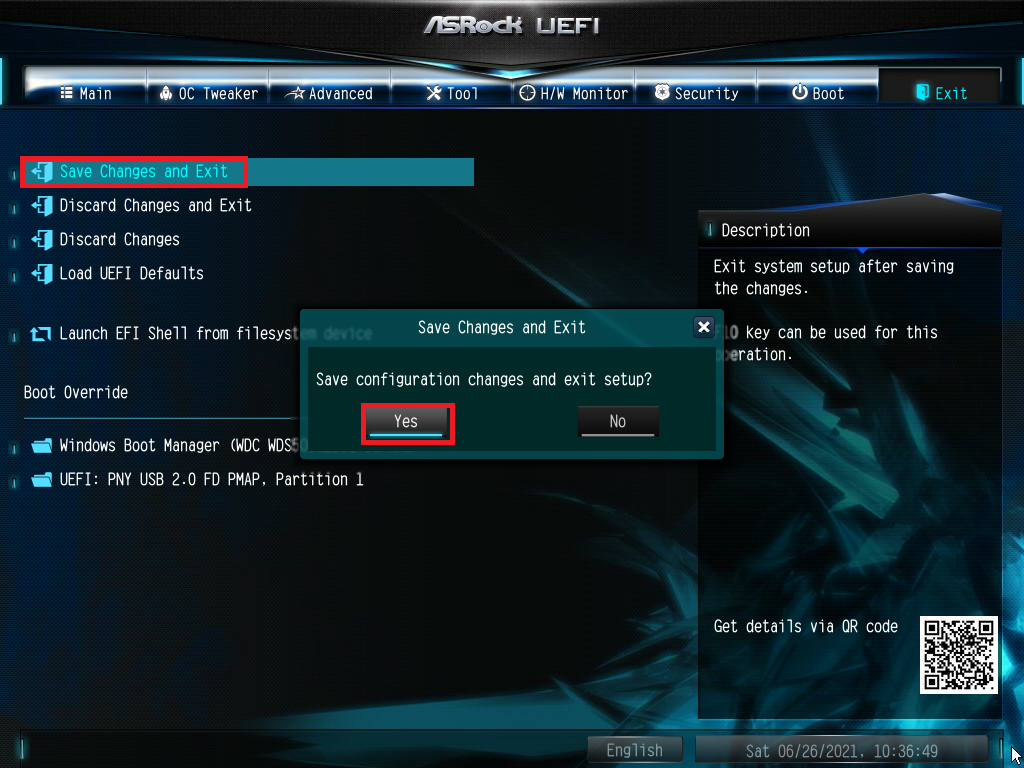
4.) Once Enabled, navigate to your Exit and make sure you Save Changes and Exit to ensure your TPM is enabled after the computer restarts.
If your BIOS does not have the option to enable your TPM, you can still try adding one to your motherboard if you are able to find a compatible TPM for your motherboard.