This article will show how to back up your settings on a Tenda FH1201 AC1200 wireless router. You can back up your settings by making a backup file to store on your computer or external drive. If you have set up any custom settings on the router it is recommended you back up your settings.
1. Open up any web browser, and type in the address bar: 192.168.0.1 and then press Enter on your keyboard.

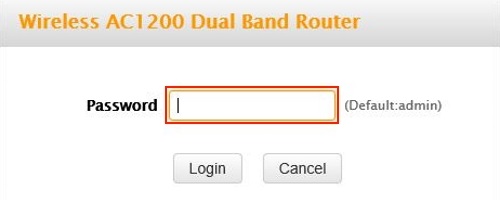
2. Type the password into the password field. The default password is admin if you have not changed it. Click Login.
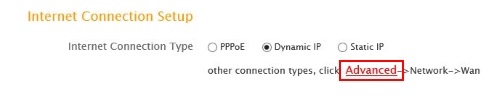
3. Click on the Advanced link.
4. Click on the Tools tab.

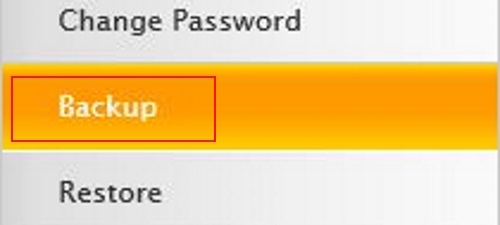
5. Click on Backup in the left menu.
6. Click on the Backup button in the middle of the screen.

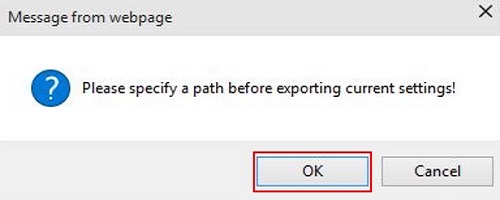
7. Click OK in the popup Window.
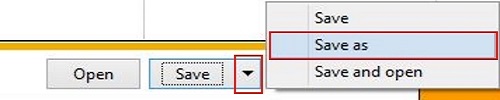
8. Click on the down arrow next to save at the bottom of the screen and then click Save as.
9. Select your save location in the left pane and click Save. Your backup will now be in the location in the event you need to restore.