If you have gotten a new printer for your PC and still see the option for your old, unused printer, our guide will show you how to remove a printer in windows 10. This will remove the option of it being available for printing.
This process can also be done to assist with the reinstall of a printer driver.
Here is how to do this:
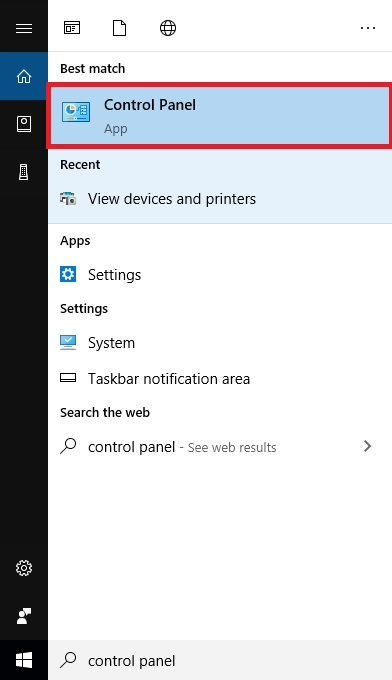
- Type Control Panel in the search box at the lower left corner of the screen or found by clicking the Start button, then on click the Control Panel option to open it.
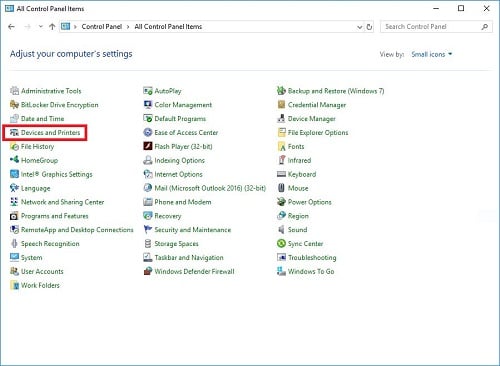
2. From the new pop-up window, Click Devices and Printers.
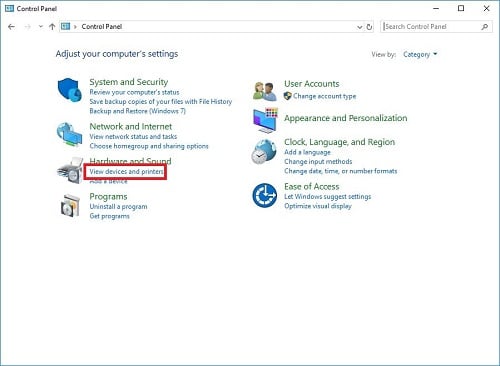
Depending on view selected, if set to Category, click on View devices and printers
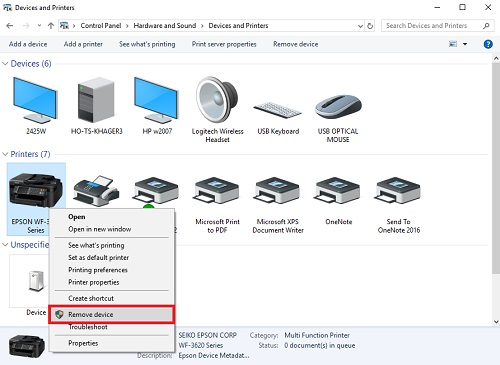
3. Right Click the printer to be removed (typically it is labelled as the brand & model of the printer), then click Remove device
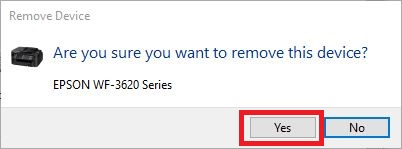
4. A confirmation window will appear. Make sure this is the correct printer to remove, then click on Yes to remove it.
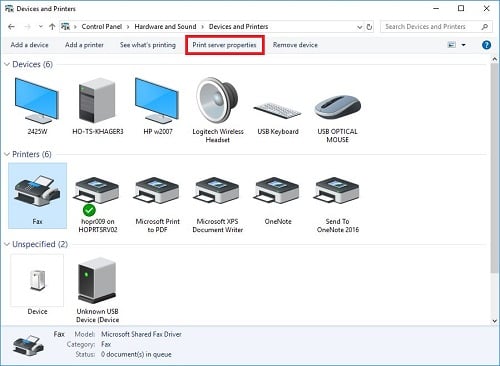
5. Once it no longer shows in this list, click on Print server properties at the top of the Devices and Printers window. Here, we will completely remove the printer driver from the computer.
6. Click Drivers at the top of the pop-up window, then click on Change Driver Settings.

7. Click on the name of the printer that needs to be removed, then Click Remove

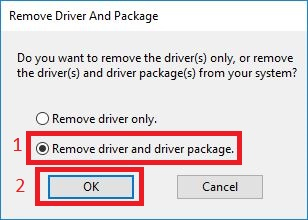
8. On the pop-up window, select the Remove driver and driver package option, then Click OK
9. Another confirmation window will appear, click Yes to confirm removal.
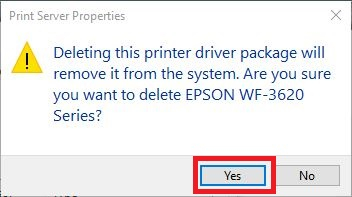
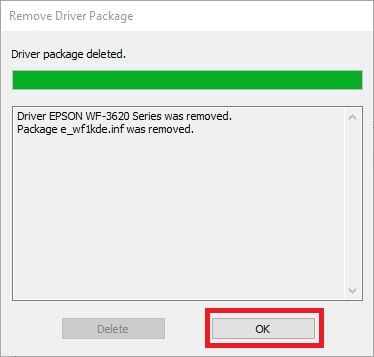
10. Another pop-up will appear for remove driver package, once it loads up the information, click Delete.

11. Click on OK once removal is successful, and then it is completely removed from the PC. If prompted, restart your PC to complete.
