This article will show how to use the Wireless Diagnostics in Mac OS X El Capitan. This wireless diagnostic can help resolve Wi-Fi issues that you may be experiencing. It tests the connection between the Mac and the router, and can be set to monitor the connection in case the problem is intermittent.
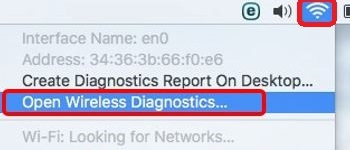
1. While holding the Option Key on the keyboard, click the Wi-Fi icon in the upper right hand corner, and then click Open Wireless Diagnostics.
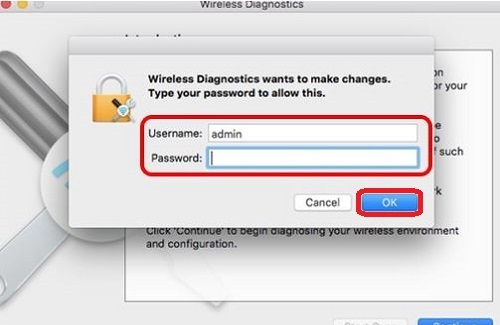
2. If prompted, enter the administrator username and password and click OK.
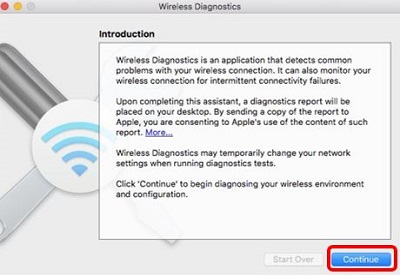
3. Click Continue to begin the diagnosis.
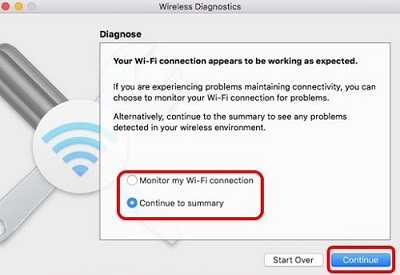
4. After the diagnosis, two options will appear: Monitor my Wi-Fi connection and Continue to summary. Monitor my Wi-Fi connection lets the wireless diagnostics run in the background to monitor the Wi-Fi over a period of time. Continue to summary stops the diagnosis and continues to the diagnostic results. After selecting one, click Continue.
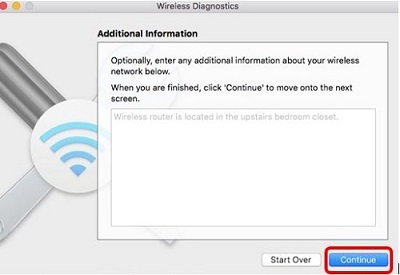
5. When prompted, enter any additional Network information and click Continue.
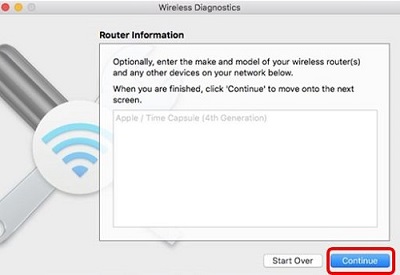
6. When prompted, enter any additional Router information and click Continue.
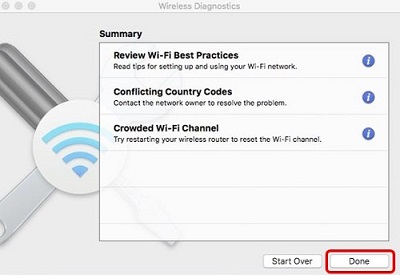
7. Click Done to exit wireless diagnostics.