As Apple Computers have grown in market share, so too have the number of viruses that target them. As such, it's a good idea to run antivirus software on your Mac. Installing ESET on a Mac takes a few extra steps. Follow this guide to ensure your software is installed and running properly:
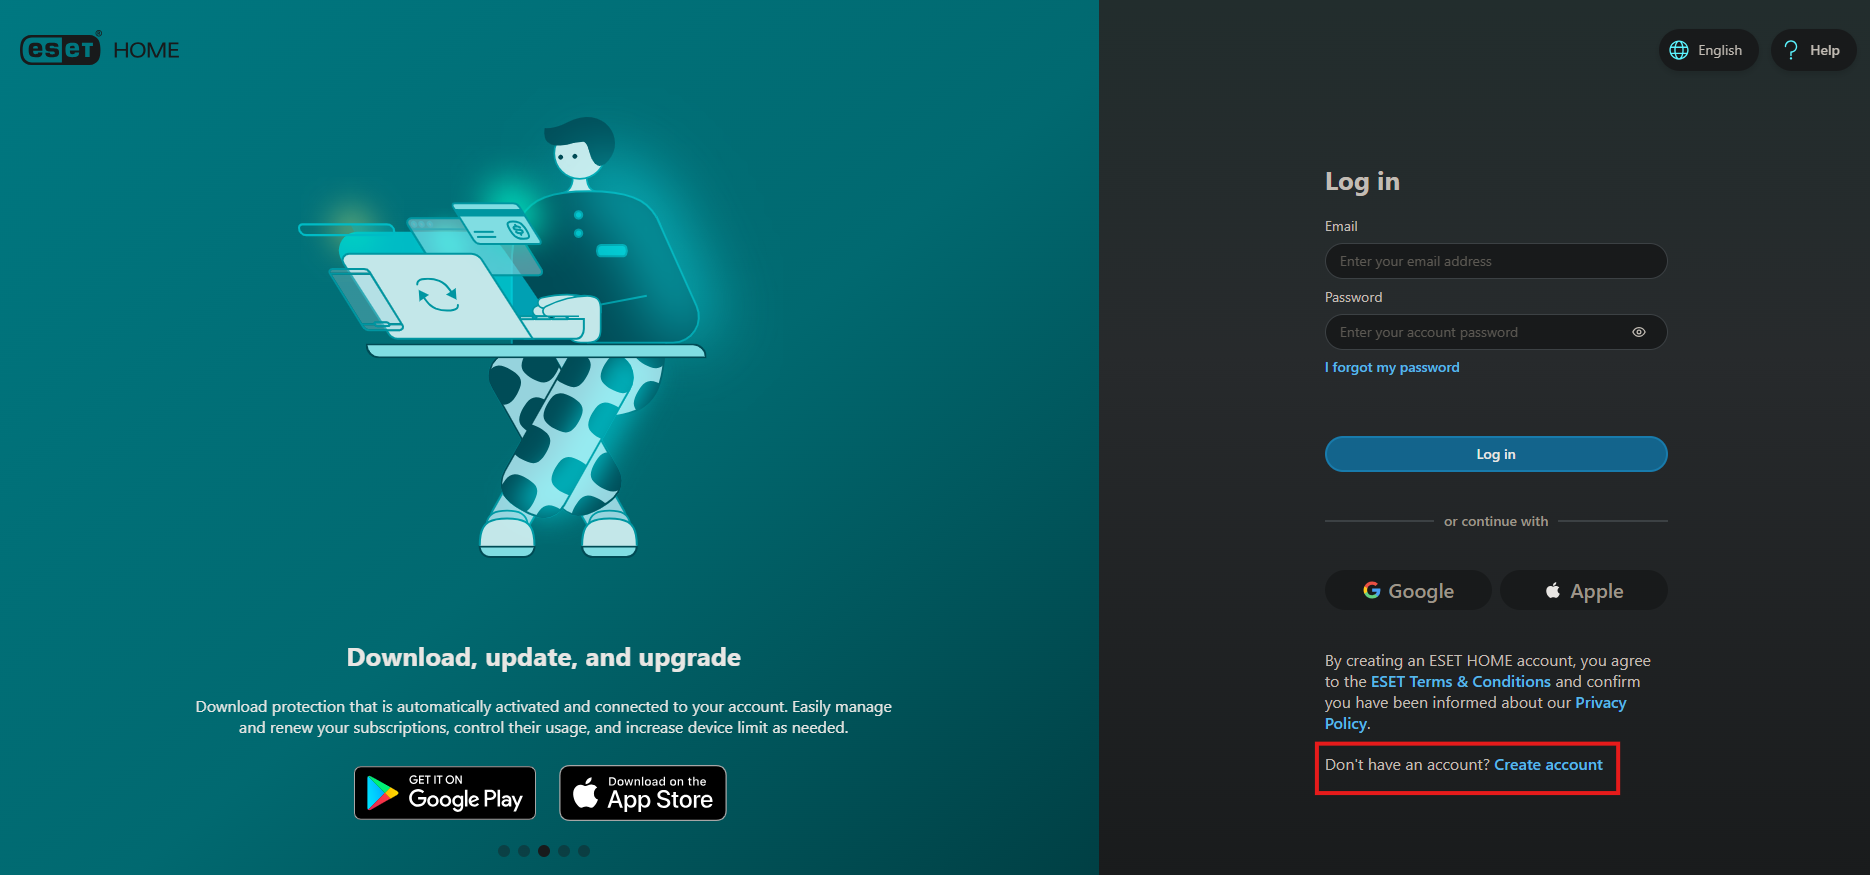
1. Open any web browser on your Mac and navigate to www.home.eset.com
2. Create an account (or log in if you already have one), you will want to make sure you use the same email address that was attached to your purchase:
3. Once you have an account created (or you are logged in) you will want to click the Subscriptions link on the home page:
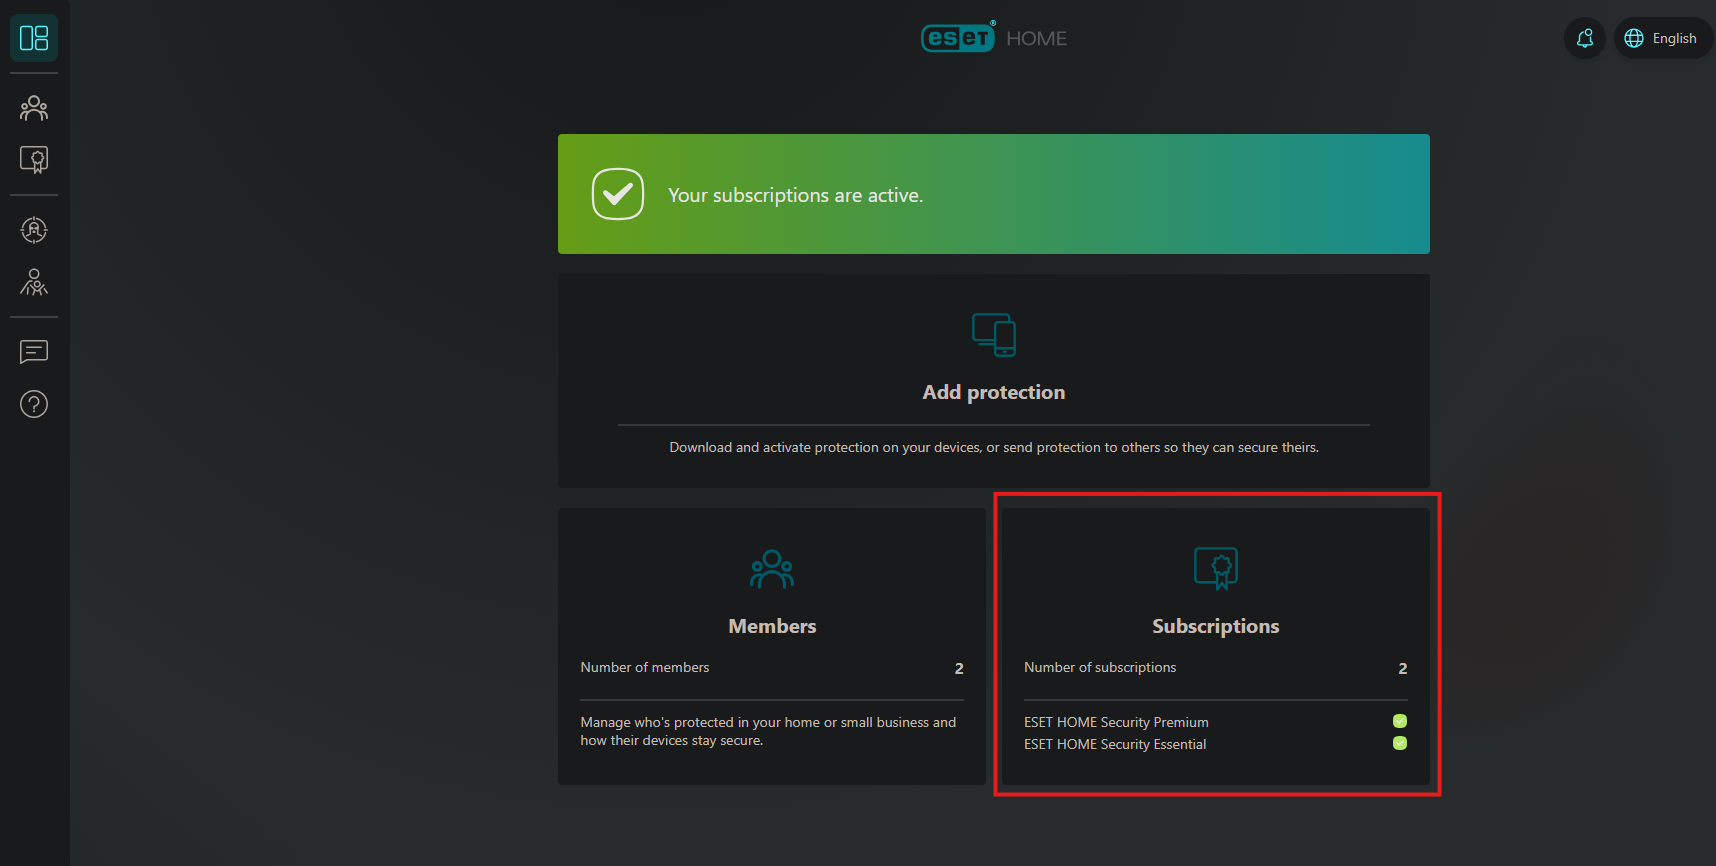
4. On the next page, click the button labeled Add or buy. If you have already activated your license, skip to step 7b:

5. Input your activation key (make sure to include the -) and click add subscription:
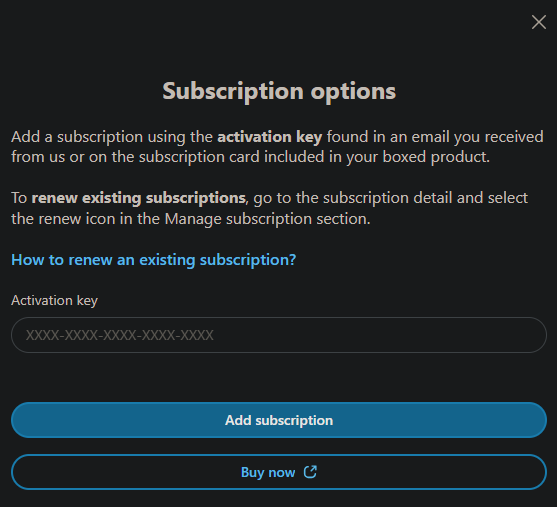
6. Fill out your info to register the subscription:

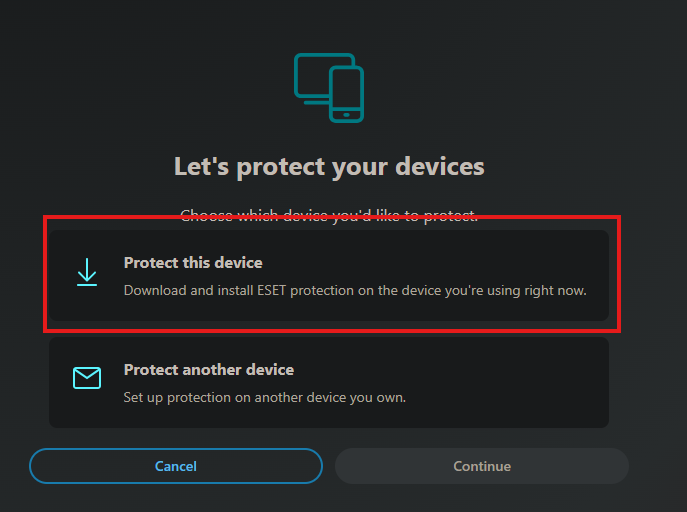
7. Once done, click add subscription. Then click add protection on the next screen, choose yourself, then click protect this device:

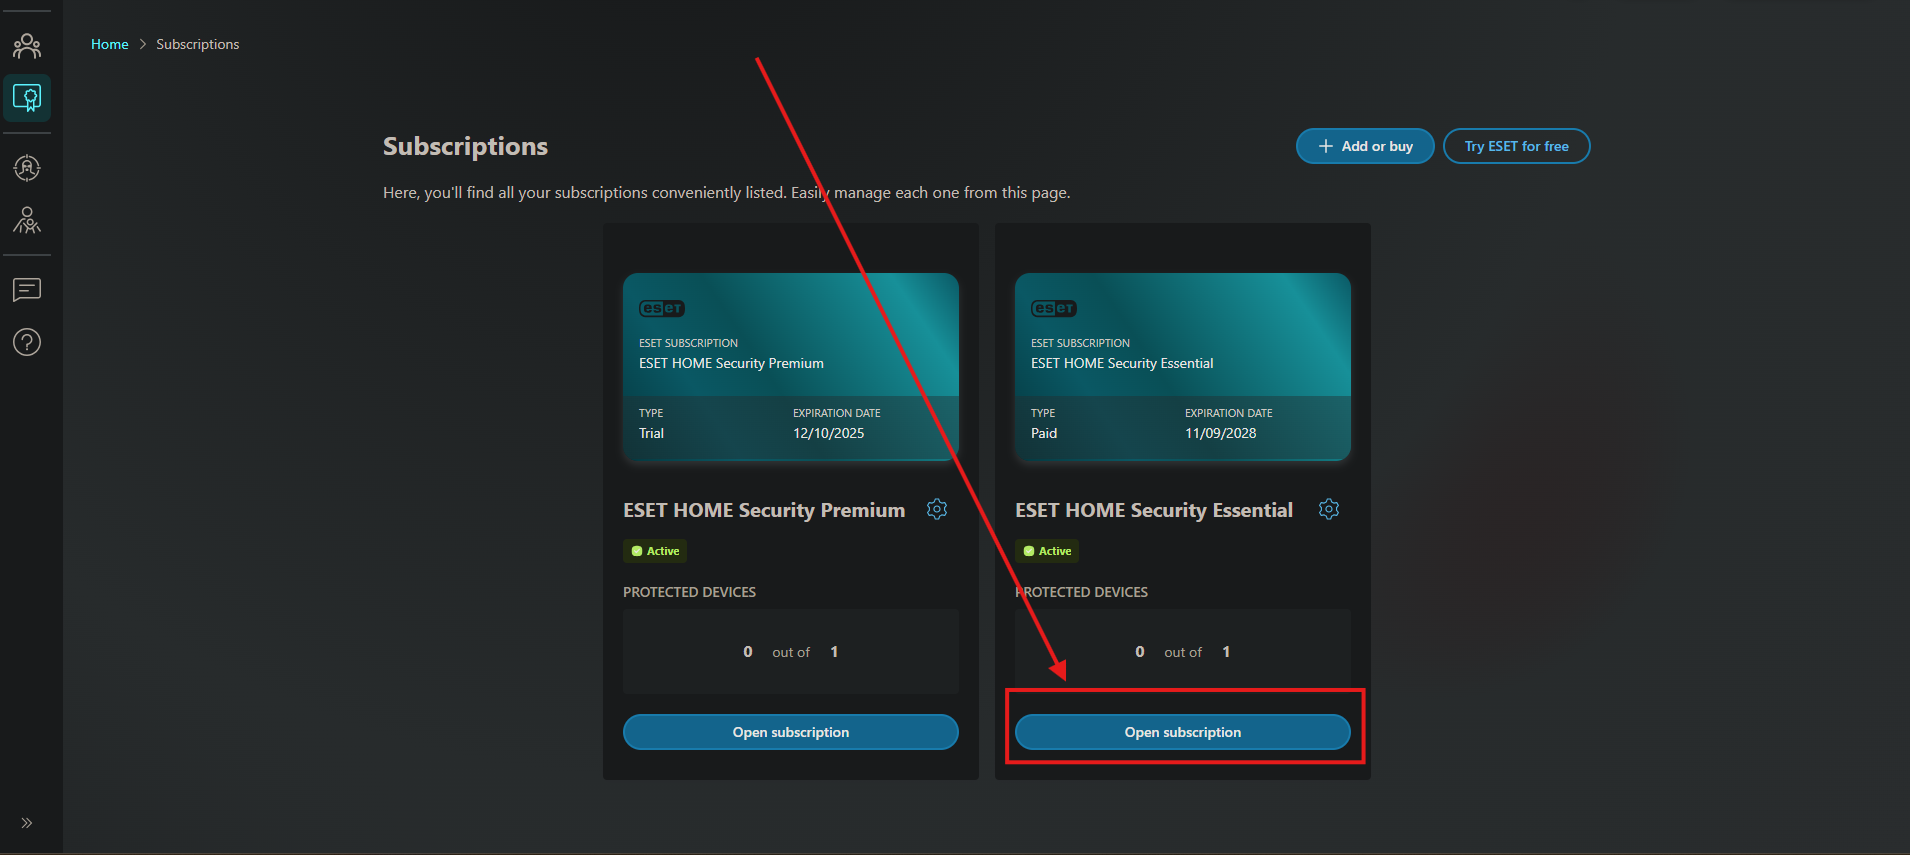
7b. If you already activated the subscription before-hand, in the subscriptions menu, click Open subscription under the one you want to install:
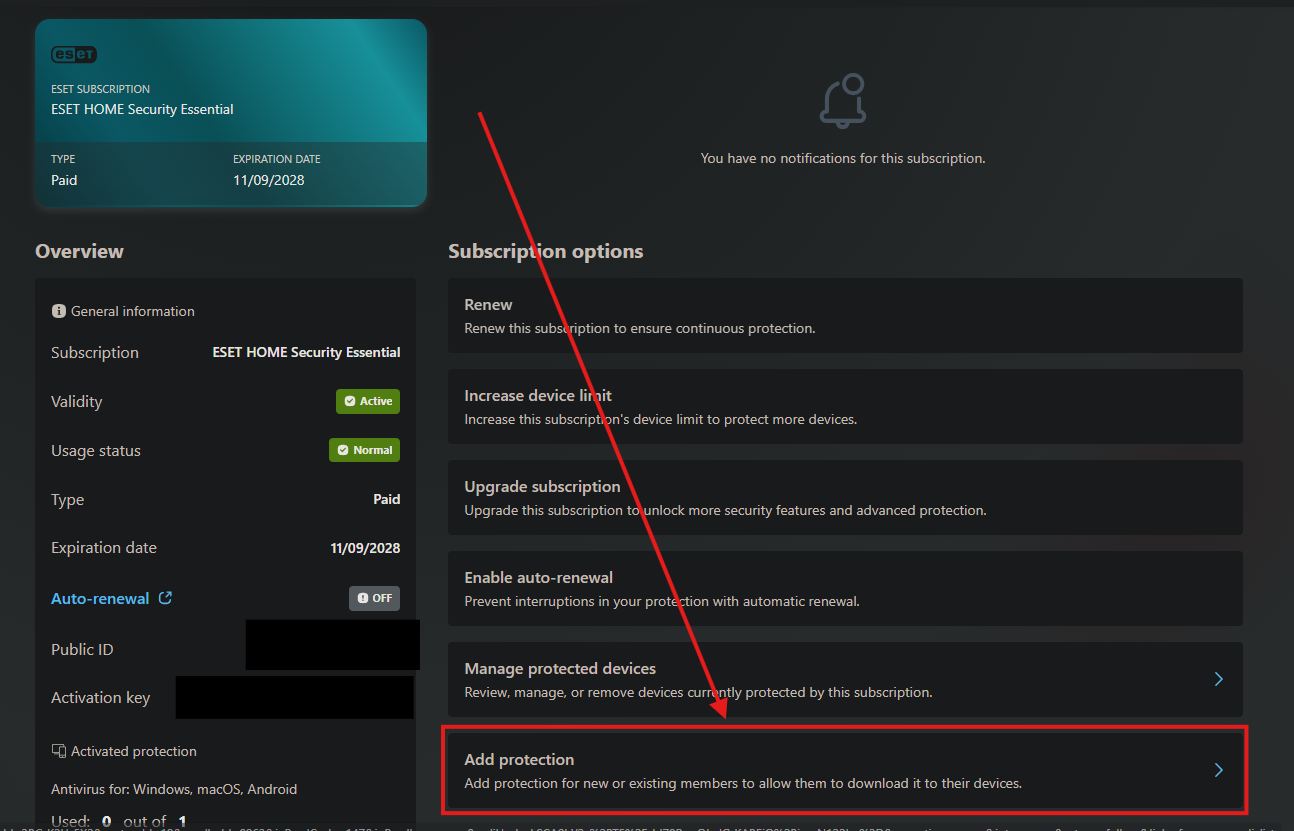
7c. Click add protection:
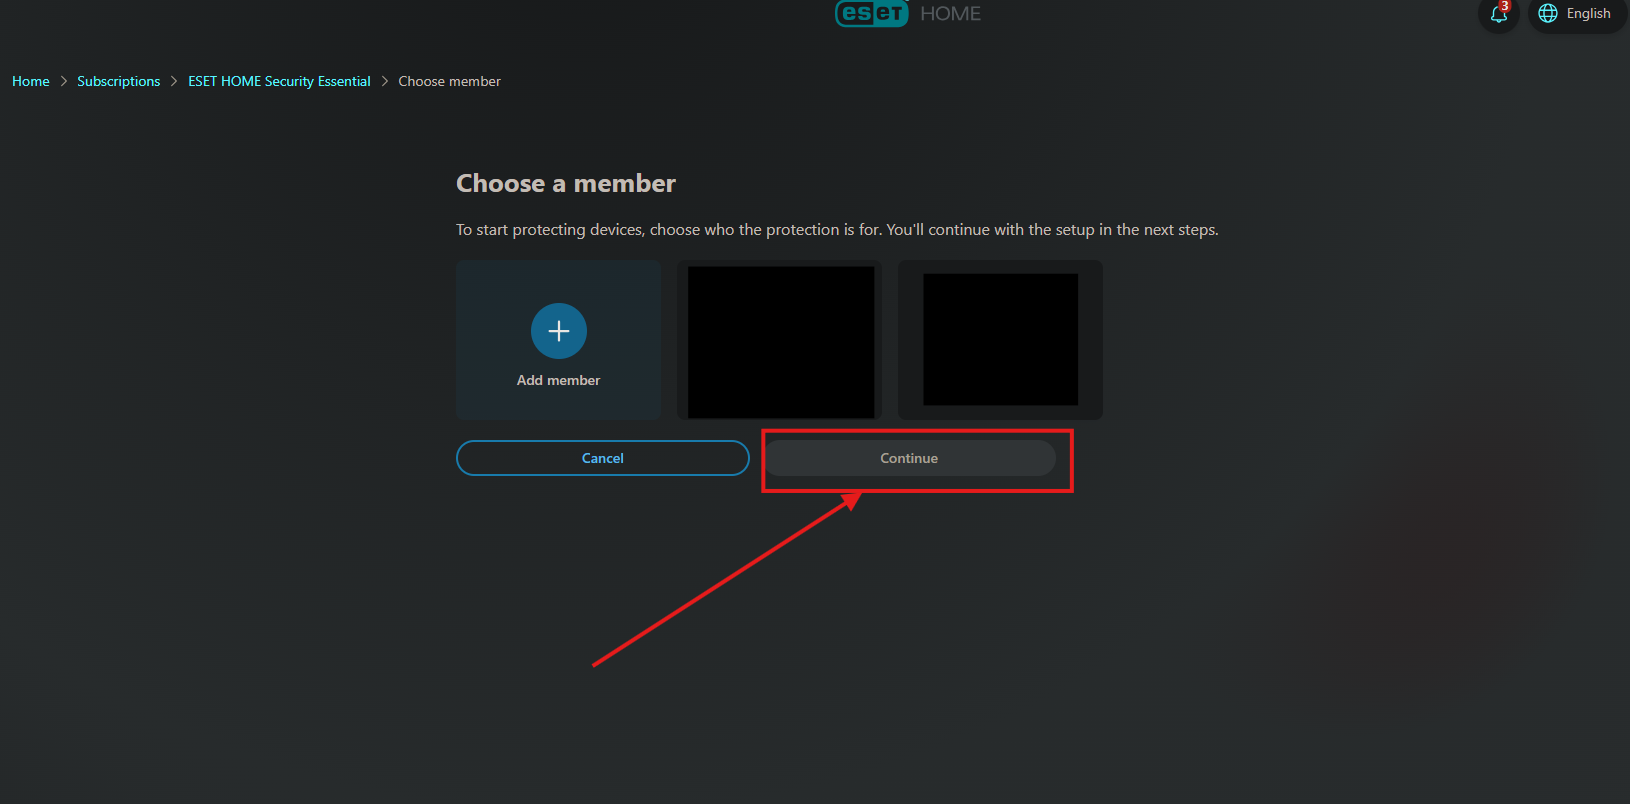
7d. Choose who you want to add the protection to, or add a member, then click continue:
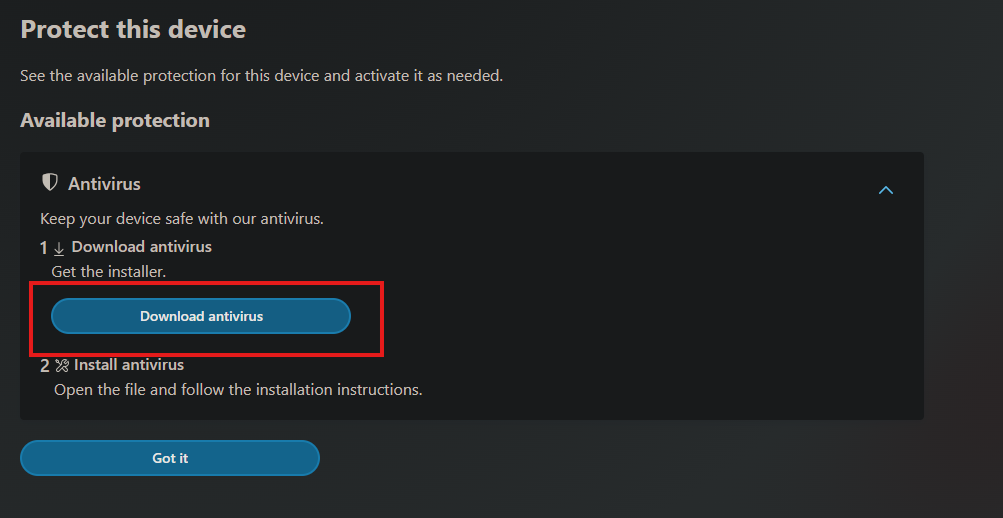
7e. Click Protect this device:

8. Click Download antivirus:
9. You should find the Installer in your downloads folder in the finder, open it and Double-click Install ESET Security. When prompted, click Continue to launch the Installation Wizard:

10. Click Continue if no other security applications are installed. Otherwise, hold here and uninstall any existing antivirus software on your system.

11. Review the system requirements and click Continue:
12. Click Continue and Agree on the Terms and Conditions:

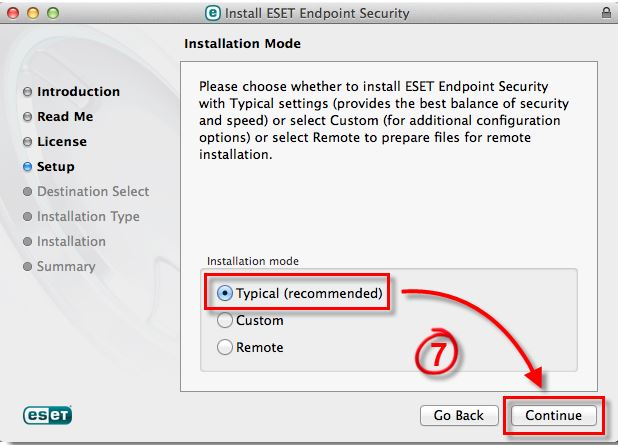
13. Select Typical installation mode and Continue:
14. In the ESET LiveGrid window, select your preferred option and click Continue.
If you decide later that you would like to change this setting, you will be able to do so using LiveGrid setup.
15. In the Potentially Unwanted Applications window, select your preferred option and Continue. If you decide later that you would like to change this setting, you will be able to do so using Advanced setup:

16. Click Install. If you are prompted to enter your macOS password, enter it and click Install software:

17. When you receive the System Extension Blocked notification and Your computer is not protected notification, click Open System Preferences:

18. Click on Security & Privacy:

19. Click the Lock icon in the lower left to allow changes to be made and enter your system password:

20. Click Allow next to System software from developer "ESET, spol. s.r.o." was blocked from loading:

21. Click Restart:

22. Once the computer has restarted, you will need to allow ESET Full Disk Access.
23. From the Apple menu, click System Preference → Security & Privacy:

24. Click the Privacy tab
25. Select the Full Disk Access option.
26. Click the Lock icon so that you can make changes to the security & privacy settings, and enter your system password when prompted:

27. Drag and drop the ESET application icon into the Allow list or click the + icon and select your ESET application
28. Your computer will display a notification to quit ESET. Click Later then restart your computer one more time:

29. ESET is now fully installed on your Mac!