Did you just purchase Office 365 or Office 2019/2019 and looking to get it activated and installed to your PC? This can be done in just a few easy steps!
This article will show how to activate and install a medialess (download only) copy of Office 2019/2021 or Office 365. To do this, you will need an internet connection to download and install Office to your PC.
Here is how to activate and install Office:
1. Open any web browser on your PC and navigate to www.office.com/setup. If this happens to be a new PC, open Microsoft Edge to get here.

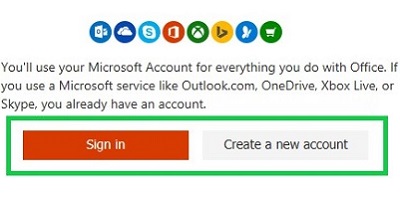
2. A Microsoft Account is required to install Microsoft Office 2019 or Office 365.
- To sign in with an existing Microsoft Account (an email and password registered with Microsoft), choose Sign in to proceed.
- To create a new Microsoft Account, choose Create a new account (you can visit our guide on how to do so here) and complete that step before proceeding. This will be creating a new email address with Microsoft, or you may use an existing email with another provider and register it with Microsoft.
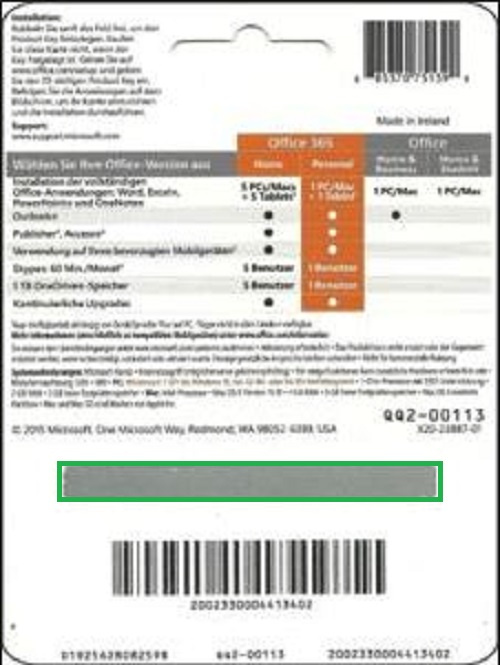
3. Locate your product key on the back of your product card - gently scratch off the silver foil that is hiding this information using a coin or similar hard object (Note; DO NOT peel this silver strip off, you will damage the key). This will reveal the product key. The product key will be (25) characters in length in the format xxxxx-xxxxx-xxxxx-xxxxx-xxxxx.
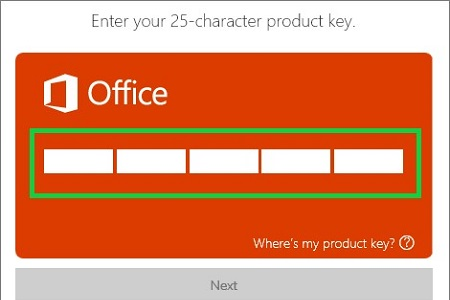
4. Enter the product key from the back of the card onto the Office Setup page.
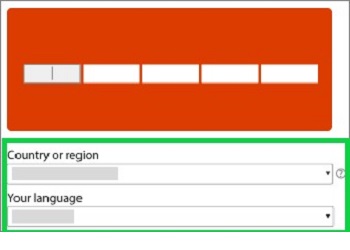
5. Select the country or region and then the language from the drop-down menus.
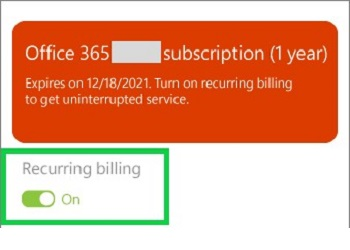
6. Choose whether or not to take part in recurring billing.
7. Click the appropriate button offered to start downloading the Office installer. Typically, there will be an Install option to click on.
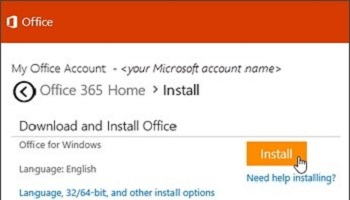
Depending on the browser, choose Run/Open, or you may have to click on the Office.exe file to open the installer file to your computer.

8) Once opened, wait for Office to finish installing. It will notify you Office has completed installation once finished.
Noteworthy information: Office 365 can be activated for up to (5) years by stacking multiple one year subscription codes. For example: If your subscription still has (6) months left, you can activate another code to redeem an additional (1) year subscription stacked on top of the one you already have, and it will change the remaining time to (18) months. Simply repeat the steps above, beginning with step three, for each additional year that you want to activate - just remember that (5) years is the maximum that you can stack.
If you are looking to activate multiple years of Office 365, please check out our guide here.