Our PowerSpec computers use a variety of computer parts, and obtaining the drivers may be necessary for troubleshooting various issues. Drivers are the piece of software Windows needs to communicate with the hardware in the system. Although we do not provide direct links to the drivers from our website, we want to provide the means to find and obtain the drivers you may need for your system.
Method 1: Windows Update
Drivers a critical part of ensuring your hardware is running correctly, due to this nature many manufactures and hardware providers have provided Windows with driver files that can be installed automatically on the system and will be kept updated. We recommend trying this method first if your internet is working, this allows the system to install any missing or updated drivers needed.
First, lets open windows settings, this can be done by clicking the windows icon and clicking Settings

Next you will click Windows Update on the left. Then Advanced options

Next, we will need to check Optional Updates, this will show you any pending driver updates that may be needed on the system.

If there are zero listed, and your still having issues with your hardware, please proceed to method 2 below.
Method 2: Manual Installation
For this method, if you need any assistance figuring out the hardware in your unit feel free to reach out to our tech support chat on microcenter.com
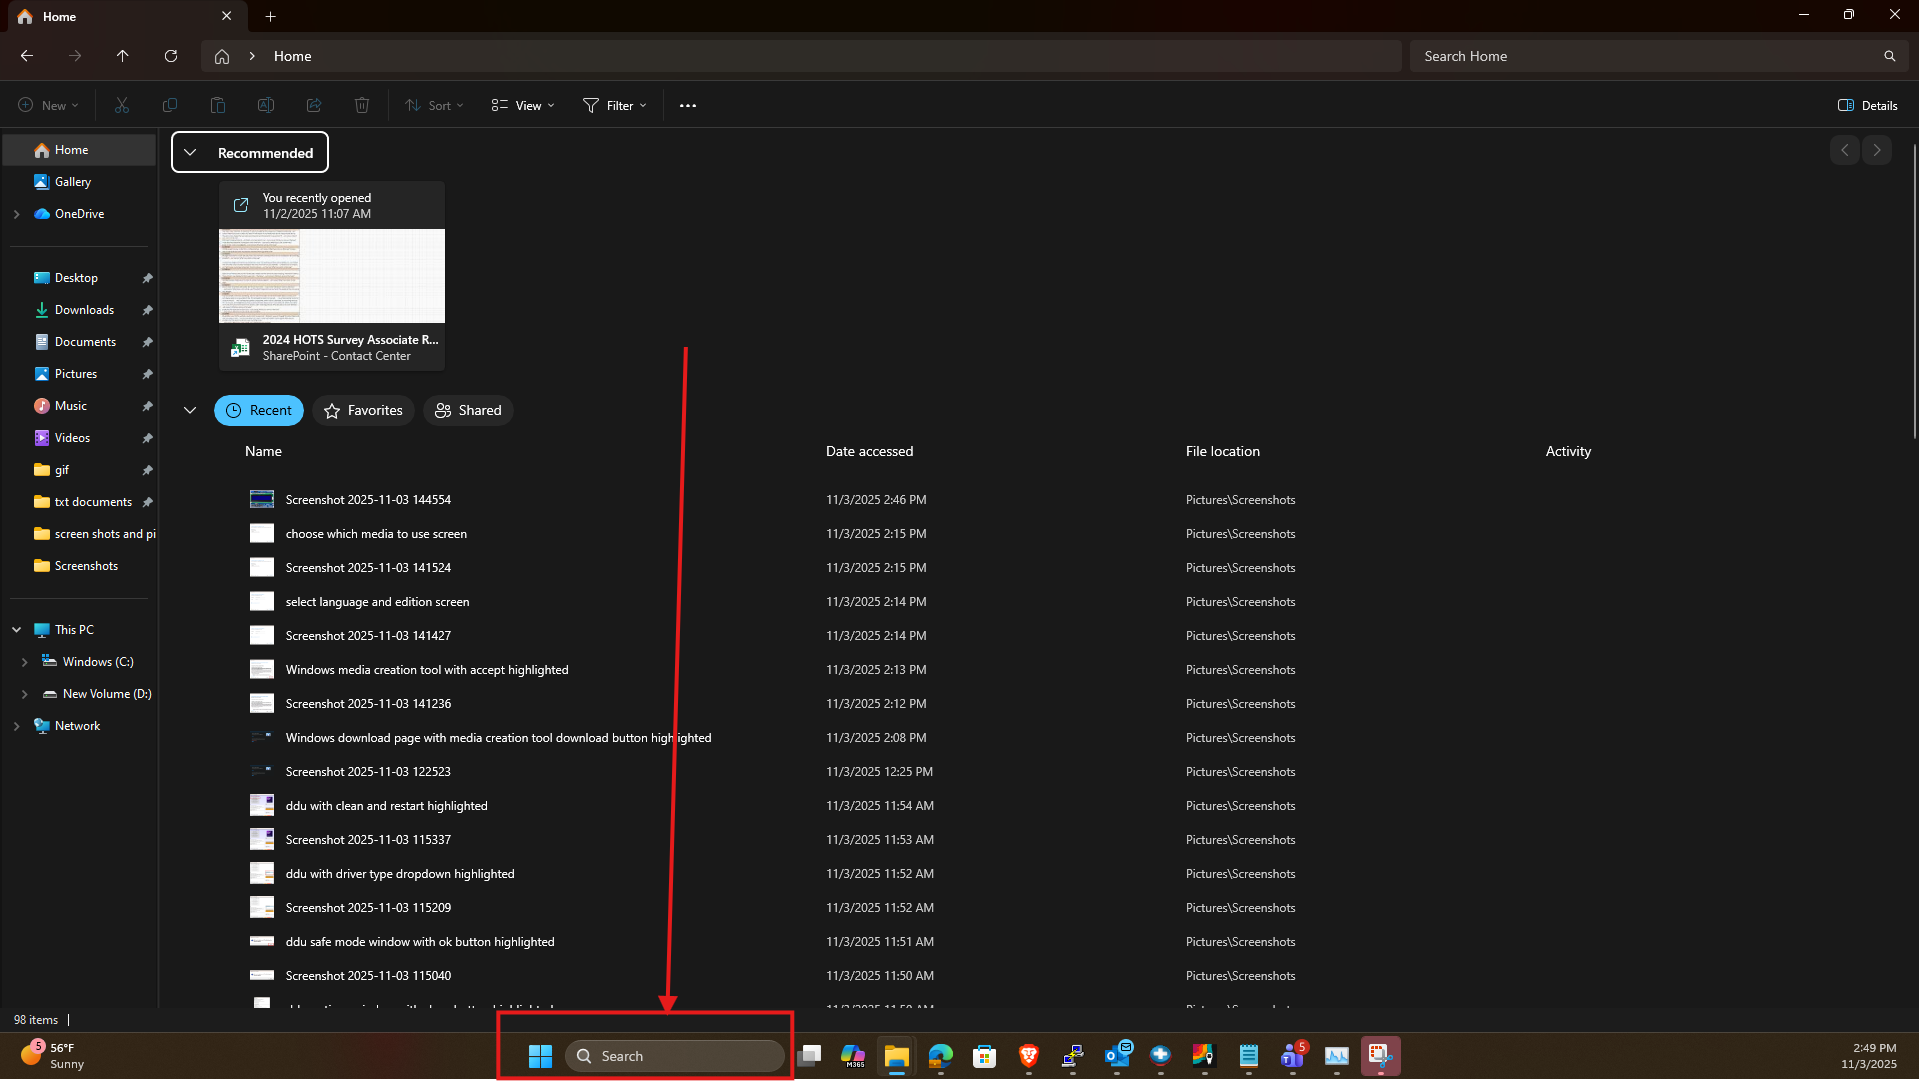
The first step is determining what hardware is in the system to ensure we are getting the correct drivers. Type msinfo32 in the search box at the bottom of the computer, and then click System Information.


The system summery that opens up will show a lot of information about your computer, however, most of the important drivers we may need for troubleshooting will be for the motherboard. Locate Baseboard Manufacture and Product in the summary and make a note of the information. Note: these steps are for the motherboard, but if your looking for the video drivers, you may check Components > Display to see what card is listed.

My computer shows we have the G434, and the motherboard is an ASRock Z390 Phantom Gaming 4S/ac so with this information in hand, we can now going to the manufactures website by searching Google or your favorite search engine by entering the full manufacture and model of the board. Once you find the listing you may click on it.

Each manufacture page may be different, but after clicking the result, you will then locate the products support page.

After clicking support you may see additional options such as Drivers or Downloads, as well as Manuals if you may want to see documentation on the board. For this ASRock board, we have a downloads option.

Then you may download the driver your looking for, sometimes these are categorized, or the driver file has the component in the name. For example you may see an Audio category, or in the case of this board, we can see the Realtek Audio Driver is the first option. After selecting the the appropriate driver, you may save the file to your computer or external storage device.
Most drivers will be saved as a zip folder, so once downloaded and saved, we will need to extract the files. You may do this by selecting the zip folder and then clicking Extract All.

After following the extraction steps the folder will open up on the screen, and you may click on it to open the folder. You will be presented with several files depending on the driver type, but most drivers will have a Setup application that can be run.

Once you complete the steps presented by the application, you may be requested to restart the computer. If you don't see a setup application for the driver your installing, please contact our support team so we can ensure we get the right file for you. There may be very rare cases where a driver only has setup information files like these:

Our team of experts will be able to inform you of which setup file to install or locate an application if needed. Please note these steps only focused on the motherboard drivers, other hardware such as Video Cards, would require visiting their manufacture's page (AMD, Intel, Nvidia).