This article will show how to configure the DHCP guest server settings on a Tenda FH1201 AC1200 Router.
NOTE: The guest wireless network will need to be enabled first and the default settings will work and do not need to be altered.
Here is how to do this:
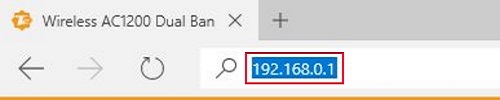
1. Open up any web browser, and type in the address bar: 192.168.0.1 and then press Enter on your keyboard.
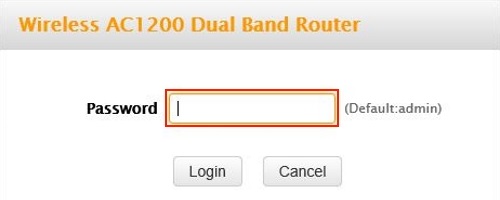
2. Type the password into the password field. The default password is admin if you have not changed it. Click Login.
3. Click on the Advanced link.

4. Click on the Network tab.

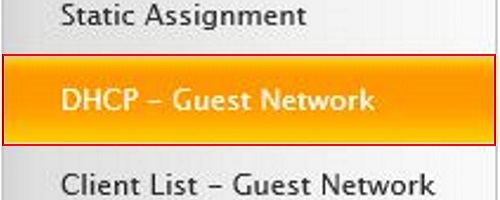
5. Click on DHCP – Guest Network in the left menu.
6. You can disable or enable the DHCP server. Disable only if you want to bridge your router, otherwise leave it enabled.

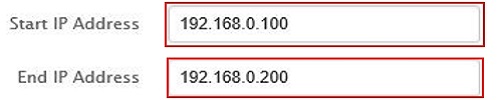
7. The start and end IP address fields are the range of IPs that the router will assign to clients connected to this router. Type in the fields what you want the start and end IPs to be.
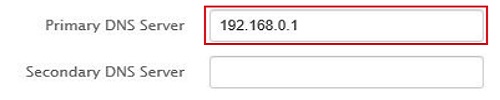
8. The Primary and Secondary DNS server should be the default gateway of the router. If this does not populate automatically, type the default gateway in the field.
9. Lease time is the amount of time IP addresses are assigned to the client. Click on the drop down box and select how long the lease will last for.

10. Click on Save.
