Vinyl Artwork Application Manual

wmcclellan
admin
Vinyl Artwork Application Manual
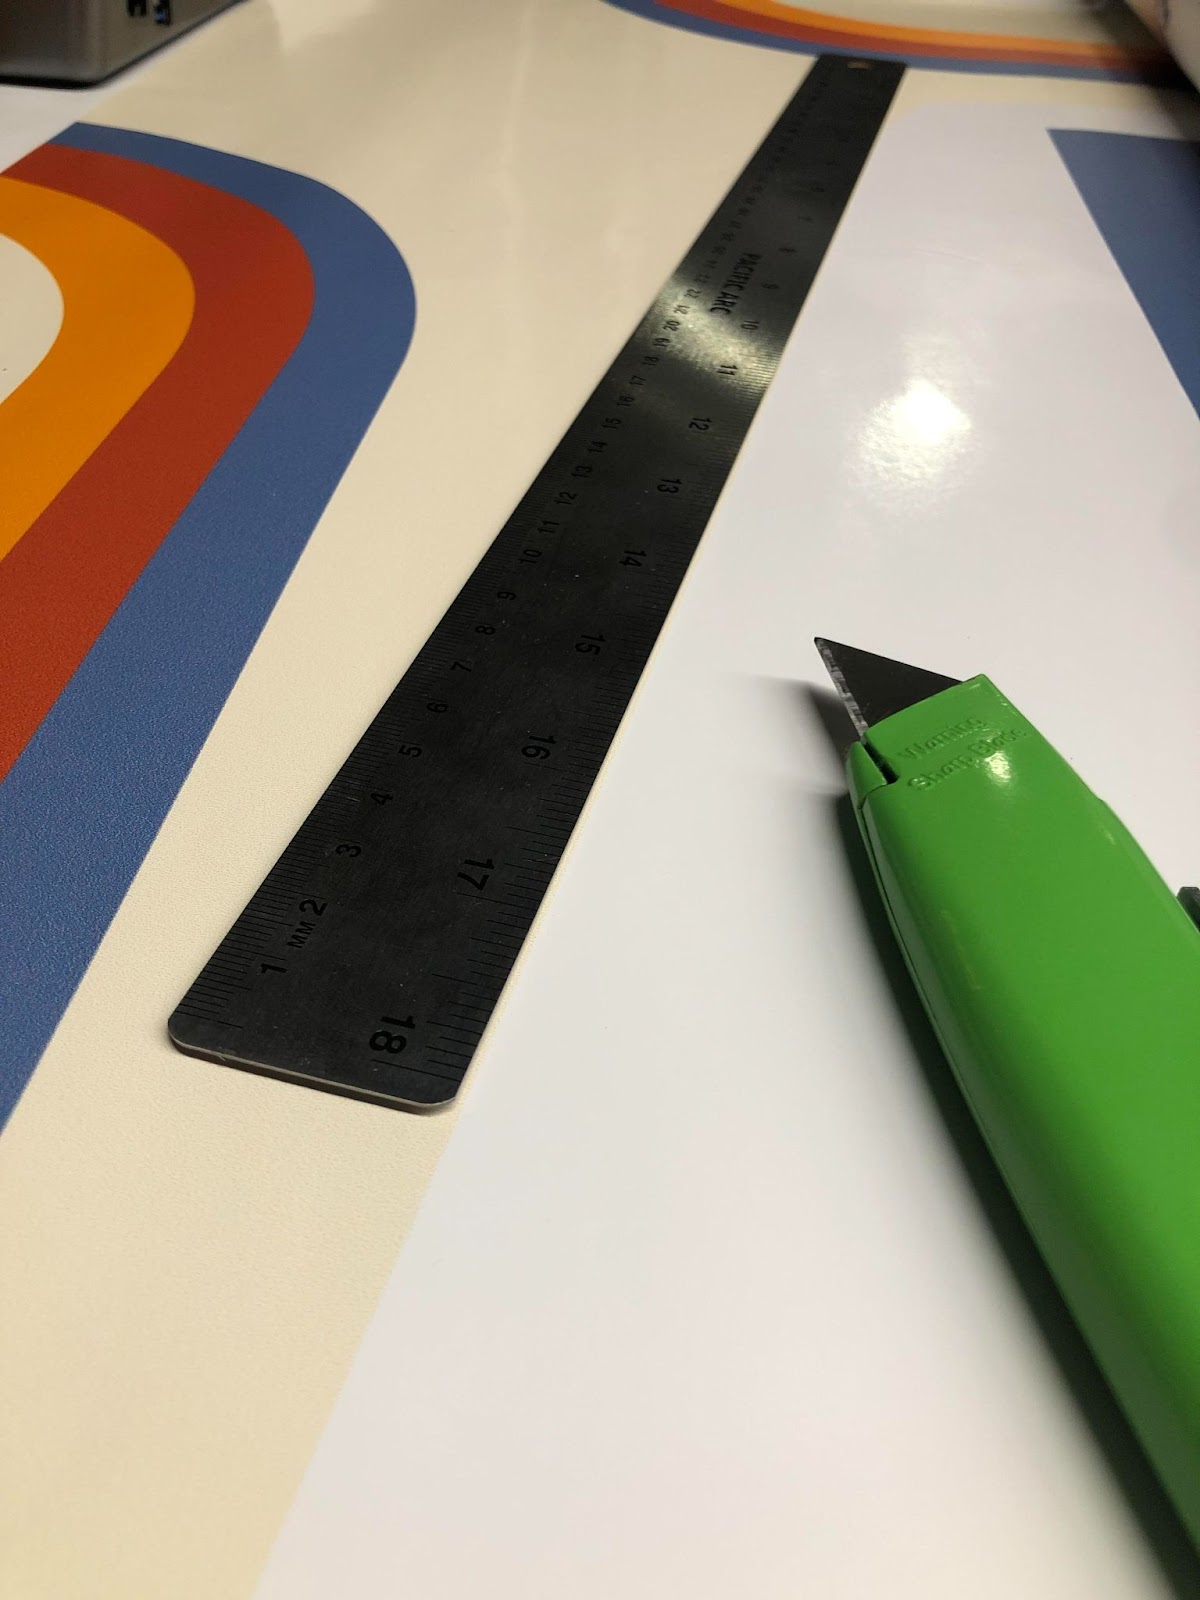
- Take your sheet of vinyl and roughly cut out each shape of artwork that corresponds to the cabinet. Pro tip: Take a ruler and razor blade to get as close to the edge of your artwork to make application easier and more accurate.

- Match each piece of artwork to its correct panel. Make sure your cabinet is unassembled before attempting to apply your artwork.
- Peel your vinyl artwork and gently place it down on the correct cabinet panel. Make sure it is properly aligned before applying too much pressure to the surface. This vinyl is fairly forgiving, so don’t be afraid to peel off and reposition if you mess up. Pro tip: Be sure to prioritize key parts of the artwork (text, images, icons) when placing it on your cabinet panels. It was designed to have buffer space, but key artwork can be cut off if you favor a side too heavily. Additional pro tip: On control panel artwork pay special attention to lining up the joystick openings accurately. The artwork (except for 70s stripes) is designed to play off of the joystick placement.
- Once you have the artwork placed where you want it, begin to apply pressure evenly from one end to the other. This will help prevent bubbles and other issues. Pro tip: Use a credit card to smooth out your vinyl and rid it of any bubbles. And again, don’t be afraid to lift up the vinyl to release any pockets of air if you need to.
- Once the vinyl is properly applied and stuck to the surface, grab your razor blade and get to work. Find a starting point and hold your blade at a 45 degree angle to avoid any overhang or damage to the visible artwork. Pro tip: maintain some resistance on the slack you are cutting off, it can get in the way of your blade and cause mistakes.

- The same can be said for cutting out your button and speaker holes. Maintain the 45 degree angle on your blade. Watch for wrinkling that could develop in front of the blade.
- Once you have your artwork fully applied and trimmed, you are good to apply your T-molding and move to the next step of cabinet assembly! Pro tip: If your artwork gets pushed up by the T-molding, you might have to go double-check your trim work.
Categories
- All Categories
- 1 The Blog
- 1 What's Trending
- 8K The Community
- 3.2K General Discussion
- 146 New Members
- 873 Consumer Tech
- 234 Prebuilt PCs and Laptops
- 168 Software
- 33 Audio/Visual
- 54 Networking & Security
- 4 Home Automation
- 5 Digital Photography
- 14 Content Creators
- 30 Hobby Boards & Projects
- 84 3D Printing
- 83 Retro Arcade/Gaming
- 62 All Other Tech
- 453 PowerSpec
- 2.6K Store Information and Policy
- 152 Off Topic
- 63 Community Ideas & Feedback
- 619 Your Completed Builds
- 4K Build-Your-Own PC
- 2.9K Help Choosing Parts
- 328 Graphics Cards
- 335 CPUs, Memory, and Motherboards
- 145 Cases and Power Supplies
- 54 Air and Liquid Cooling
- 51 Monitors and Displays
- 93 Peripherals
- 70 All Other Parts
- 65 Featured Categories
We love seeing what our customers build
Submit photos and a description of your PC to our build showcase
Submit NowLooking for a little inspiration?
See other custom PC builds and get some ideas for what can be done
View Build ShowcaseSAME DAY CUSTOM BUILD SERVICE
If You Can Dream it, We Can Build it.

Services starting at $149.99