How to adjust the Virtual Memory size in Windows 10


If your Windows 10 computer is running low on virtual memory, you can adjust the size of paging file. If you're getting low on memory issues with Windows 10 or seem to notice slow performance while using your PC, this can be a good way to improve system performance.
Here is how to adjust the virtual memory size in Windows 10:
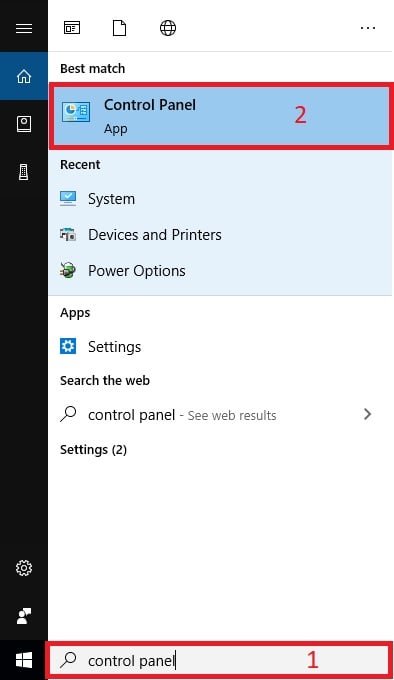
1. Type Control Panel in the search box at the bottom left corner of the screen and click the Control Panel app under best match.
2. Click on System and Security.

3. Click on System.

4. Click on Advanced system settings.

5. On the System Properties pop-up window, click Settings under the Performance section found in the Advanced tab.

6. Click the Advanced tab at the top, then click Change under Virtual Memory

7. Make sure the Automatically manage paging file size for all drives is not checked. Click the checkbox if it is to uncheck it. Select the Drive in the box and then click the Custom size option

8. Type the Initial Size and the Maximum Size desired and click set.

- If you choose an initial size less than 400 MB you may see an error. It’s recommended to click no and increase the initial size.

9. Click OK on the Virtual Memory window.
10. A message will pop up saying the changes require a restart, click OK.

11.
Click OK on the Performance Options window.
12. Click OK on the System Properties box.
13.
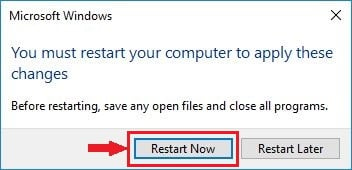
Click Restart Now to save changes.
Categories
- All Categories
- 1 The Blog
- 1 What's Trending
- 8K The Community
- 3.2K General Discussion
- 145 New Members
- 872 Consumer Tech
- 233 Prebuilt PCs and Laptops
- 168 Software
- 33 Audio/Visual
- 54 Networking & Security
- 4 Home Automation
- 5 Digital Photography
- 14 Content Creators
- 30 Hobby Boards & Projects
- 84 3D Printing
- 83 Retro Arcade/Gaming
- 62 All Other Tech
- 438 PowerSpec
- 2.6K Store Information and Policy
- 150 Off Topic
- 61 Community Ideas & Feedback
- 616 Your Completed Builds
- 4K Build-Your-Own PC
- 2.9K Help Choosing Parts
- 328 Graphics Cards
- 335 CPUs, Memory, and Motherboards
- 145 Cases and Power Supplies
- 54 Air and Liquid Cooling
- 49 Monitors and Displays
- 93 Peripherals
- 69 All Other Parts
- 65 Featured Categories
We love seeing what our customers build
Submit photos and a description of your PC to our build showcase
Submit NowLooking for a little inspiration?
See other custom PC builds and get some ideas for what can be done
View Build ShowcaseSAME DAY CUSTOM BUILD SERVICE
If You Can Dream it, We Can Build it.

Services starting at $149.99