


System Restore is a Windows tool that lets you revert recent changes. If you are unable to boot into Windows, or dealing with frequent crashes, System Restore can undo recent changes like: driver updates, Windows updates, software installs, system file changes, and configuration changes to restore your computer. System Restore can return a system to working condition without having to reinstall the operating system or deleting your files.
In most cases Windows already has System Protection turned on for an out of the box PC. However, in case settings have been changed, you can enable System Protection to allow Windows to automatically create Restore Points.
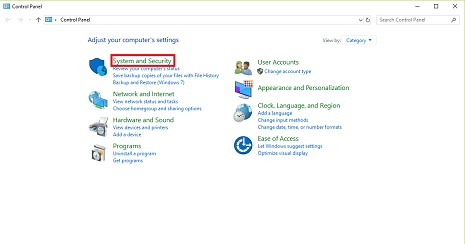
1. In the Windows Search bar, Search for "Control Panel" and press Enter
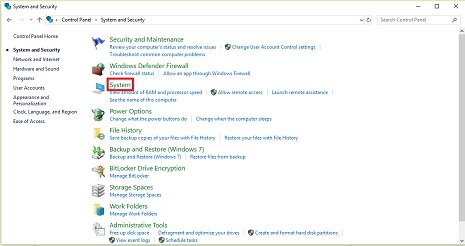
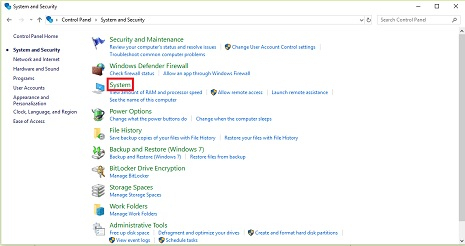
2. This will open the Control Panel window, Click on System and Security and select System
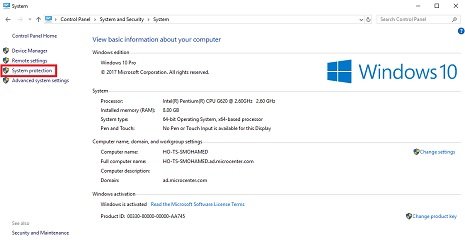
3. Click System Protection
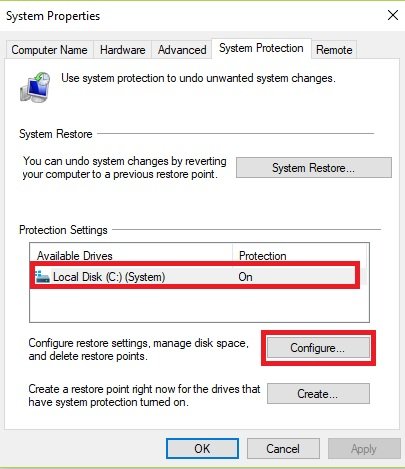
4. This will open the system properties window with the system protection tab selected
5. Under Protection Settings, Select Local Disk C: to highlight it
6. Select Configure
7. Click the Radio Button to Turn on system protection
In case you need to make a major change in the settings or software, you can manually create a Restore Point to safely go back and revert the changes you made.
1. In the Windows 10 search bar, Search for “system restore” and hit Enter
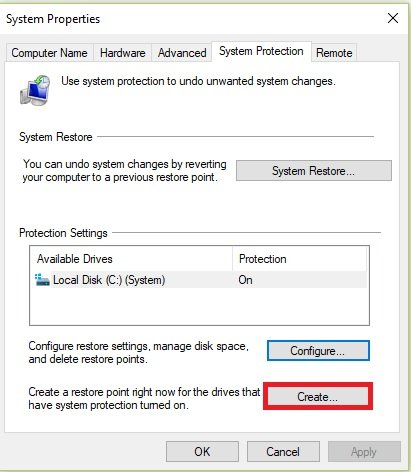
2. This will open the system properties window with the system protection tab selected.
3. Under Protection Settings, Click Create button
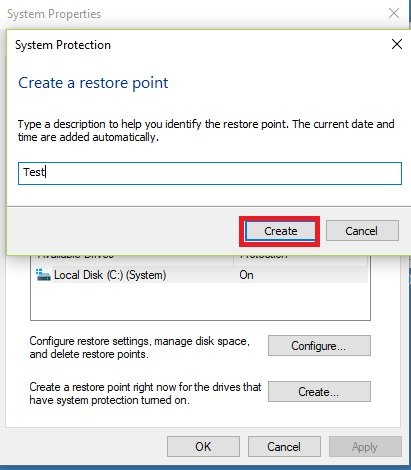
4. Name the restore point and Click Create
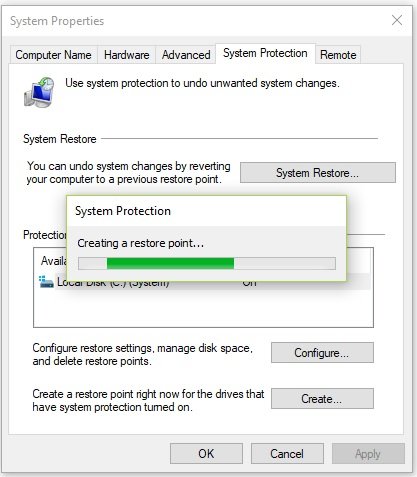
5. The progress bar will appear to display that the system restore is being created.
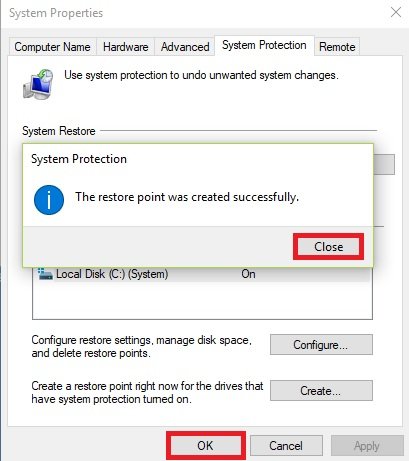
6. A message will appear stating “The restore point was created successfully”
Use this Method when you are able to load Windows but experiencing crashing.
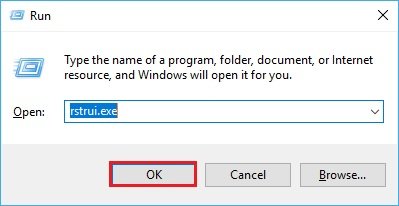
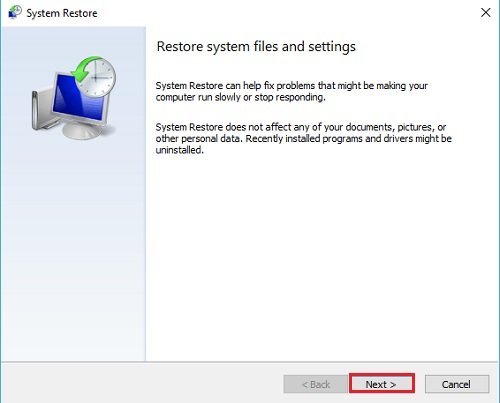
Press the Windows key + R on the keyboard to open a Run window. Enter rstrui.exe into the Run window and then click OK to open
2. A System Restore window will appear, click Next to proceed
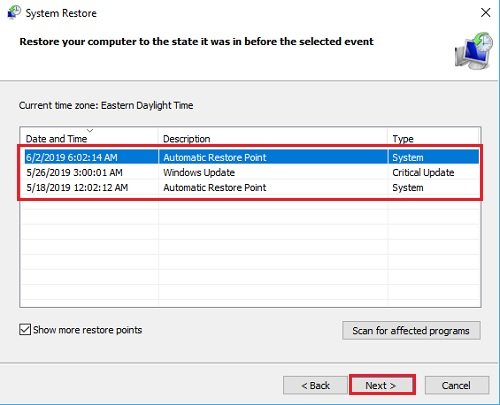
3. The next screen will list the available restore points
4. Select the date corresponding to the system restore point before the issue occurred to highlight it and Click Next
5. A confirm restore point screen will appear, selecting Finish will automatically start the system restore process which will take some time to complete and is an automatic process. Once finished, the computer will return to the sign-in screen or desktop if there is no computer password.
Use this method when Windows cannot load. The Windows 10 advanced startup screen allows you to gain access to the System Restore tool outside of Windows to repair system setting and errors without losing data.
1. Power on the computer
2. As soon as the Windows logo appears on the screen, press the power button to interrupt the boot sequence
3. Repeat steps 1 and 2 two more times until you see the recovery screen
Alternatively, if you cannot access the recovery environment with these steps, you can start Windows using installation media and while on the Windows Setup select Repair your computer button to follow the steps below to access system restore.
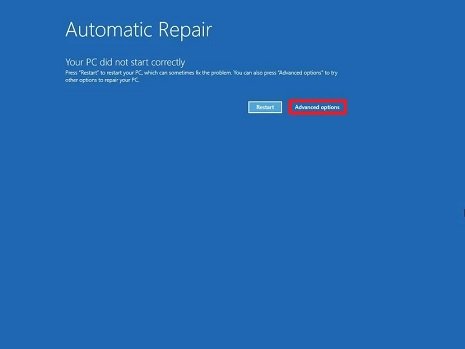
4. Click the Advanced options button
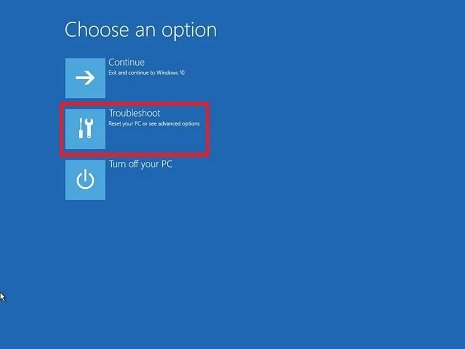
5. Click on Troubleshoot
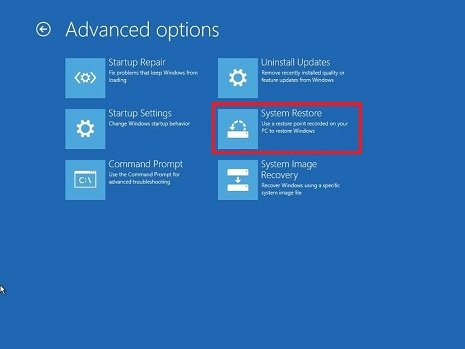
6. Click Advanced Options
7. Click System Restore
8. Follow steps 2-5 in Method 1 to complete the restore process.
Once complete, the changes causing the problem will be discarded and Windows should start normally.
In most cases Windows already has System Protection turned on for an out of the box PC. However, in case settings have been changed, you can enable System Protection to allow Windows to automatically create Restore Points.
1. In the Windows Search bar, Search for "Control Panel" and press Enter

2. This will open the Control Panel window, Click on System and Security and select System


7. Click System Restore

Submit photos and a description of your PC to our build showcase
Submit NowSee other custom PC builds and get some ideas for what can be done
View Build Showcase
Services starting at $149.99