How to create a bootable Linux USB


Creating a bootable Linux USB will allow you to explore everything Linus has to offer without having to install any extra programs. We'll walk you through how to create a bootable Linux USB drive on Windows 10.
What you need:
- USB Drive at lease 8 GB
- Linux ISO or Internet Connection to download one
- USB imaging software
Creating the Linux USB is the quick and easy part. The harder part is deciding which flavor of Linux you want to use, as there are over thousands to choose from:
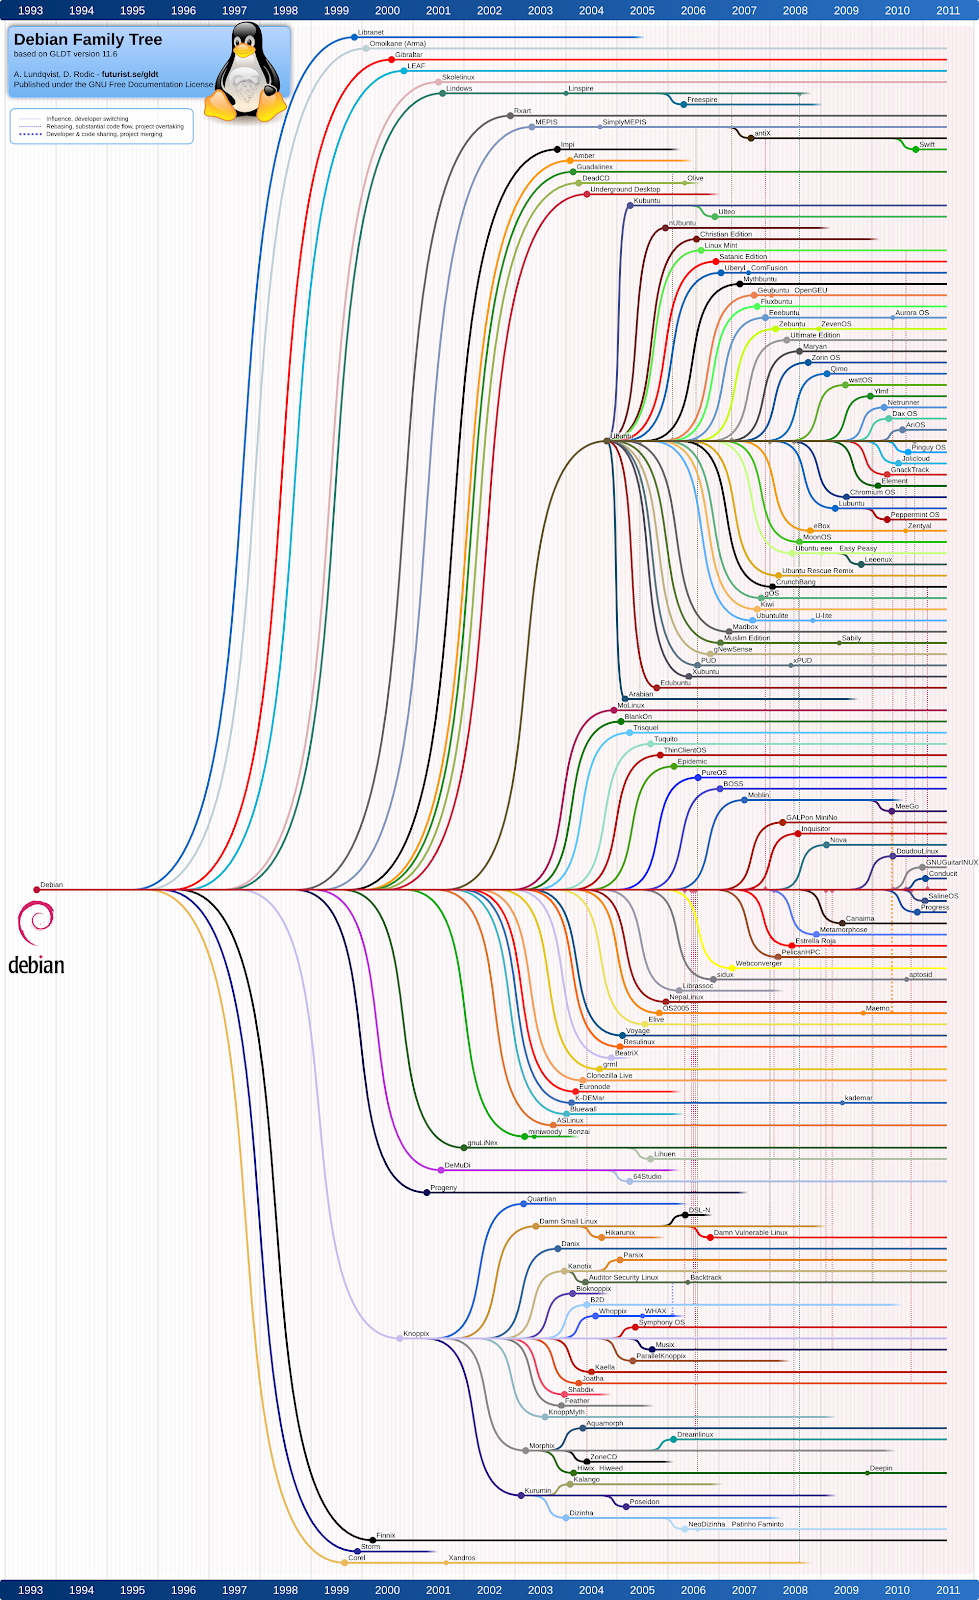
Every single flavor of Linux that you see listed in this picture originally came from Debian. Most of these operating systems were created by hobbyists who have a love for Linux and good operating systems, so ytou can't really go wrong with any of them. But, if you're overwhelmed by choice, we've picked out a few of our favorites for you at Step 1.
Table of Contents
Comments
-
Download the Linux ISO
To start, you will need to have a Linux ISO file. If you do not have one already, you can download one from any of the links below:
- Ubuntu - One of the most popular flavors of Linux with great long term support.
- Linux Mint - My personal favorite flavor of Linux. It has the Windows 10 feel but with the power of Linux.
- Oracle - Another very popular flavor of Linux. It is commonly used for Linux servers.
- Lubuntu - If you have a slower PC or maybe you want to try to install Linux on a Windows XP system, this would run a bit smoother.
For this guide, I will be creating a bootable USB for Ubuntu. If you do not already have the ISO file for Ubuntu, you will want to go to Ubuntu.com and download it.
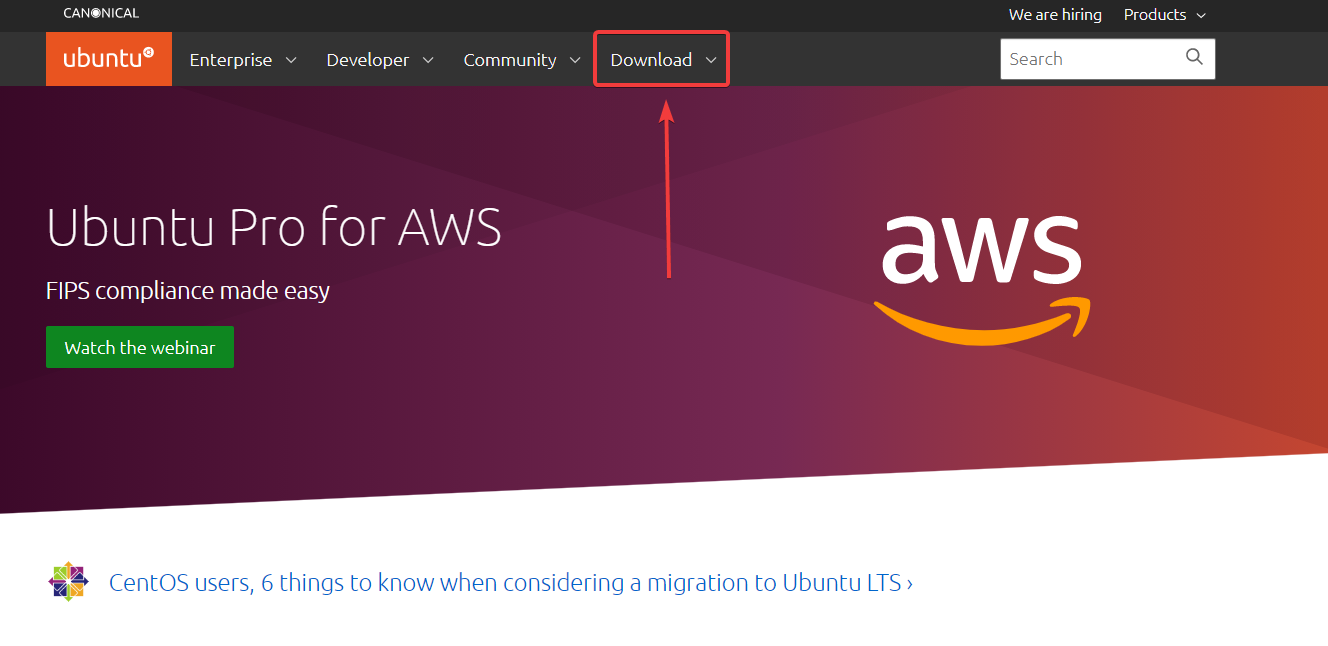
Once you are at Ubuntu.com click on ‘Download’ at the top of the screen:
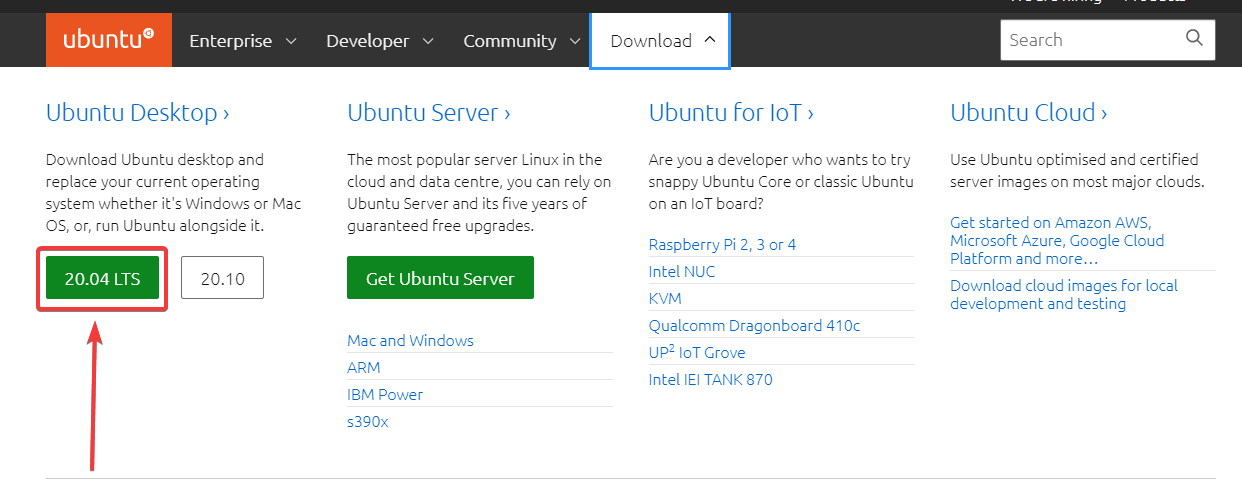
Then click ‘20.04 LTS’ under Ubuntu Desktop:
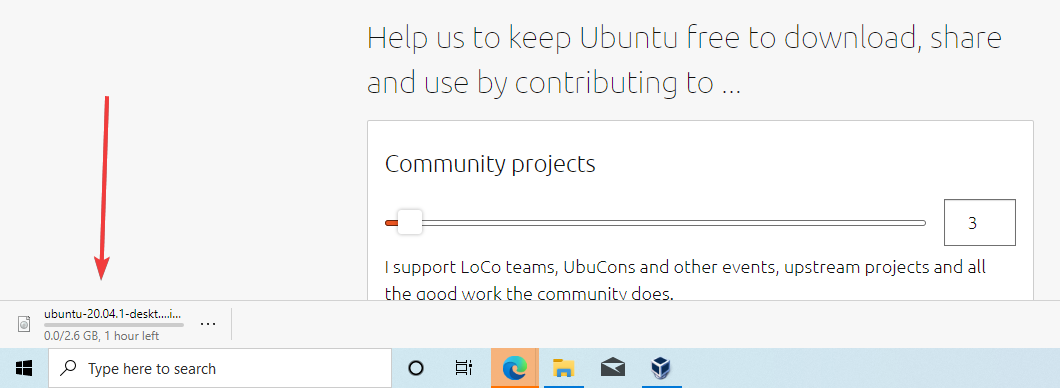
The ISO should start downloading.
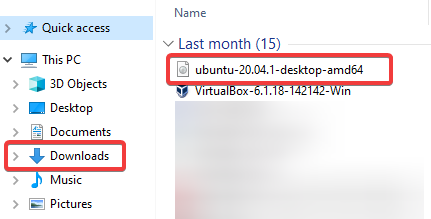
Remember where you save this as we will need it in a moment. Unless you changed the download location for this, you should find it in the Downloads folder.
If the download did not start on its own, I recommend either clicking the back button and trying again or just closing the browser and starting back from the step 1.
-
How to download and use the USB Imaging tool:
You can download this software here.
Next, we need to use a USB imaging tool to make the USB flash drive ‘bootable’. All that means is when you insert the USB in the PC and turn it on, it will boot to the Linux operating system from the USB rather than just booting to Windows like normal.
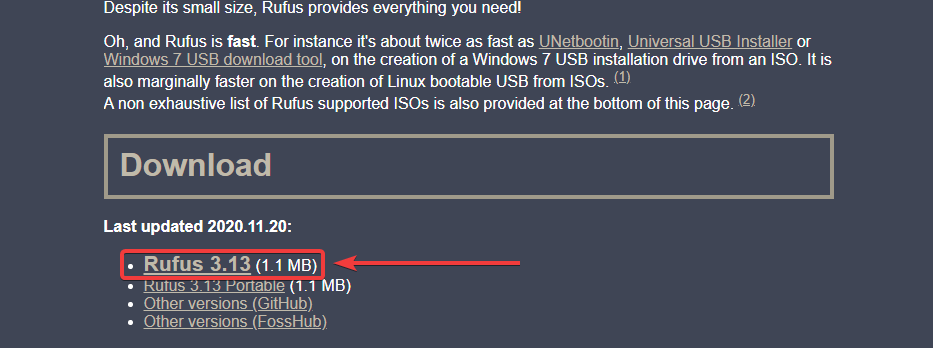
You can install either tool using the links above. For this guide, I will be using a program called Rufus. Once you are on the website, you should see this download button:
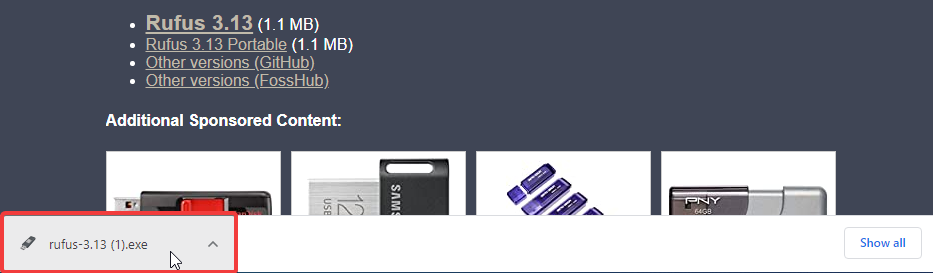
This should start the download automatically. Once it is finished, you will want to run or open the file. If you are using Chrome, you can do this by clicking on the file in the bottom left hand corner.
Once you click on it, it should open the program. A message will pop up asking if you want to allow the program to make changes to the PC. Click Yes.
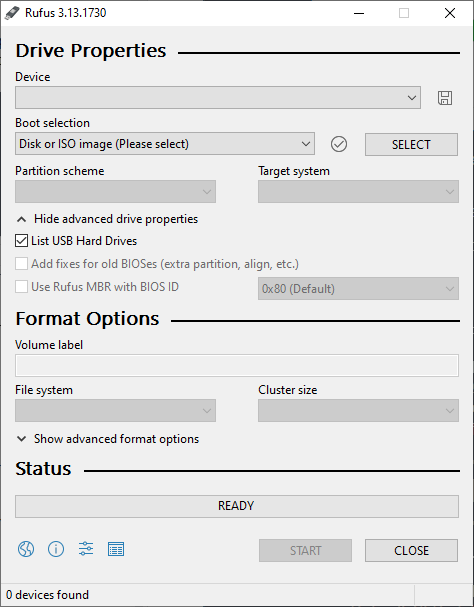
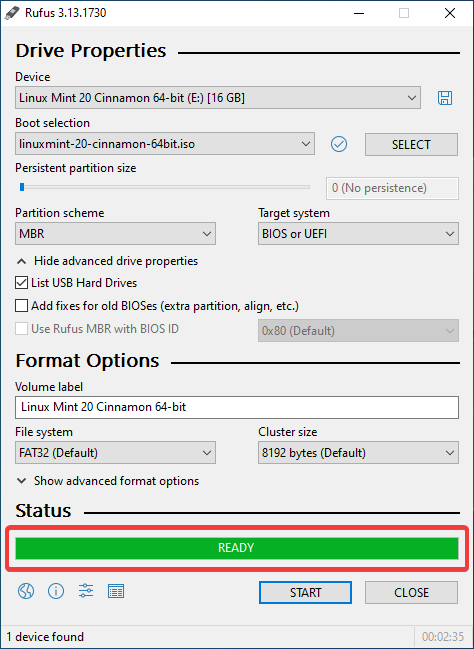
The program should now open and you should see this on your screen:
-
Using USB Imaging Tool
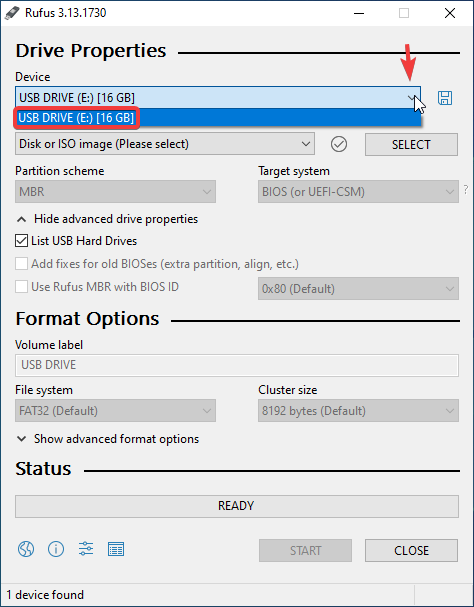
Now, you will need to use this program to create the bootable flash drive. First, insert the USB flash drive you want to make bootable.
***Please Note: This will wipe all data on the USB flash drive. Back up any data on the flash drive before proceeding to the next step***
Click the dropdown arrow at the top right to display the available external drives attached to the PC, then click the drive you want to use.
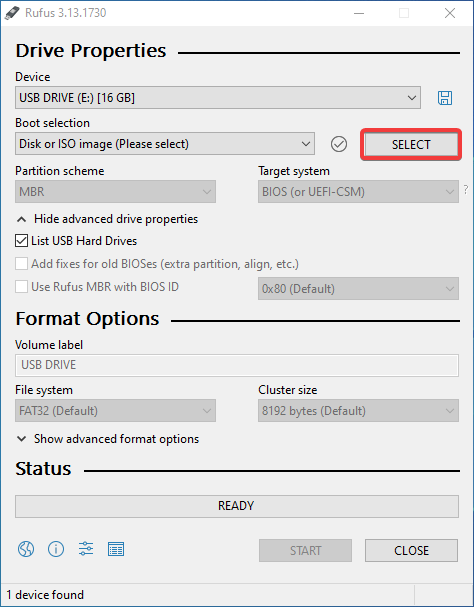
Next, you need to select the Linux ISO file you want to use. Click Select:
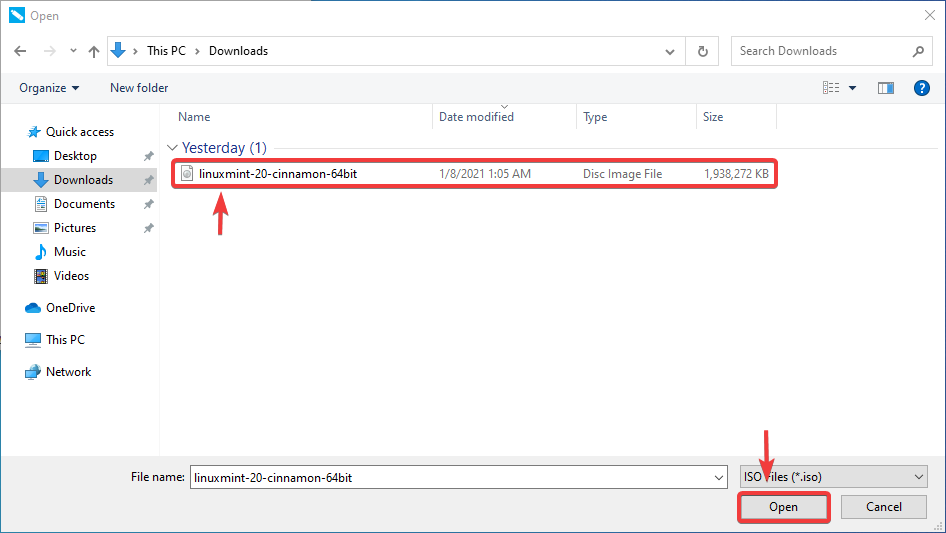
Then select the ISO file that you downloaded earlier. Click the file then click Open.
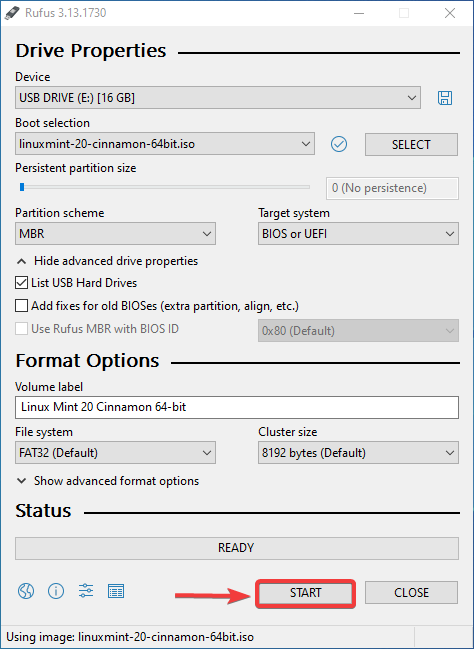
After that, just click Start and let the program create the bootable USB.
If you get this pop-up after clicking start, click Yes.
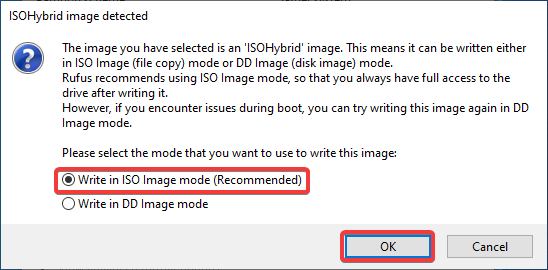
It might ask you if you want to write the image in ISO Image mode or DD Image mode. Check the box next to ‘ISO Image mode’ and click OK.
Next you should have a pop-up on the screen. This is the last warning that all of the data on the drive you selected will be destroyed.
If you have not backed up your data on the USB drive yet, THIS IS YOUR LAST CHANCE.
Once you are ready, click OK.
Once the program is started, you may see File Explorer open the USB drive that it is writing to. Just close this window as you do not want to modify any files or folders on the drive. Doing so may prevent you from booting from this drive.
Wait until the status bar shows the drive is ready before removing it.
And that's it! You have just created a live Linux USB drive. Now that you have successfully created your Linux boot drive, you have the power to explore the OS without installing it. You can also install it alongside Windows and run what is referred to as a ‘Dual-Boot’ system.
If you would like to learn more about 'Dual-Boot' systems, check out our guide below:
How to Dual-Boot Linux (Ubuntu) and Windows 10
Or, if you'd like to install Linux using a Virtual Machine, we have a guide for that as well:
-
I’ve used these guys a few times. Simple. If you would like to save your work find you that has the persistence feature.https://www.pendrivelinux.com/
-
Thanks for the suggestion. This would have came in handy when I was collecting screenshots for Linux articles!
I know Fedora has a convenient media writer. Although I do not think it would allow you to save your work on a live USB
-
My preference of program to image usb flash drives is balenaetcher! This program is made with a great UI and makes the process so simplistic!


Categories
- All Categories
- 1 The Blog
- 1 What's Trending
- 8K The Community
- 3.2K General Discussion
- 147 New Members
- 877 Consumer Tech
- 236 Prebuilt PCs and Laptops
- 169 Software
- 33 Audio/Visual
- 54 Networking & Security
- 4 Home Automation
- 5 Digital Photography
- 14 Content Creators
- 30 Hobby Boards & Projects
- 84 3D Printing
- 83 Retro Arcade/Gaming
- 63 All Other Tech
- 461 PowerSpec
- 2.7K Store Information and Policy
- 152 Off Topic
- 64 Community Ideas & Feedback
- 620 Your Completed Builds
- 4K Build-Your-Own PC
- 3K Help Choosing Parts
- 328 Graphics Cards
- 335 CPUs, Memory, and Motherboards
- 146 Cases and Power Supplies
- 54 Air and Liquid Cooling
- 51 Monitors and Displays
- 93 Peripherals
- 70 All Other Parts
- 65 Featured Categories
We love seeing what our customers build
Submit photos and a description of your PC to our build showcase
Submit NowLooking for a little inspiration?
See other custom PC builds and get some ideas for what can be done
View Build ShowcaseSAME DAY CUSTOM BUILD SERVICE
If You Can Dream it, We Can Build it.

Services starting at $149.99