How to Set Up a Raspberry Pi Media Server


How often do you go to check Netflix to find your favorite movie and it's not on the site? don't you wish there was some way to take all the old DVDs lying around your house and watch them on any of your devices?
A Pi media server is just for you! With a Pi media server, you can take all of those old movies around your house and upload them to the server to watch from anywhere.
How Does a Raspberry Pi Media Server Work?
The server runs off a program called Kodi. Kodi is a media server application made for this purpose specifically. It runs on your Raspberry Pi via ethernet so you can easily plug it in and let it do its thing. You can then upload movies, songs, pictures, and TV shows to the server and view them from anywhere. It's like your own personal Netflix that you create!
What You Will Need to Set Up a Raspberry Pi Media Server
- Raspberry Pi (With ethernet port)
- Micro SD Card
- Micro SD card adapter
- An external display (like a monitor)
- KODI
- External Storage for movies/music/media
Setting up Kodi on your Pi
- Before starting up anything you'll need to make sure Raspberry Pi OS is installed on the Pi. We already have a great guide on how to do this here.

- Starting off you will need to download Kodi. You can do so by opening the terminal by hitting the terminal icon at the top of the screen and typing in the command: sudo apt-get install kodi
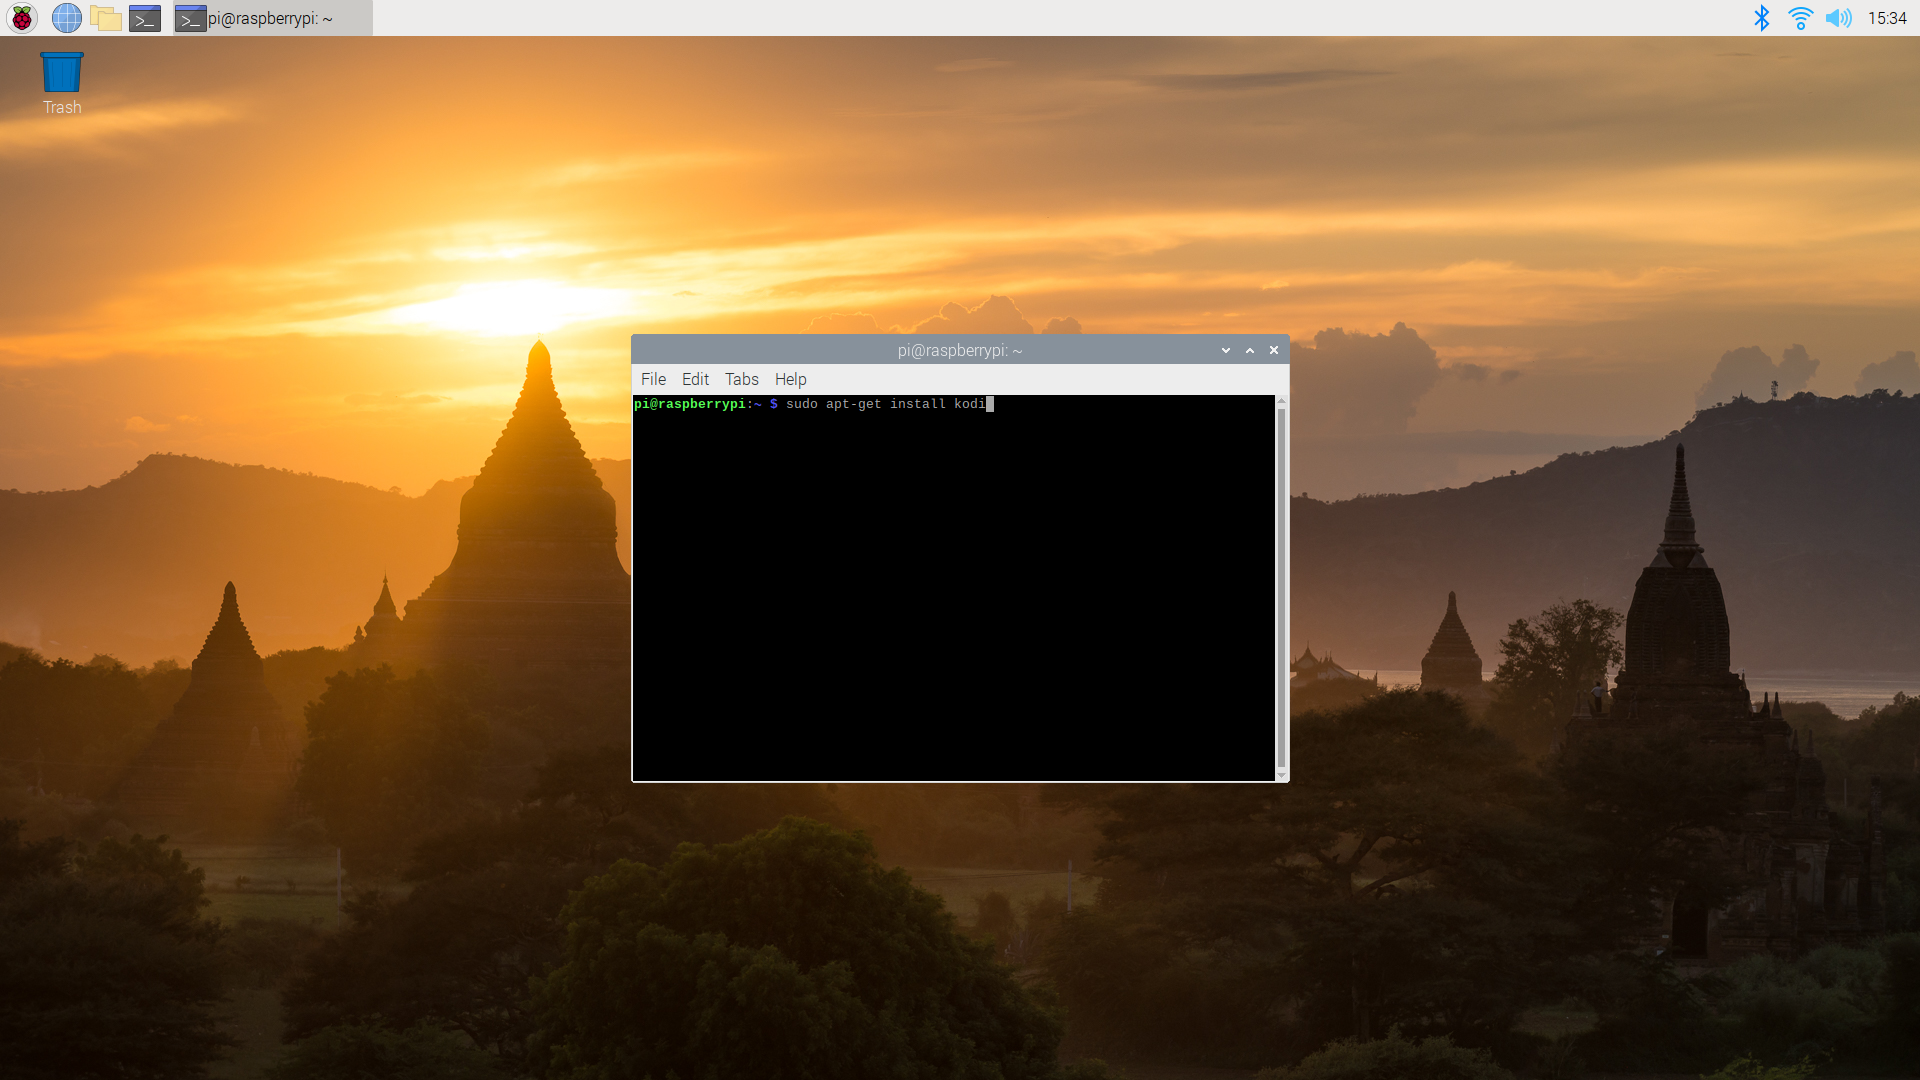
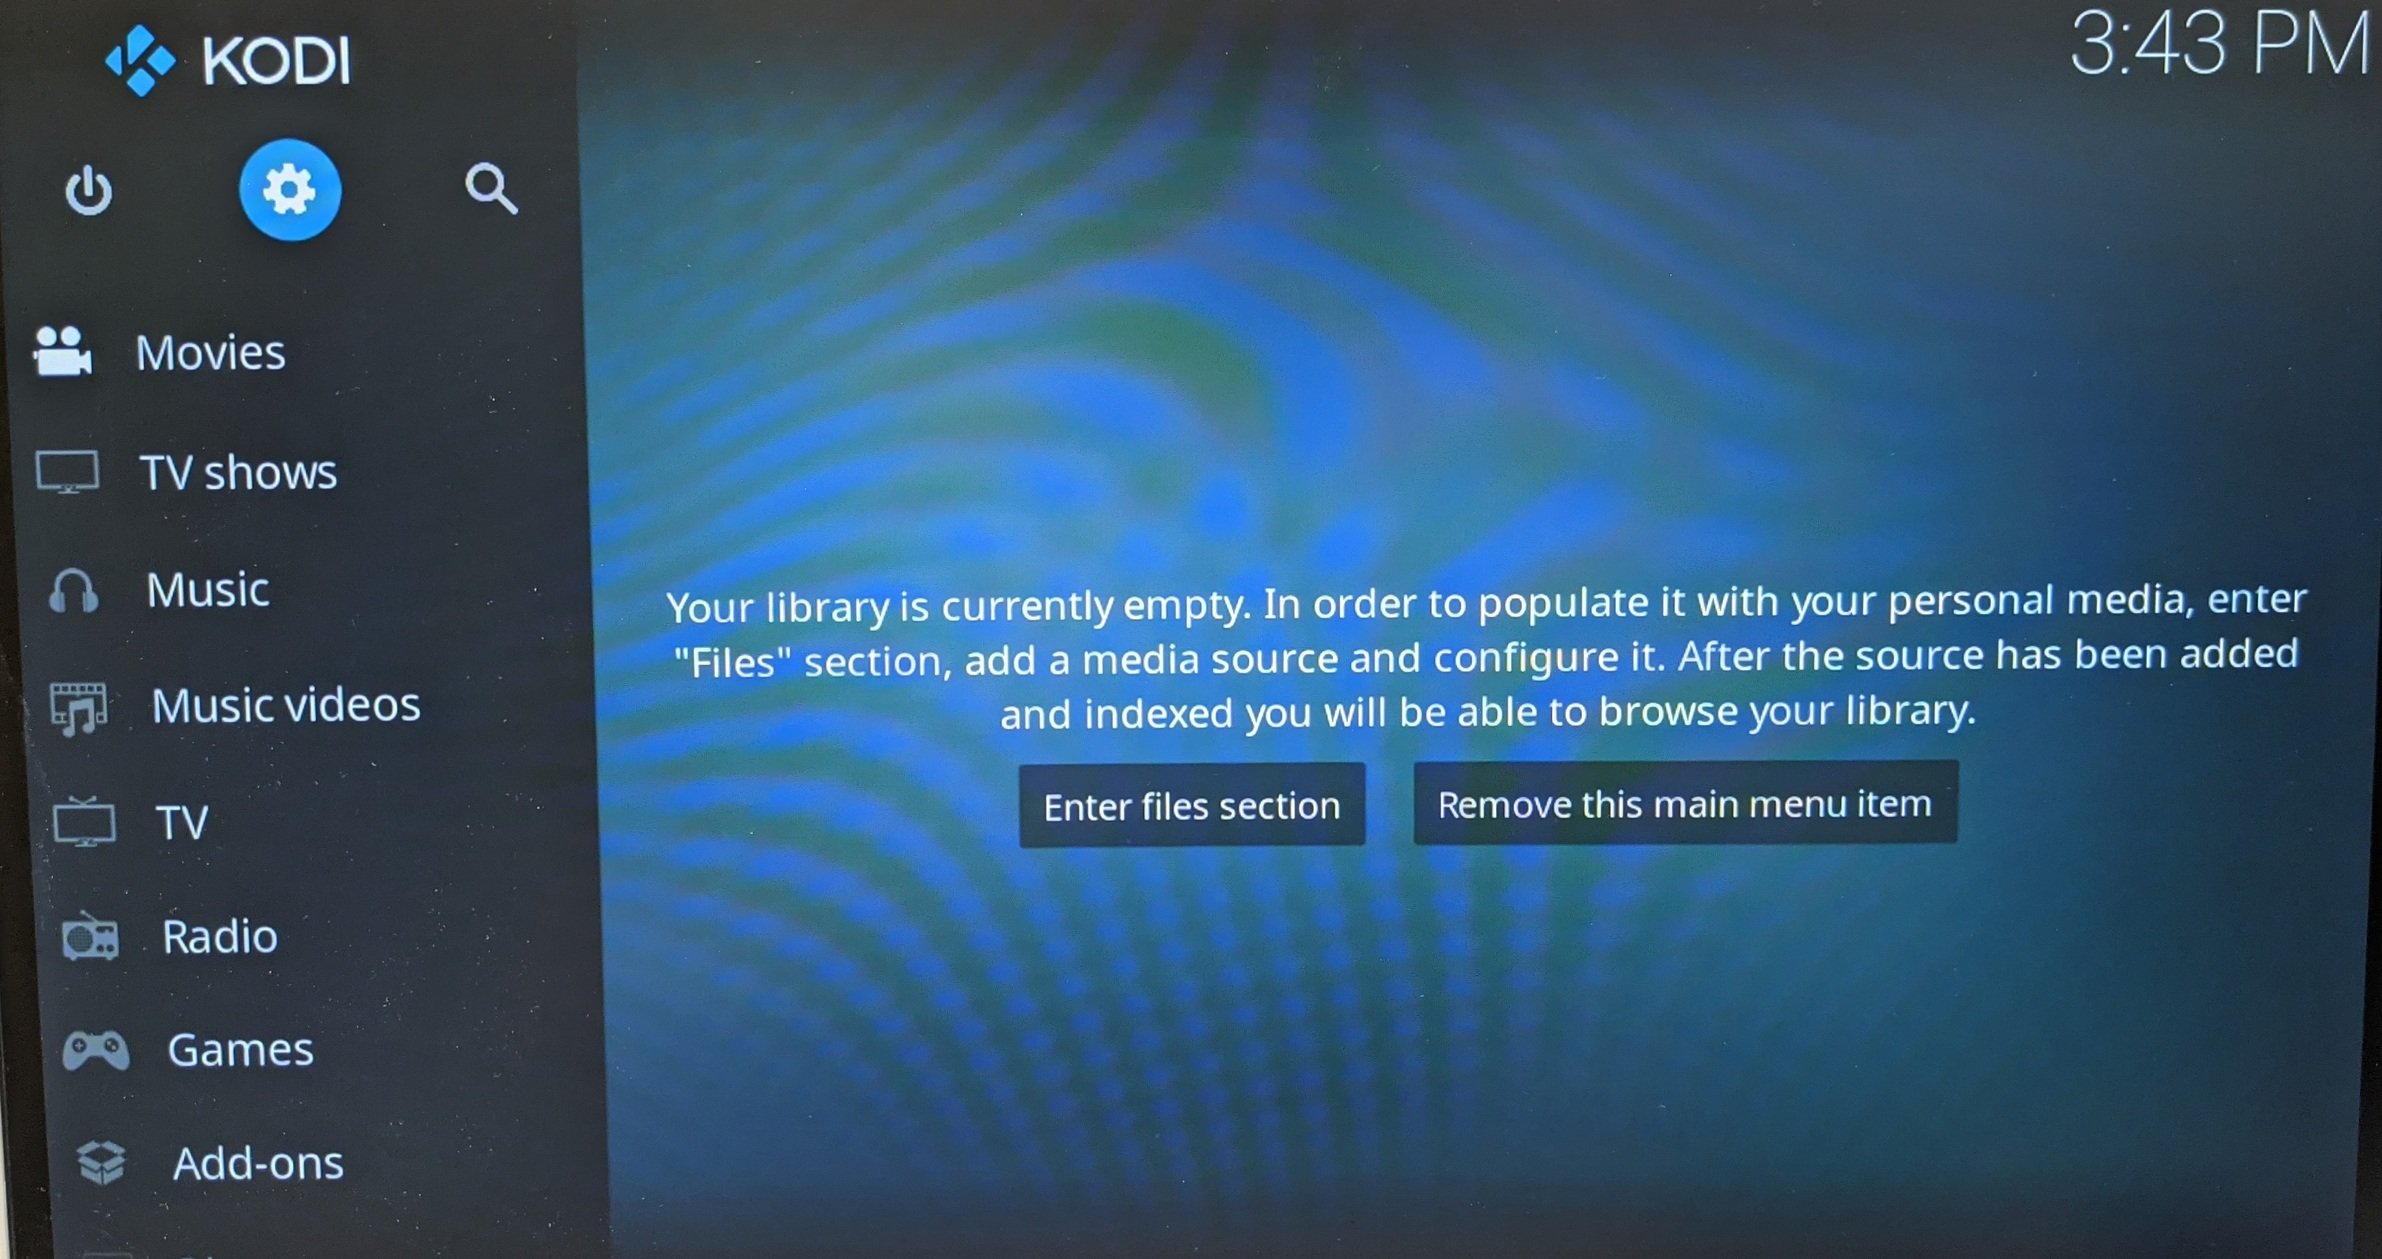
- Once you enter this command it may prompt you to say yes or no. Type "y" and push enter, and the command prompt will download Kodi for you. Once complete type "Kodi" into the command prompt and it will launch.

- Next, there are some settings you have to configure. Select the gear icon in the top left to access settings.
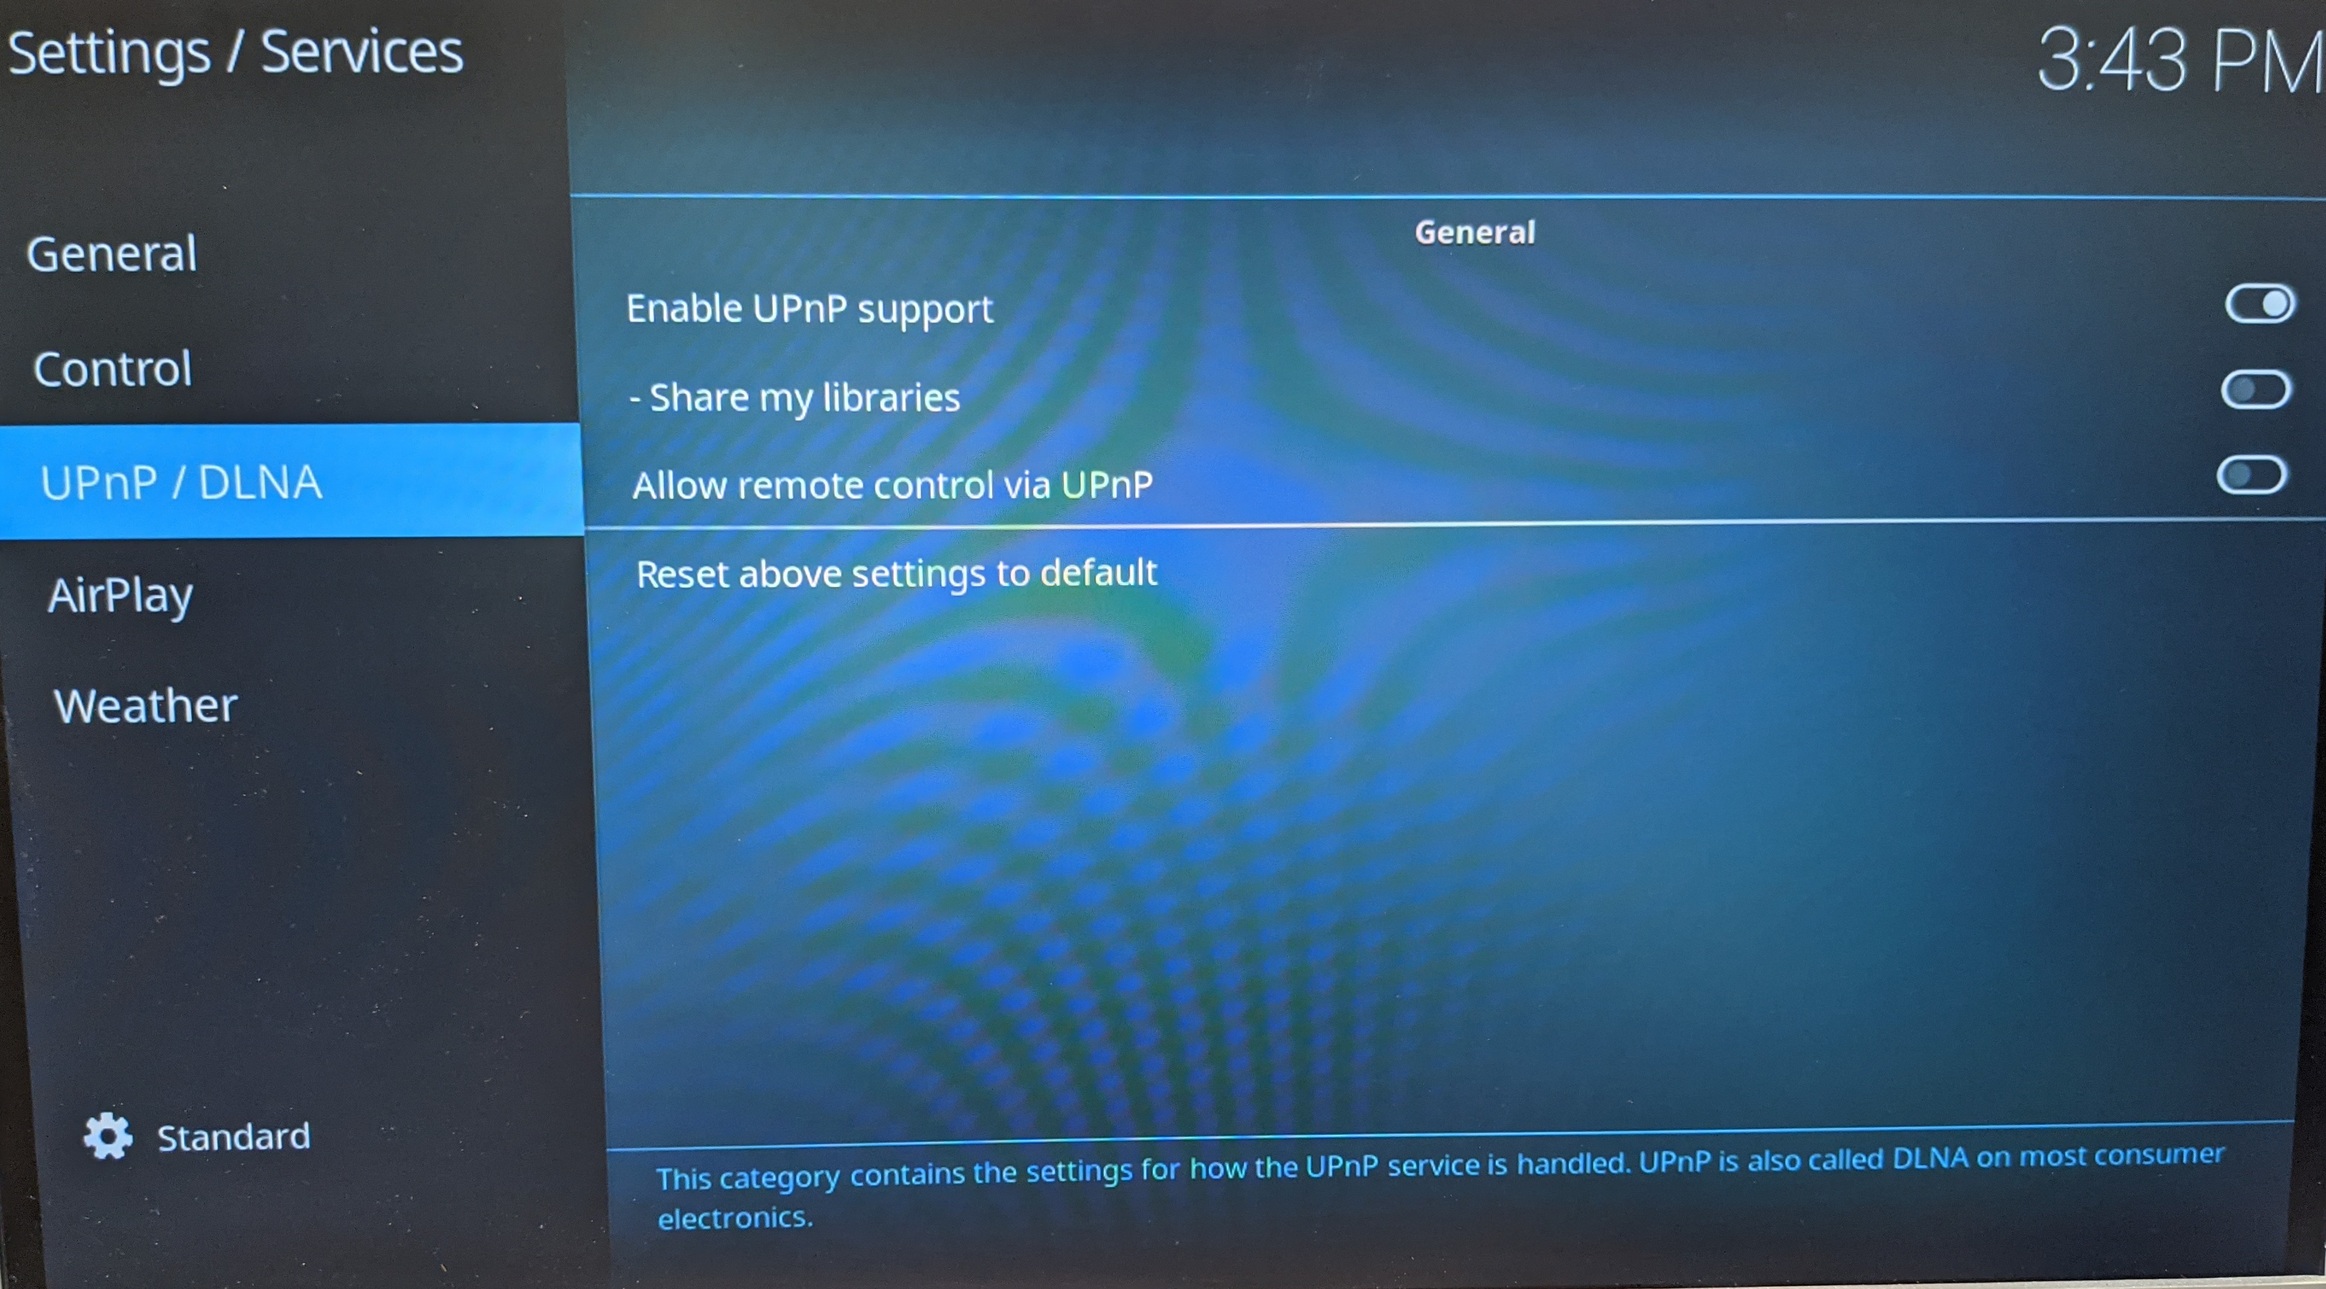
- Select "Services"

- Check the bubble on the right side for "Enable UPNP Support" to allow your server to be discoverable from other devices.
Setting Up Media Storage
- To set up a media server you will need an external storage device hooked up to your Pi. But first, you will need to Format so Hook the device up to your PC via USB.

- Next, you will right-click on the drive located in "This PC" and select "Format."
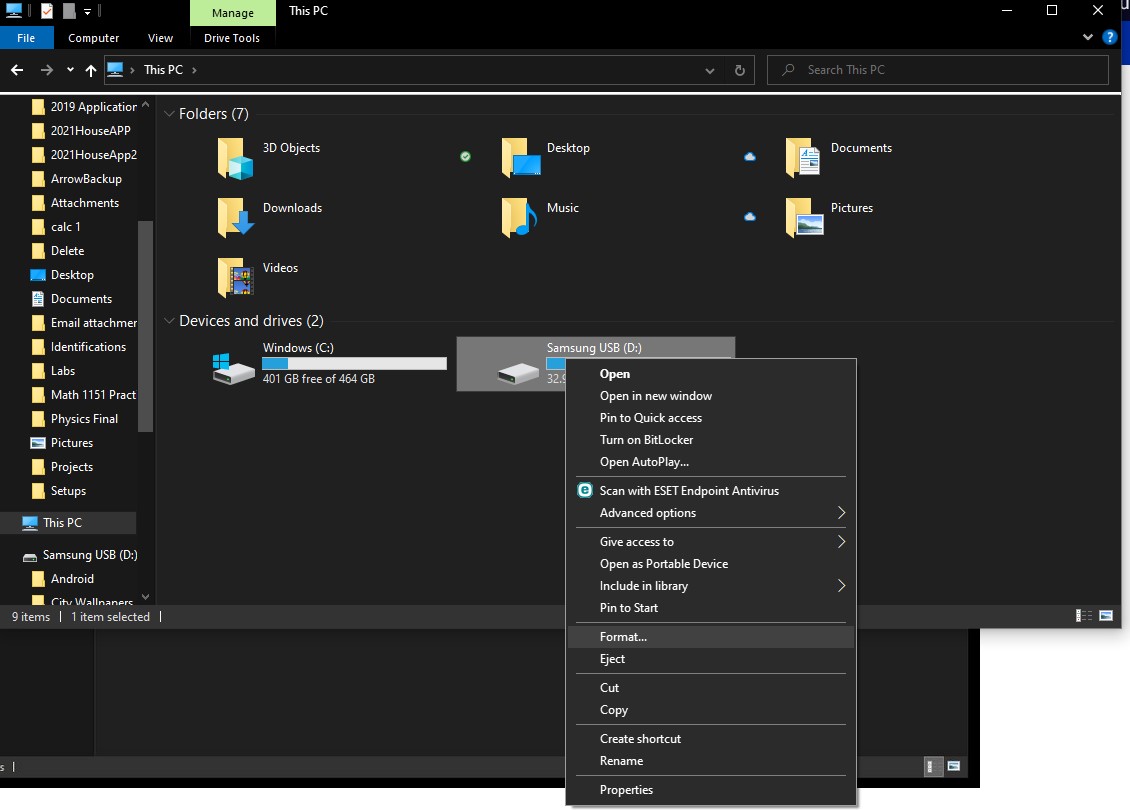
- Make sure that the External storage is set to file system FAT32, name the volume and press start to format the drive. Once formatted you can add your movies, photos, and music to the drive.

- Now we are going to identify the source for the library. Connect the drive to the Pi and select the gear icon again.

- Select Media

- Select the Library tab and under Manage Sources select the type of media you are trying to put on the server (videos, music, or pictures)
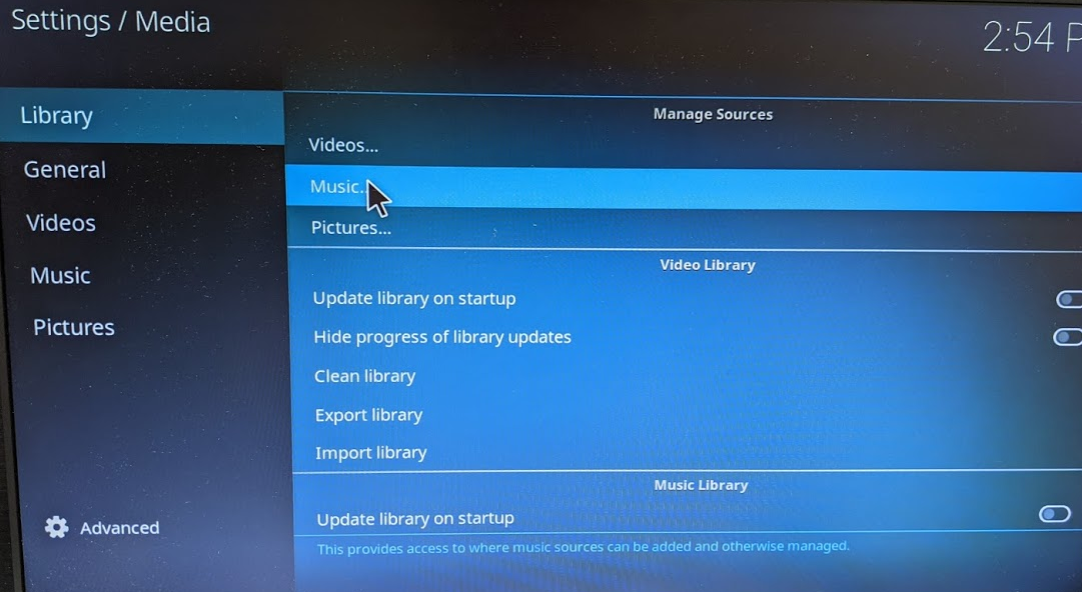
- Select Add Music...

- Once here select Browse.

- Now navigate to the USB drive by selecting navigating to Root filesystem/media/pi/ESD-USB.

- Once you get your attached storage device, select ok in the corner.

- Now that the storage drive is selected press ok. You have now identified your library! The next step, view your media from anywhere in the house.

Viewing your media
- Now that your library is identified, you will need to get other devices on your network to view it. In this case, I am using a Macbook Air with Kodi installed but you can do it with any device with Kodi. Go ahead and select the type of media you would like to view and hit Enter Files Section

- Select Add Videos...

- Select UPnP Devices

- And As long as you are on the same network as your Pi it should show up here!

- Now you can view all of your movies from any device as long as you have them in your server library from anywhere in your home. Enjoy your at-home custom streaming service.

More from the Micro Center Community:
Looking for more information about Raspberry Pi? We’ve got a Hobby Board section of the community, as well as Hobby Board guides like The Definitive Micro Computer Buying Guide, Raspberry Pi Basics, and How to Create a Retro Game Console With Raspberry Pi. And if you can’t find what you’re looking for, don’t hesitate to post a new discussion and the Community will be happy to help!
Comments
-
External storage - How much per movie?
-
@JRC The amount of storage that a movie will take up would depend on the length, compression, and quality of the movie. High definition files typically take up to 2-4 GB.


Categories
- All Categories
- 1 The Blog
- 1 What's Trending
- 8K The Community
- 3.2K General Discussion
- 146 New Members
- 873 Consumer Tech
- 234 Prebuilt PCs and Laptops
- 168 Software
- 33 Audio/Visual
- 54 Networking & Security
- 4 Home Automation
- 5 Digital Photography
- 14 Content Creators
- 30 Hobby Boards & Projects
- 84 3D Printing
- 83 Retro Arcade/Gaming
- 62 All Other Tech
- 449 PowerSpec
- 2.6K Store Information and Policy
- 151 Off Topic
- 63 Community Ideas & Feedback
- 619 Your Completed Builds
- 4K Build-Your-Own PC
- 2.9K Help Choosing Parts
- 328 Graphics Cards
- 335 CPUs, Memory, and Motherboards
- 145 Cases and Power Supplies
- 54 Air and Liquid Cooling
- 51 Monitors and Displays
- 93 Peripherals
- 69 All Other Parts
- 65 Featured Categories
We love seeing what our customers build
Submit photos and a description of your PC to our build showcase
Submit NowLooking for a little inspiration?
See other custom PC builds and get some ideas for what can be done
View Build ShowcaseSAME DAY CUSTOM BUILD SERVICE
If You Can Dream it, We Can Build it.

Services starting at $149.99